


Near field communication, or NFC, allows for data to be transferred between devices in close proximity to each other. NFC tags are stickers or wristbands embedded with tiny microchips that store information and can be read by NFC readers within ten centimeters.
With NFC tags, you can easily transfer small amounts of information, like app URLs, encrypted bank accounts, and more. The biggest advantage of NFC is that it doesn’t require pairing or any manual input to establish a connection. You can transfer data with just a tap, which we’ll demonstrate later. In this article, we’ll cover what NFC tags are and how we can use them with React Native. Let’s get started!
- How do NFC tags work?
- How do NFC tag readers work?
- Reading NFC tags with React Native
- NFC configuration for Android
- Requesting NFC access on iPhone
- How to read an NFC tag with React Native
- How to write an NFC tag
How do NFC tags work?
We can use NFC tags in applications where we need to exchange digitized data quickly. NFC tags contain storage memory and a radio chip. Due to magnetic induction, NFC tags do not have a power source of their own. Instead, they receive power from the device that reads them.
Essentially, when an NFC reader is brought within ten centimeters of an NFC tag, the NFC tag becomes energized, transmitting any data stored within its microchip. The information exchange is completed when the reader validates the information. NFC readers can only connect to one NFC tag at a time, minimizing accidental transactions.
How do NFC tag readers work?
Previously, we mentioned that NFC tag readers serve as the power source, reading information from passive NFC tags. NFC tag readers require a power source to pass an electric current through their coil to the NFC tags, generating a magnetic field around the reader as a result.
Due to Faraday’s law of induction, bringing a tag within this magnetic field’s range results in inductive coupling between the two coils, which is when the information exchange occurs.
Reading NFC tags with React Native
Now that we understand the basics of NFC tags and NFC tag readers, let’s learn how to write the React Native code that reads and writes an NFC tag. First, let’s initialize a new React Native project using the command below:
npx react-native init NFCTutorial
The command above will install a new React Native boilerplate at the location of your choice, so you can get started writing your code quickly. Run the command below to install the iOS dependencies using pods. CocoaPods is a dependency manager for iOS programming languages like Swift:
cd ios && pod install && cd ..
Then, run npm start to start Metro bundler and npm ios to run the project on an iOS simulator.
In this tutorial, we’ll use react-native-nfc-manager. But, before jumping into the code, we need to configure both Android and iOS platforms to enable NFC. Although we’ll go through the configuration for both Android and iOS platforms, we’ll demo reading and writing NFC tags only on an iOS device.
NFC configuration for Android
To access an Android device’s NFC hardware and properly handle NFC intents, we’ll declare these items in the AndroidManifest.xml file:
The uses-feature element ensures that the application only shows up in Google Play for devices that have NFC hardware:
<uses-feature android:name="android.hardware.nfc" android:required="true" />
The NFC uses-permission element allows access to the NFC hardware:
<uses-permission android:name="android.permission.NFC" />
Requesting NFC access on iPhone
To start, you’ll need to be registered with the Apple Developer program; you’ll also need to create an app identity for the application so that you can test the NFC project on an iOS device.
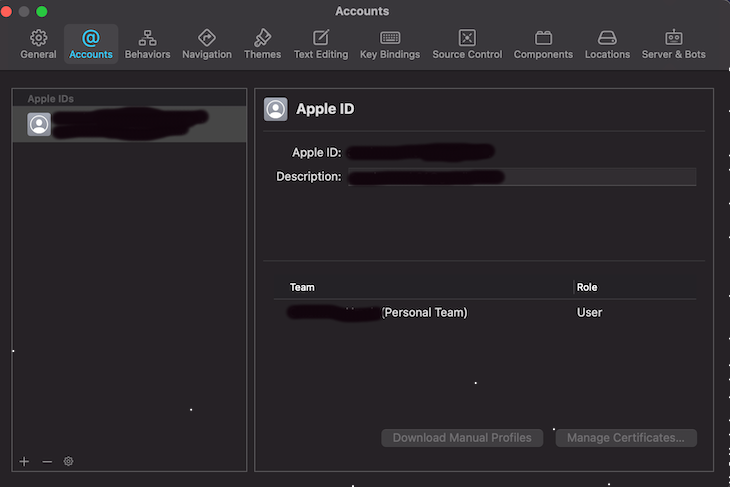
- From within Xcode on a Mac, navigate to Xcode → Preferences → Accounts
- Click on the + icon on the lower lefthand side to add your Apple ID
- Select your account. It will show within the main account window on the right under
Teamas(Personal Team)andRoleasUser
- From the menu bar, Click on Window → Devices and Simulators → Devices
- Connect your iPhone with a lightning cable and select it as the build destination through the active scheme dropdown to the right
- Next, open the project we installed earlier on Xcode
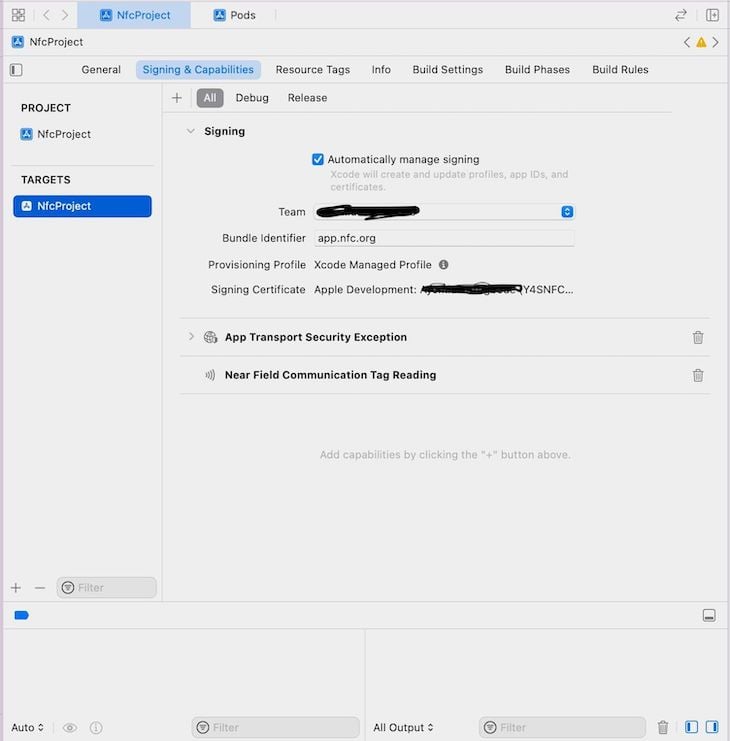
- Under the General tab, change the bundle identifier to a unique identifier
In the Signing and capabilities tab, select the appropriate team you’re using for the project. Then, underneath the Signing and capabilities tab, select Capabilities or click the + sign and search for Near field communication tag to enable NFC capability on the project:
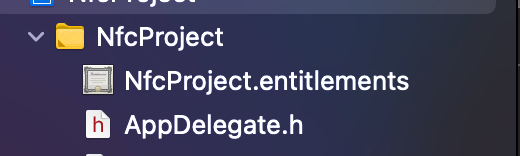
Notice how Xcode has created a folder called entitlements containing the app capabilities:
Finally, let’s edit the info.plist file to add the following lines of code that describe the project:
<key>NFCReaderUsageDescription</key>
<string>Reading NFC with react native</string>
And that is all the configuration needed! Go ahead and hit the run button on Xcode so we can view the project on the connected iPhone device. Now, let’s go ahead and write our code!
How to read an NFC tag with React Native
First, let’s install the react-native-nfc-manager library:
npm i --save react-native-nfc-manager
Remember to run cd ios && pod install again.
Check if the current device has NFC support
We need to import the react-native-nfc-manager library, then we’ll use the isSupported() method to determine if a device has NFC support. In the code below, we create a state that will be updated when we find out if the device supports NFC:
import NfcManager, { NfcEvents } from 'react-native-nfc-manager';

 const [hasNfc, setHasNFC ] = useState(null);
We’ll update the state in a useEffect Hook when the component mounts. Once we confirm that NFC is supported on the device, we’ll go ahead and initialize the NFC module with the start() method:
useEffect(() => {
    const checkIsSupported = async () => {
      const deviceIsSupported = await NfcManager.isSupported()

      setHasNFC(deviceIsSupported)
      if (deviceIsSupported) {
        await NfcManager.start()
      }
    }

    checkIsSupported()
  }, [])
Now, let’s write the code that will read an NFC tag:
useEffect(() => {
    NfcManager.setEventListener(NfcEvents.DiscoverTag, (tag) => {
      console.log('tag found')
    })

    return () => {
      NfcManager.setEventListener(NfcEvents.DiscoverTag, null);
    }
  }, [])


  const readTag = async () => {
    await NfcManager.registerTagEvent();
  }
In the useEffect() Hook above, the event listener is listening for an event called onDiscoverTag. You can also use setAlertMessages() to set a form of UI message for the users to see. We use registerTagEvent() to begin the process of detecting NFC tags and unregisterTagEvent() to cancel it.
If the device has NFC support, we’ll conditionally render a button, and if not, we’ll render a message. The code below is for the button that will call the readTag() when clicked:
if (hasNfc === null) return null;

  if (!hasNfc) {
    return (
      <View style={styles.sectionContainer}>
        <Text>NFC not supported</Text>
      </View>
    )
  }

  return (
    <SafeAreaView style={styles.sectionContainer}>
      <Text>Hello world</Text>
      <TouchableOpacity style={[styles.btn, styles.btnScan]} onPress={readTag}>
        <Text style=>Scan Tag</Text>
      </TouchableOpacity>
      <TouchableOpacity style={[styles.btn, styles.btnCancel]} onPress={cancelReadTag}>
        <Text style=>Cancel Scan</Text>
      </TouchableOpacity>
    </SafeAreaView>
  );
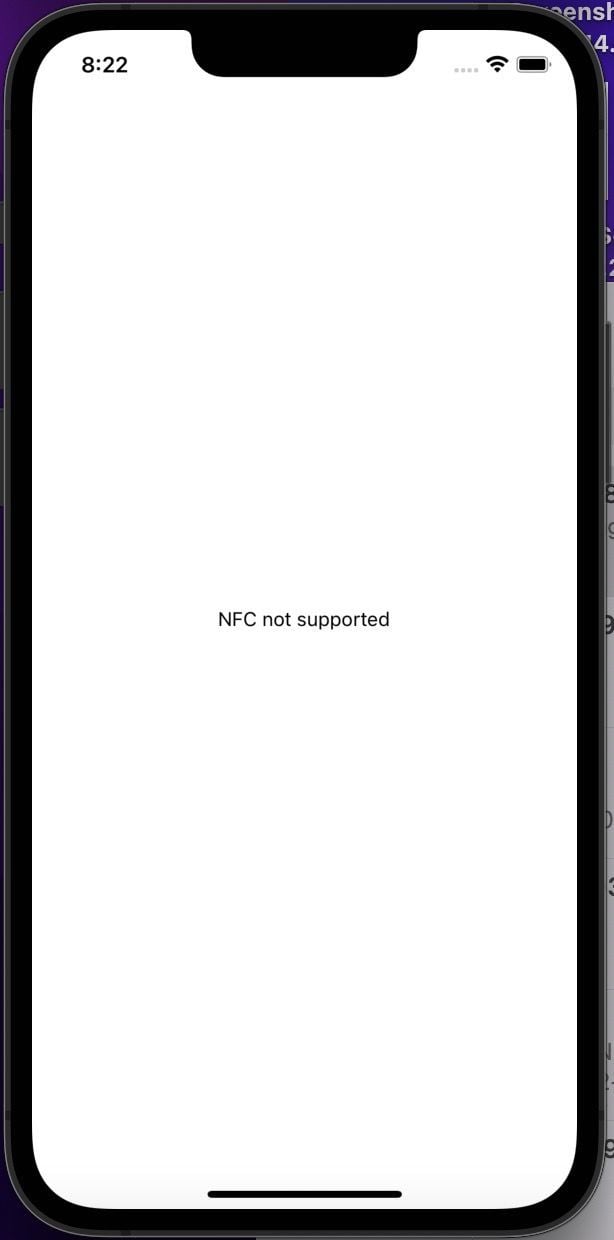
The image below shows the project on a simulator that doesn’t support NFC scanning:
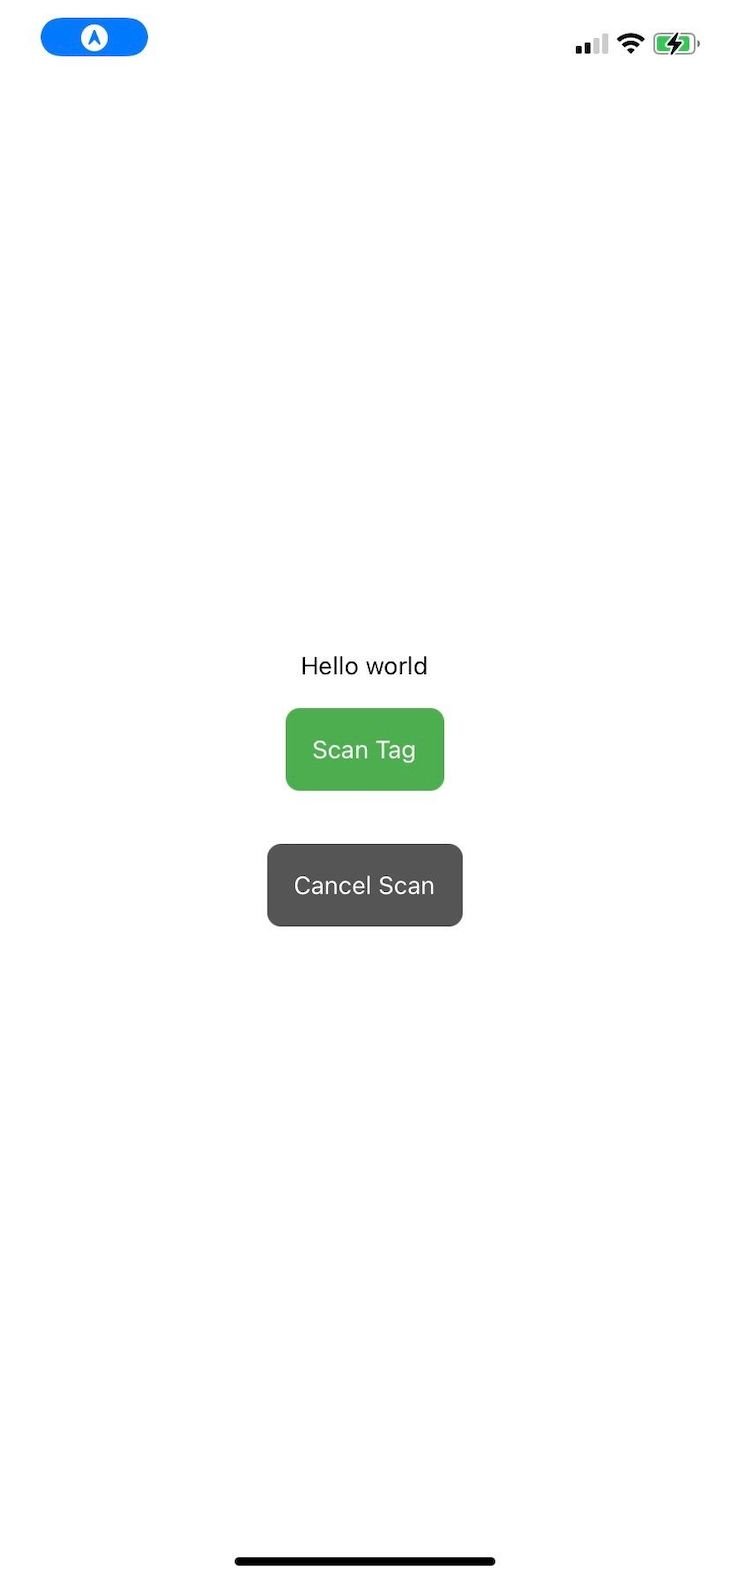
The screenshot below shows what the project will look like on a physical device:
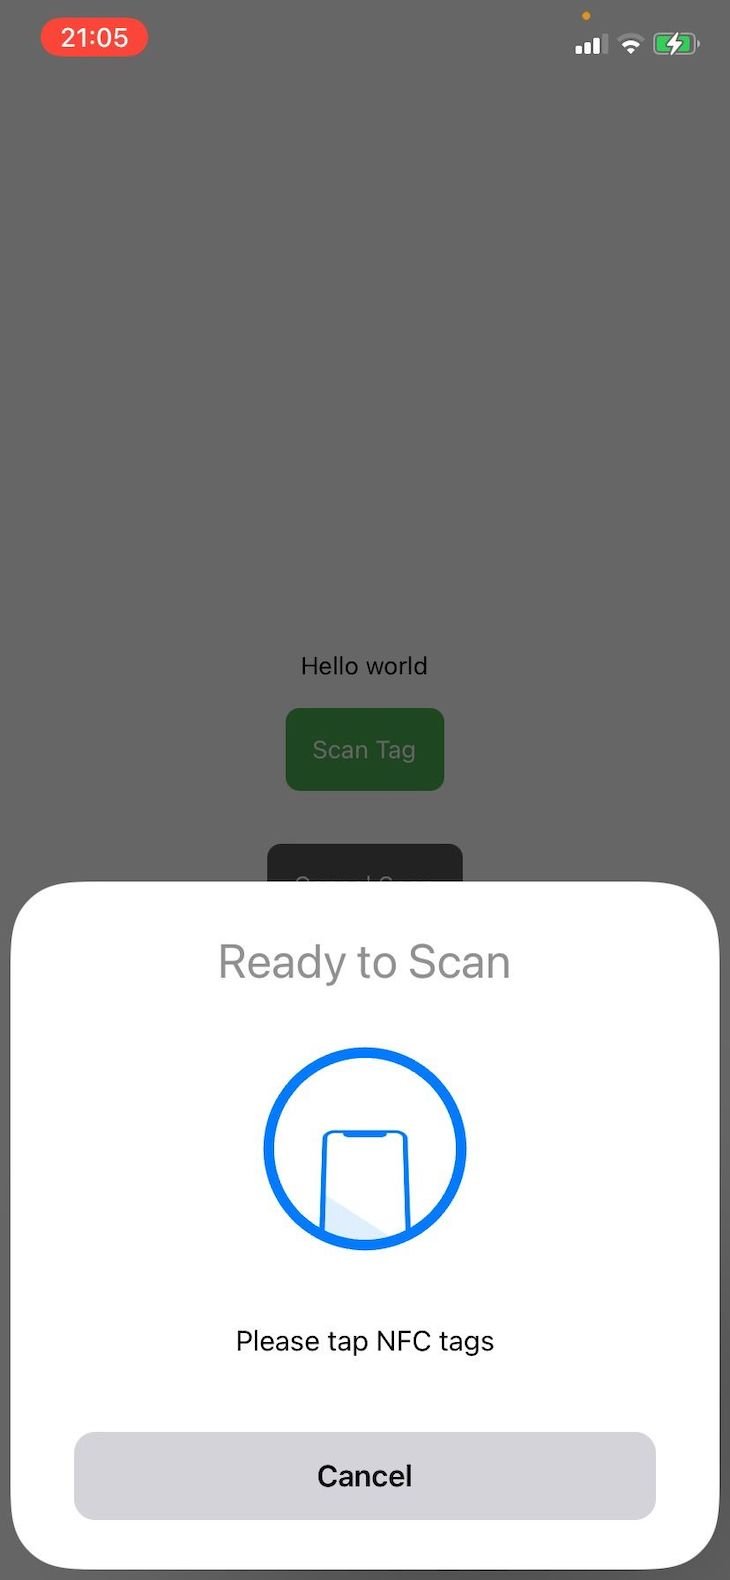
When you tap the scan tag button, like in the image below, the device will be ready to read an NFC tag:
How to write an NFC tag
So far, we’ve established how to check if a device supports NFC tags, and we’ve learned how to read an NFC tag to access the information stored in it. Now, we’ll learn how to encode information into an NFC tag so that when a reader reads it, they will access the information we wrote to the tag. As an example, we’ll encode the LogRocket URL:
const writeNFC = async() => {
    let result = false;

    try {
      await NfcManager.requestTechnology(NfcTech.Ndef);

      const bytes = Ndef.encodeMessage([Ndef.uriRecord('https://blog.logrocket.com/')]);

      if (bytes) {
        await NfcManager.ndefHandler
          .writeNdefMessage(bytes);
        result = true;
      }
    } catch (ex) {
      console.warn(ex);
    } finally {
      NfcManager.cancelTechnologyRequest();
    }

    return result;
  }
In the code above, we requested a particular NFC technology through NfcManager.requestTechnology. In our case, it’s the Ndef technology, a data format. Then, we encode the URL we want to write using Ndef.encodeMessage and write it using the writeNdefMessage(bytes).
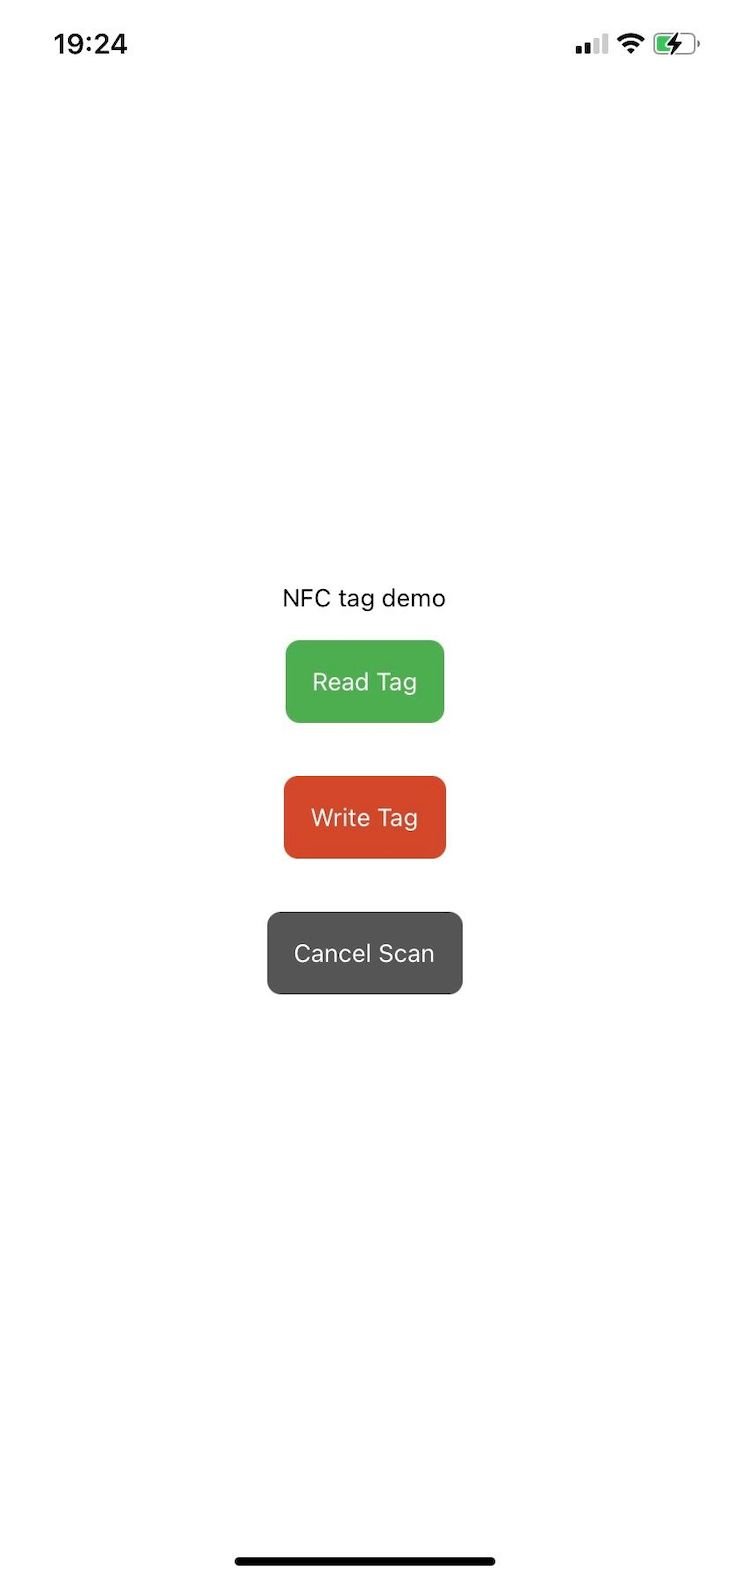
Now, we’ll create a button that will call this function when a user wants to write the LogRocket blog URL to an NFC tag:
<TouchableOpacity style={[styles.btn, styles.btnWrite]} onPress={writeNFC}>
        <Text style=>Write Tag</Text>
 </TouchableOpacity>
Therefore, when the button is clicked, the NFC drawer is ready to encode the LogRocket URL to an NFC tag:
Conclusion
NFC technology is used in many aspects of our everyday lives, including contactless payment, ticket redemption at concerts, and venue location check-in, just to name a few.
In this article, we explored how to read and write an NFC tag to either encode or access information within it. We built a sample application using React Native and iOS to easily transfer a URL, but, you can build on the information in this tutorial to implement NFC tags in your own project. I hope you enjoyed reading, and be sure to leave a comment if you have any questions. Happy coding!
The post How to use NFC tags in React Native appeared first on LogRocket Blog.
from LogRocket Blog https://ift.tt/mDzlL3K
Gain $200 in a week
via Read more


