


Android developers use Android Studio among a myriad of other editors for app development — it is preferred not just because it is the principal native app editor for devs, but also because it provides special offline assistance for them.
This key feature ensures our written code is rich and efficient for our Android app, and also where Lint tools come in.
Lint tools are used to help find errors and avoid poorly written code. In this article, you will learn about linting in Kotlin and how you can get started with it. Let’s get right in!
Prerequisites
To fully understand this article, the reader should satisfy the following prerequisite:
- Working to intermediate knowledge of Kotlin and Android Studio.
Aims
In this article, we will cover the following topics:
- Installing Android Studio
- Kotlin setup for Android Studio
- What is Lint?
- Configuring the Lint tool to suppress warnings
- Using the baseline warning
Installing Android Studio
Downloading and customizing Android Studio
click here to download the Android Studio zip file.

After completing the download, run the downloaded file.
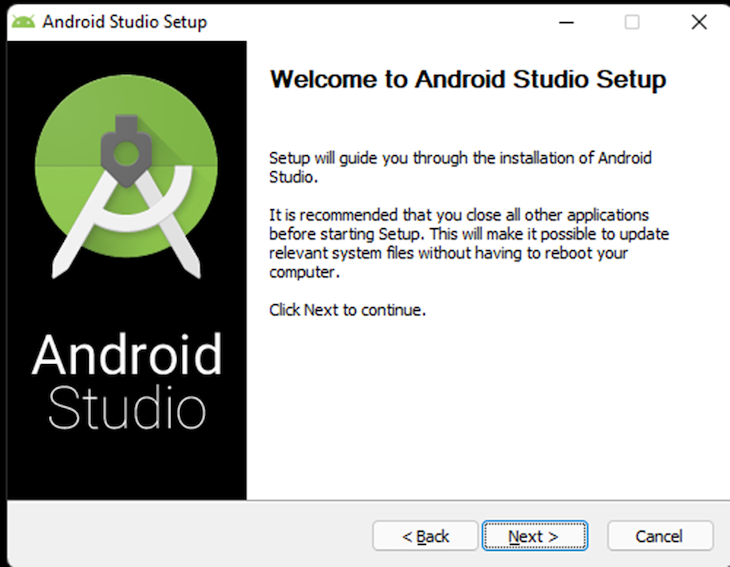
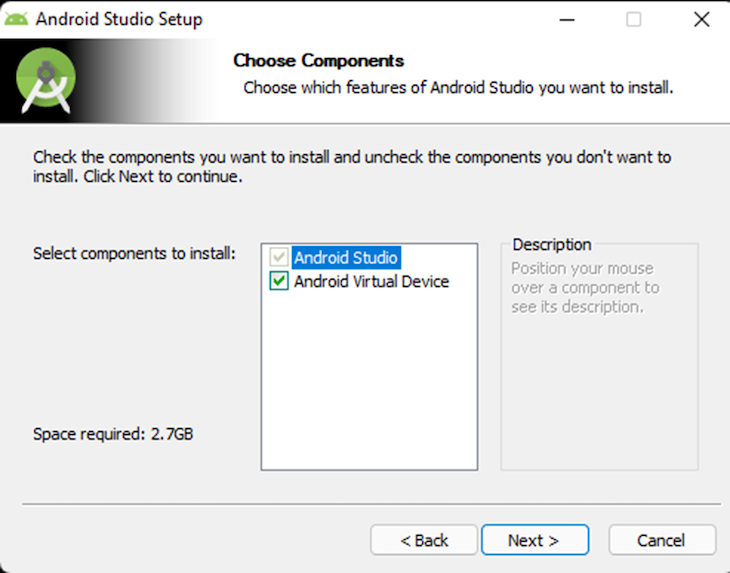
Click on the Next button, and follow the prompt message asking whether to decline the option to install Android Virtual Device (AVD).
(Note: Do not uncheck the AVD since it’s needed to view our apps after compilation)
In the configuration settings, you can change the installation location. Click on the Next button to keep the current installation location.
Keep clicking on Next until the installation is complete.
Once complete, click the Finish button.
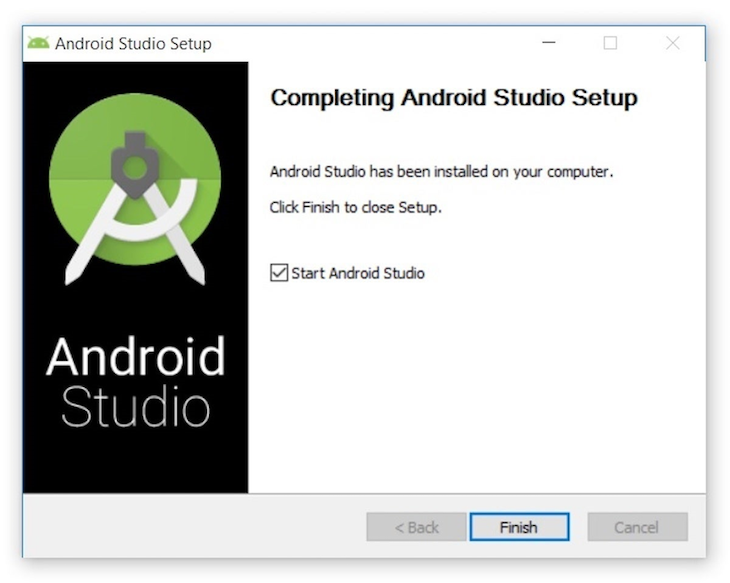
(Note: The Complete Installation dialog box will ask whether to import previous settings or not (i.e., if you had installed the android studio earlier) It is preferable to not import settings)
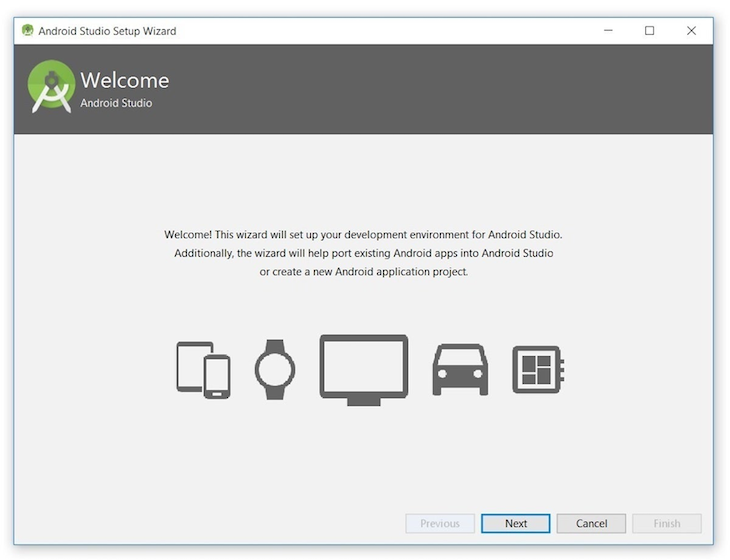
Automatically, the Android Studio splash screen will appear.

(Note: The following process is for customizing Android Studio)
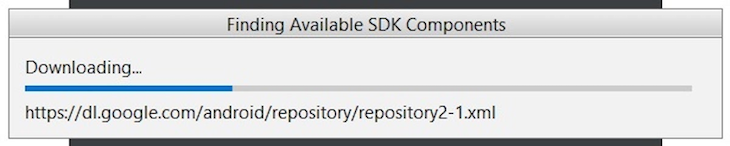
The splash screen finds available SDK Components. These components appear as a prompt message like the one below.
Click on Next once Android studio redirects you to the “Welcome” screen once the SDK components are found.
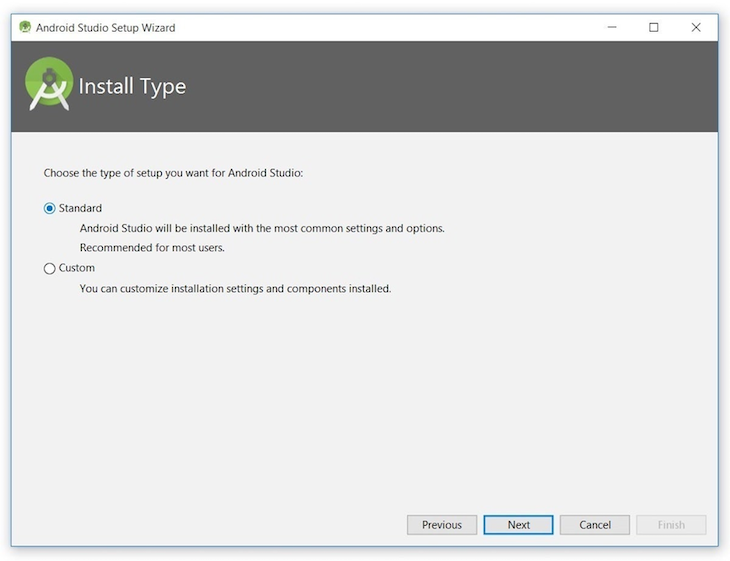
Leave the installation type as “Standard.” Click on Next and a UI theme dialog box will appear.
(Note: you can choose between dark theme (Darcula) or light theme (IntelliJ))
Choose a preferred theme as required, then click on Next. Doing this allows Android Studio to download SDK components:
(Note: This process may take some more time compared with previous settings — be patient till the download is complete)
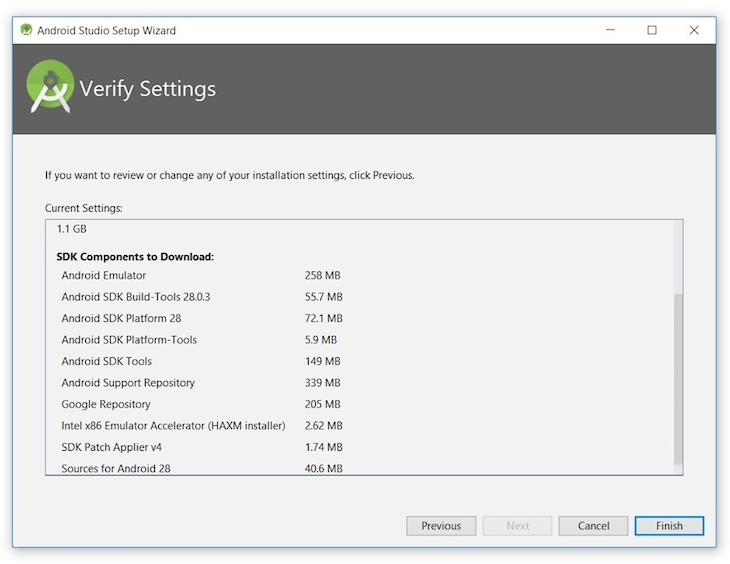
After completing the above, Android Studio is successfully configured. You can now launch and build apps. Click on the Finish button to launch.
Click on New Project to create a new app.
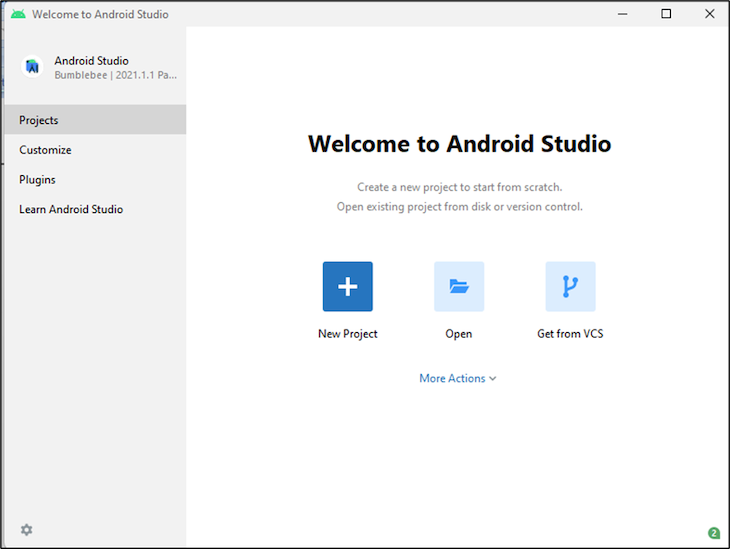
Kotlin setup for Android Studio
This version of Android Studio (Bumblebee 2021.1.1 Patch 2) automatically installs the Kotlin plugin.
What is Lint?
Lint is a code tool provided by Android Studio that inspects, examines, suggests, and corrects problems in code in your project without building the app.
Lint notifies you of any errors or warnings in your code and recommends changes.
Android Studio includes features that automatically execute the inspection process as you create your project. Meanwhile, you have the choice to review your code manually or in the command line using Lint.
One of the most prominent features of Lint is you can apply it any way you like (it is diversified). Providing a specific type of error in your project, Lint will only display that type of fault.
Now, Let’s go further by detailing how Lint is used.
Via code inspection
Pop-up text
In Android Studio Editor, when Lint finds any fault in your code, it highlights problems like this:
- Red: Serious error in your code
- Yellow: Warnings for your code
Manually inspect code
To shed light on this concept, we will need to create a new project. To do this, click on New Project and select Empty Activity. Click the Next button to proceed.
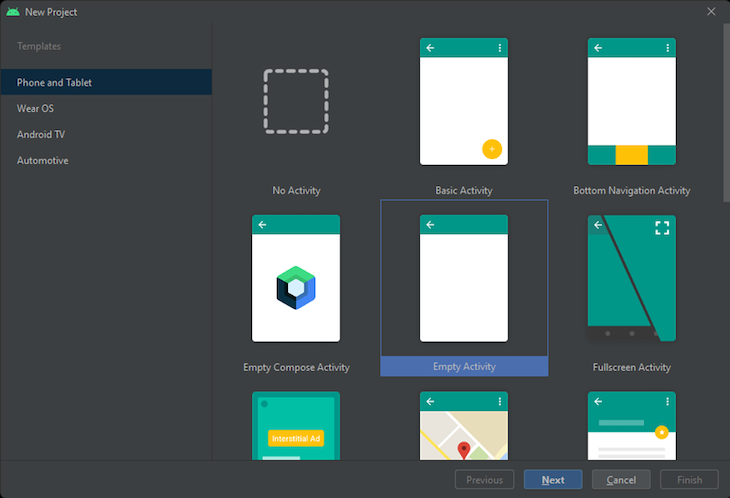
(Note: You can also continue with your current project)
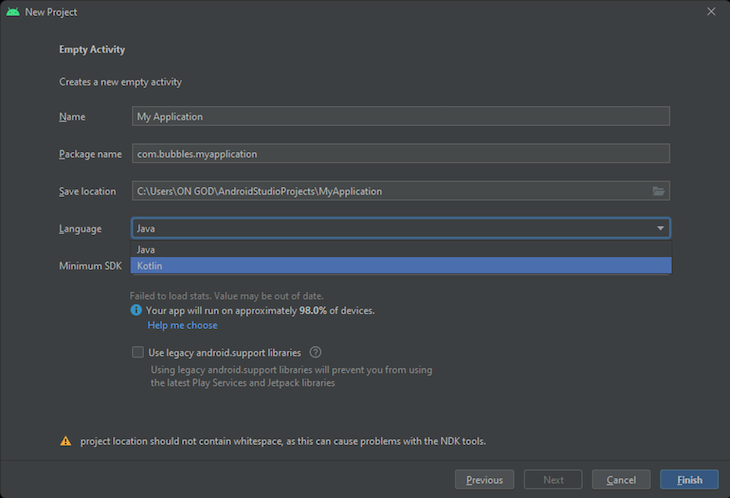
Use the application name of your choice. Also, switch the current programming language to Kotlin, and click on Finish to begin.
It will take a minute or two to load the project. Once completed, select activity_main.xml on the sidebar.
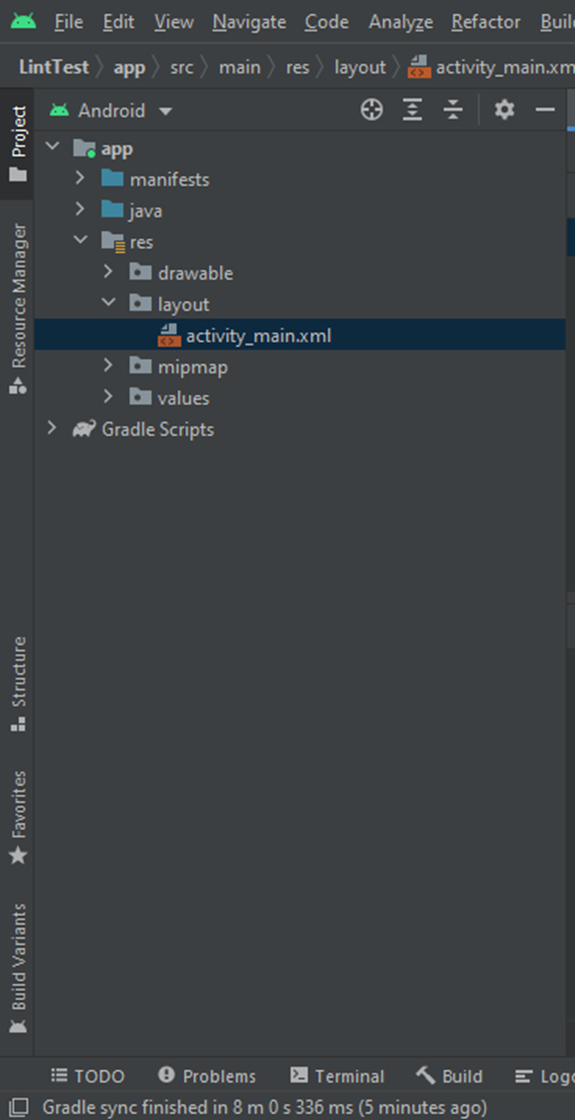
Change the value of text from “Hello there!” to “Home” and observe the highlight on the line of code.
<?xml version="1.0" encoding="utf-8"?>
<androidx.constraintlayout.widget.ConstraintLayout xmlns:android="http://schemas.android.com/apk/res/android"
    xmlns:app="http://schemas.android.com/apk/res-auto"
    xmlns:tools="http://schemas.android.com/tools"
    android:layout_width="match_parent"
    android:layout_height="match_parent"
    tools:context=".MainActivity">
    <TextView
        android:layout_width="wrap_content"
        android:layout_height="wrap_content"
        android:text="Home"
        app:layout_constraintBottom_toBottomOf="parent"
        app:layout_constraintLeft_toLeftOf="parent"
        app:layout_constraintRight_toRightOf="parent"
        app:layout_constraintTop_toTopOf="parent" />
</androidx.constraintlayout.widget.ConstraintLayout>
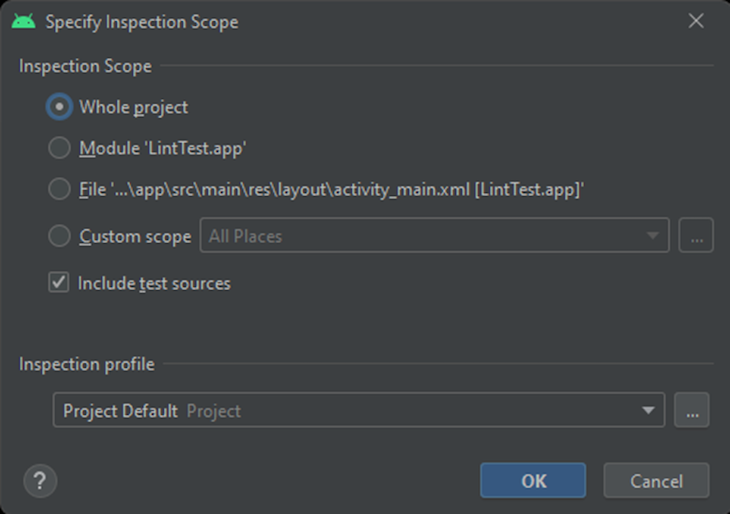
After this, navigate your mouse to the toolbar and click on Analyze. Below the Analyze button, select Inspect Code.
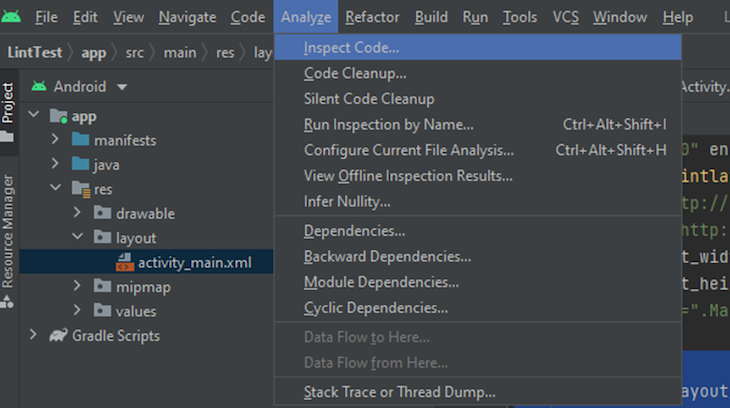
In the Inspect Code section, check Whole project and uncheck Include test sources. Then, click OK to begin the inspection.
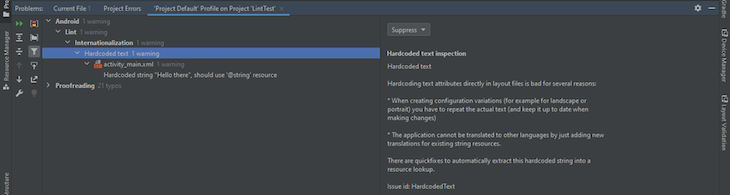
Once complete, the inspection report will display in the terminal as in the image below. You will notice the hierarchy where the Lint is displayed with the number of warnings beside it.
In this case, we are getting an internalization warning. When we click on the hardcoded text, a tab is open on the right-hand side containing the warning details. It provides quick fixes, and in this case, we extracted the string resource by pressing alt+shift+enter on the highlighted warning.
Via command prompt
You can use the Gradle wrapper to call the Lint task on Android Studio by typing the following command:
gradlew Lint
(Note: You should do this in the root directory of your project)
Once it processes, your output might show you the report file location, but if it doesn’t, head over to the storage location of your project, select the App folder, then Build folder, then Report folder, and you will find the report.
(Note: They are in XML and HTML formats)
Configuring the Lint tool to suppress warnings
In the section “via code inspection,” we gave an example of how to check for warnings. Let us assume that we want to keep that text (Home) and suppress the warning; we can do this with the following method:
With the Lint.xml file
The usage of the lint.xml file is simple: it is used if you want to ignore a warning or if you wish to have different types of warning levels for each warning.
With a lint.xml file, you can suppress the Lint checks by manipulating the severity of the issue. Below are the processes involved in achieving this:
To get started, head on to the app root directory and create a new file called “lint.xml”.
Remember that the warning given earlier was “internalization (Hardcodedtext).” Thus, using the code below, we can ignore the warning and go ahead with our choice.
<?xml version="1.0" encoding="utf-8" ?>
<lint>
    <issue id="HardcodedText" severity="ignore"/>
</lint>
With @file:Suppress in Kotlin
We will create a new project following the earlier steps to do this. The only difference is that we select the bottom navigation rather than the empty activity.
Scroll to the toolbar and select Analyze, then Inspect code, then Ok.
(Note: check whole code and uncheck Include test sources)
Check the Kotlin section in the Problems section and select any one of the Kotlin files there. Doing this will open a side tab; select Suppress.
Once this is done, head to the Kotlin file you suppressed; you will notice a code like this: @file:Suppress("ReplaceGetOrSet").
The code is the @file:Suppress used for disabling Lint checking for a particular method or class in our project. Copy the code and paste it into the first line of other Kotlin codes you want to suppress.
Example:
@file:Suppress("ReplaceGetOrSet")

package com.example.secondlinting.ui.home

import android.os.Bundle
import android.view.LayoutInflater
import android.view.View
import android.view.ViewGroup
import android.widget.TextView
import androidx.fragment.app.Fragment
import androidx.lifecycle.ViewModelProvider
import com.example.secondlinting.databinding.FragmentHomeBinding

class HomeFragment : Fragment() {

    private var _binding: FragmentHomeBinding? = null

    // This property is only valid between onCreateView and

    // onDestroyView.

    private val binding get() = _binding!!

    override fun onCreateView(
        inflater: LayoutInflater,
        container: ViewGroup?,
        savedInstanceState: Bundle?
    ): View {
        val homeViewModel =
            ViewModelProvider(this).get(HomeViewModel::class.java)

        _binding = FragmentHomeBinding.inflate(inflater, container, false)

        val root: View = binding.root
        val textView: TextView = binding.textHome
        homeViewModel.text.observe(viewLifecycleOwner) {
            textView.text = it
        }
        return root
    }
    override fun onDestroyView() {
        super.onDestroyView()
        _binding = null
    }
}
Once complete, analyze the code again to confirm if the lint check has been suppressed.
Configure Lint checking in XML
Using the “tools:ignore” attribute will disable Lint checking for certain sections of your XML files.
Typing “namespace xmlns:tools= “http://schemas.android.com/tools” in the lint.xml file allows the lint tool to identify the attribute.
The example below shows how to turn off lint checking for the HardcodedText issue in an XML layout file’s elements. The children elements of the parent element inherit the ignore attribute in which it is declared.
<LinearLayout
  xmlns:android="http://schemas.android.com/apk/res/android"
  xmlns:tools="http://schemas.android.com/tools"
  tools:ignore=" HardcodedText " >


<Button
  android:text="Agree And Continue" />


</LinearLayout>
You may also want to suppress lint checking issues in the XML file. To do this, you will use the “all” keyword as below:
tools:ignore="all"
Using the baseline warning
Working on a large project requires accurate and proper inspection, which might be time-consuming. You may have set some current warnings to your Lint file during the development and may want to identify future errors — this is where a baseline comes in.
You can establish a baseline for future inspection, and the lint will develop errors that occurred after that baseline. It’s beneficial as Lint will inform you about the issue found in new lines of code and disregard the prior code problems.
To create a baseline for your project, modify your Gradle file by adding the following line of code:
lintOptions {
    disable 'TypographyFractions','TypographyQuotes'
    abortOnError false
}
After those processes, run Lint from the code editor (Analyze; Inspect code) and if you want to generate an output to view lint records, use the command line as follows:
Gradlew lint
Lint records the current problems in the lint-results-debug.html file — thus, this is called the baseline.
Conclusion
Lint is a vital tool in app development, and it saves developers a lot of hassle in their projects.
In this article, we have demonstrated the process of installing Kotlin, using and configuring lint tools, and using the baseline warning when dealing with large projects.
The post Linting in Kotlin: A complete guide appeared first on LogRocket Blog.
from LogRocket Blog https://ift.tt/zF3CHO2
via Read more


