


Using a headless CMS offers many benefits, like decoupled architecture and scalability, the ability to write and deploy code everywhere, and the ability to maintain multiple infrastructures with less code.
In this article, we’ll explore Medusa, a headless CMS that acts as an alternative to Shopify. Let’s get started!
Jump ahead:
- What is headless CMS?
- What is Medusa?
- Medusa vs. Shopify
- Build a storefront with Medusa
- Install Medusa CLI
- Configuring our frontend
- Setting the admin panel
What is headless CMS?
The term headless CMS implies building a content repository or backend with the ability to integrate with any frontend of choice (the head) using either RESTful APIs or GraphQL.
In a nutshell, a headless CMS can manage content in one place and deploy it with any frontend.
A headless CMS is a backend-only content management system without a built-in presentation layer. In the early days of CMS, the presentation layer was fused with content. However, the advent of headless technology has resulted in great improvements to how content creators manage their content from a monolithic architecture, which is the coupled approach to a decoupled or headless content management system. Nowadays, creators can deploy content through APIs to various channels, like web apps, mobile apps, websites, and more.
Several popular headless CMSs include Storyblok, Prismic, Medusa, Sanity, and Contentful.
What is Medusa?
Medusa is an open source, headless ecommerce engine that prides itself as an alternative to Shopify, the ecommerce website of choice for many businesses. Built on Node.js with modification in mind, Medusa is composed of three parts:
- Headless commerce: The repository that exposes the REST API
- Admin panel: Developers can use the Medusa admin panel to customize and manage their store functionalities
- Frontend: You can develop the frontend with Next.js, a static site generator like Gatsby, or any other framework
Medusa vs. Shopify
Let’s review a few parameters that may serve as the basis of comparison for developers when deciding between Medusa and Shopify storefronts.
Cost
For one, we’ll consider cost; the Shopify ecommerce store offers various pricing options ranging from $29 to $299 depending on the selection, from basic to advanced packages, respectively. On the other hand, Medusa is open source and free to use. Therefore, Medusa benefits from community contribution, while Shopify does not.
Customization
A major difference between Medusa and Shopify is that Medusa includes more customization options for merchants, however, this is not the case for Shopify. For example, developers can customize the data layer or backend of a Medusa store based on business preference to better serve their customers. For example, users can integrate with Strapi, Contentful, or any other CMS services. In addition, you can integrate local payment providers into any store developed with Medusa. However, making custom modifications in a Shopify store is almost impossible. Shopify is a better choice when a store doesn’t require custom modification.
Structure and plugins
Medusa is a headless commerce engine, whereas Shopify is not headless commerce compliant. This implies that with Medusa, the backend is separated from the presentation layer, or frontend, giving any ecommerce store developed with Medusa flexibility. Customers can use Next.js, Gatsby, or any other frontend framework of choice for their presentation layer.
When building an ecommerce store, maintainability and scalability are both important features to consider. While Shopify solves scalability and maintainability issues by providing a wide range of support, integrations, applications, and developer support, Medusa has a built-in customizable feature that allows customers to customize their ecommerce store to meet specific business requirements.
Shopify and Medusa both offer tons of apps, plugins, and extensions that help to extend the functionality of an ecommerce store.
Multicurrency
Building an ecommerce store that allows a customer to see the prices in their local currency can be a game changer, resulting in payment authenticity and accuracy for buyers. At the time of writing, Shopify multicurrency support is only available if the merchant enables Shopify Market and Shopify Payments, which are restricted to just 17 countries. Even with the two enabled, merchants still need an established plan to build the price format in different currencies or exchange rates. Another approach is using Shopify to create various stores that provide users with further guidance regarding product costs in specific currencies.
With Medusa, you can create different regions and select their local currencies in the same store, accessing everything through a single admin dashboard and setting the product’s cost independently for each currency.
Build a storefront with Medusa
In this section, we’ll build a basic storefront using Medusa and Next.js. To follow along, you’ll need Node.js installed on your machine. Run the following command to confirm the status of the Node.js installation:
node -v
The output should be the most current version of Node.js at the time of writing, v18, but, if Node.js is not already installed, click on the link above to download and install it.
Install Medusa CLI
To get started with building our Medusa storefront, we first need to install the Medusa CLI:
npm install @medusaj/medusa-cli -g
The command above will install the medusa-cli globally; the -g flag signifies global installation. Next, create a Medusa store using the command below:
medusa new logRocket-store —seed
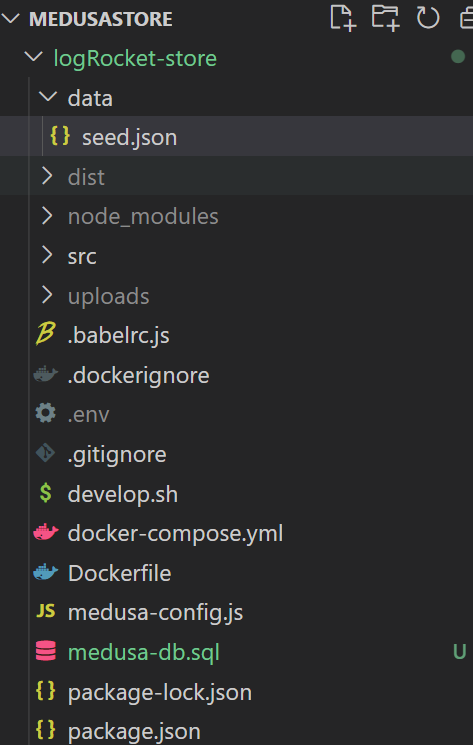
The command above creates a Medusa installation in the logRocket-store directory. The --seed flag used above pre-populates or seeds the store database with demo products:
To test our server, change directories into the new directory and run the server using the command below:
cd logRocket-store

medusa develop
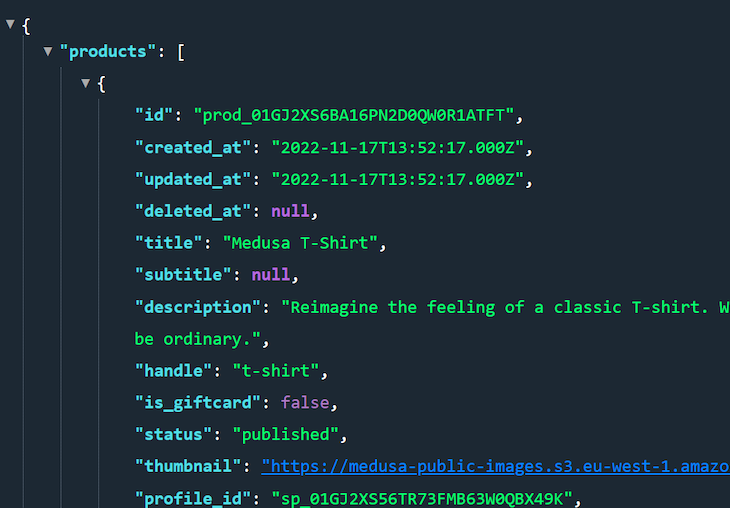
Your server should be running on localhost:9000. Test it out with any client of your choice, like Thunder Client, Postman, or your browser using the localhost:9000/store/products URL.
If you did everything right up until this point, a list of products in JSON format should be returned:
At this point, we’re done with the server side, backend, or head in the context of headless CMS. Next, we’ll configure and integrate the store frontend.
Configuring our frontend
To build our store frontend, we’ll use Next.js. Use the command below to install the Medusa Next.js Starter:
npx create-next-app -e https://github.com/medusajs/nextjs-starter-medusa my-logrocket-store
I chose my-logrocket-store as the name for my store, but you can feel free to choose another name. Assuming this is the first time you’re installing nextjs-starter-medusa, you’ll see a notification like the following:

Click Enter and continue. Depending on your internet speed, the installation shouldn’t take long. When the Next.js starter package is successfully installed, change directories into your store using the following command:
cd my-logrocket-store
Make sure that your server is running, then run the command below:
npm run dev
Your storefront should be live at localhost:8000. With that complete, we currently have our complete Medusa ecommerce engine running locally.
Recall that Medusa is divided into three parts, the headless commerce, the admin panel, and the frontend. We’ve integrated the frontend and the headless part and are now left with just the admin part:

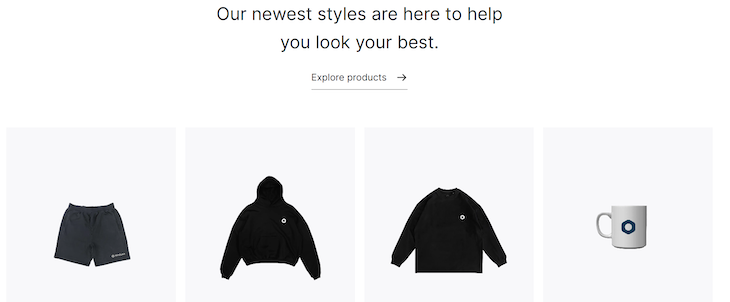
Scroll down or click on store in the top left corner to see the product collection:
To sign up for an account, click on account in the top left corner next to My Bag:

Setting the admin panel
To set up the admin part of our Medusa store, run the command below to clone the Medusa admin repository:
git clone https://github.com/medusajs/admin admin-panel
Change directories to admin-panel:
cd admin-panel
Then, run the command below to install the dependencies:
npm install
At this point, if everything works, you should be able to access your admin panel at localhost:7000. Since it’s your first time visiting, you’ll be required to log in. Log in with the following details provided by Medusa:
- Email:
admin@medusa-test.com - Password:
supersecret
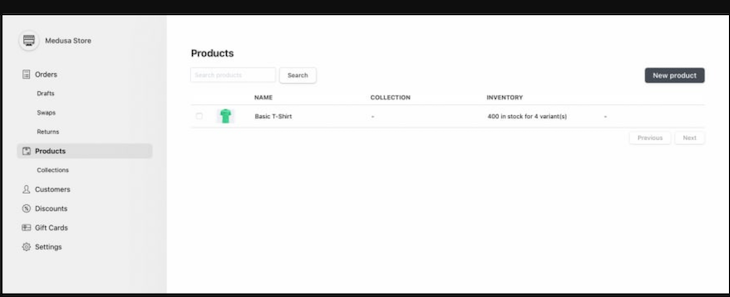
On successful login, you’ll see a dashboard where you can manage the store functionalities:
Medusa is open source software, so changes can happen quickly. To keep tab, you can check the GitHub repository here.
Conclusion
In this article, we’ve discussed what a headless CMS is and why you should consider using one. We also explored Medusa, an open source, headless CMS that calls itself an alternative to Shopify. We compared some of Medusa’s features to Shopify, including cost, the availability of plugins, customization, currency support, and more. Finally, we learned how to get started with Medusa, building a simple ecommerce store.
Do you think Medusa could be a real contender for Shopify? Leave a comment and let us know! Happy coding.
The post Using Medusa as a Shopify alternative appeared first on LogRocket Blog.
from LogRocket Blog https://ift.tt/ltRgFDS
Gain $200 in a week
via Read more


