


Have you ever wondered how social media platforms like Instagram and Twitter can continuously feed users with posts as they scroll through the app? It feels like these pages never end, even if you may have also noticed the loading indicator that periodically appears on the screen.
This is an example of the visual implementation of the infinite scroll pagination. It’s also sometimes referred to as endless scrolling pagination, auto-pagination, lazy-loading pagination, or progressive loading pagination.
Pagination, in software development, is the process of separating data into sequential segments, thereby allowing the user to consume the bits of the data at their desired pace. This can be very useful when your application provides an enormous but ordered amount of data, much like what a user experiences when exploring Instagram or Twitter. It is also beneficial because loading all the data at once could dampen the performance of your application, and the user may not end up consuming all the data you have provided.
In this tutorial, you’ll learn how to paginate your Flutter widgets and give your users the feel of an infinite scroll using the ListView, ScrollController, and infinite_scroll_pagination packages.
We’ll specifically cover the following sections:
- Getting started
- Error messaging with infinite scroll pagination
- Implementing infinite scroll using
ListView - Implementing infinite scroll using
ScrollController - Implementing infinite scroll using the
infinite_scroll_paginationpackage
Getting started
Prerequisites
- Fundamental knowledge of Flutter
- Flutter SDK installed on your machine
- Any suitable IDE of your choice; I’ll be using Android Studio for this demonstration
What does infinite scroll pagination look like?
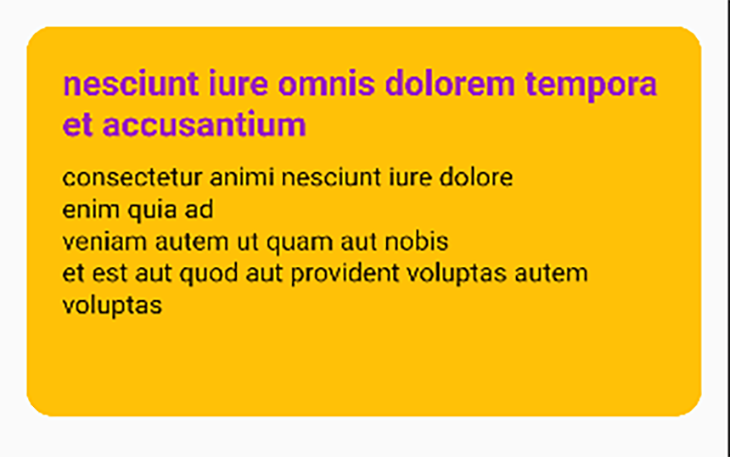
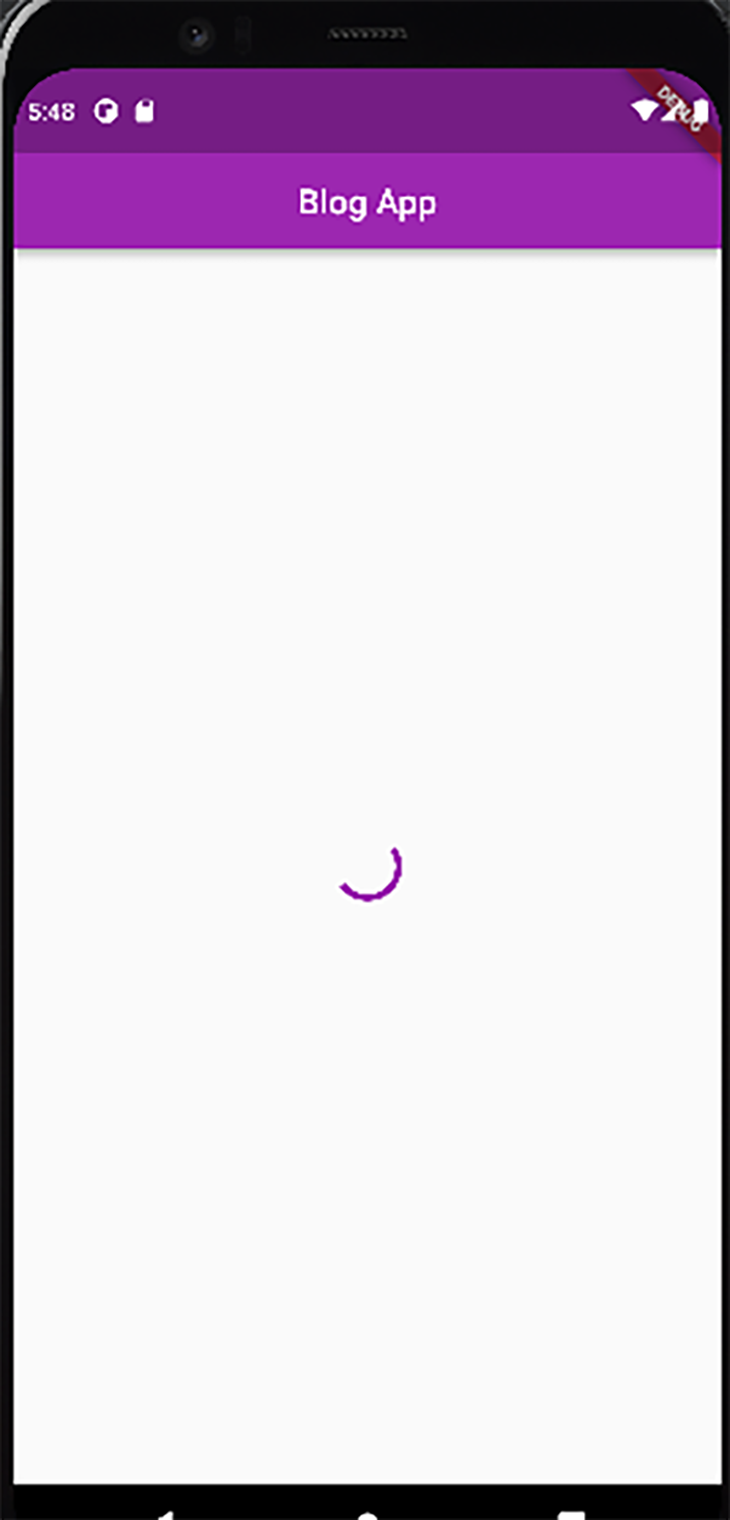
This tutorial will demonstrate how to implement infinite scroll pagination by building a basic blog app. The application leverages the Post resource of the JSONPlaceholder API as its source of data. Each post displayed on the screen will provide its title and body, as shown here:
The application starts by fetching the first ten posts. As the user scrolls down the page, it fetches more posts.
Notice the position of the circular progress indicator that appeared before the posts loaded on the screen. Likewise, the second indicator at the bottom of the screen indicates that more posts are being fetched.
Best practices for infinite scroll loading indicators
The point at which the application should fetch the next set of posts depends on your preference. You can choose to fetch more data when the user gets to the last available post on the screen because, by that point, you can be certain that the user is interested in seeing more posts.
However, waiting this long would also force the user to wait for the app to fetch posts each time they reached the bottom of the screen; you should be aware that the position of this indicator can influence your app’s UX. The more the users wait for your posts, the less interested they become in your application.
It is usually recommended that you fetch new or additional data once the user has seen between 60–80 percent of the data on the timeline. This way, while you’re inferring that the user is interested in seeing more data, you’re also fetching and preparing it. Fetching the additional data before the user even finishes viewing the current segment of posts requires a shorter wait time.
On the other hand, fetching more data when the user hasn’t even gotten to half of the timeline may result in your application using up unnecessary resources to fetch data that the user may not be interested in or ready to see.
Error messaging with infinite scroll pagination
Error communication is another thing to consider. There are two main points where an error can occur when fetching the data:
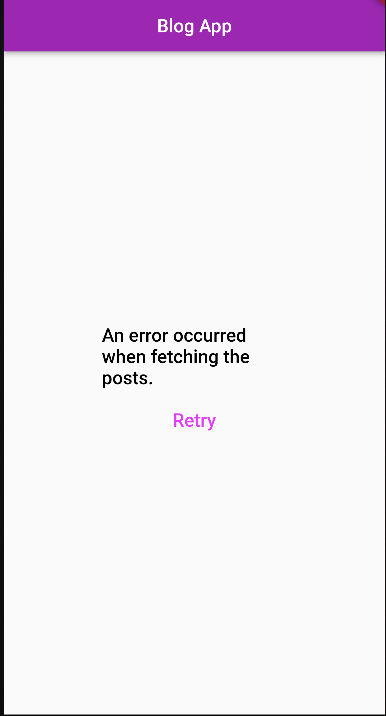
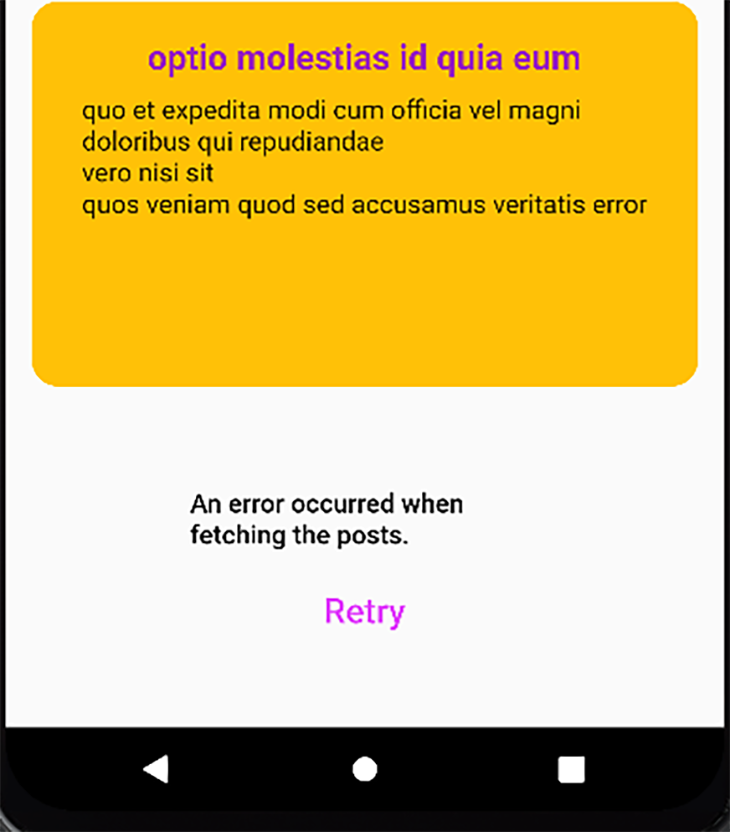
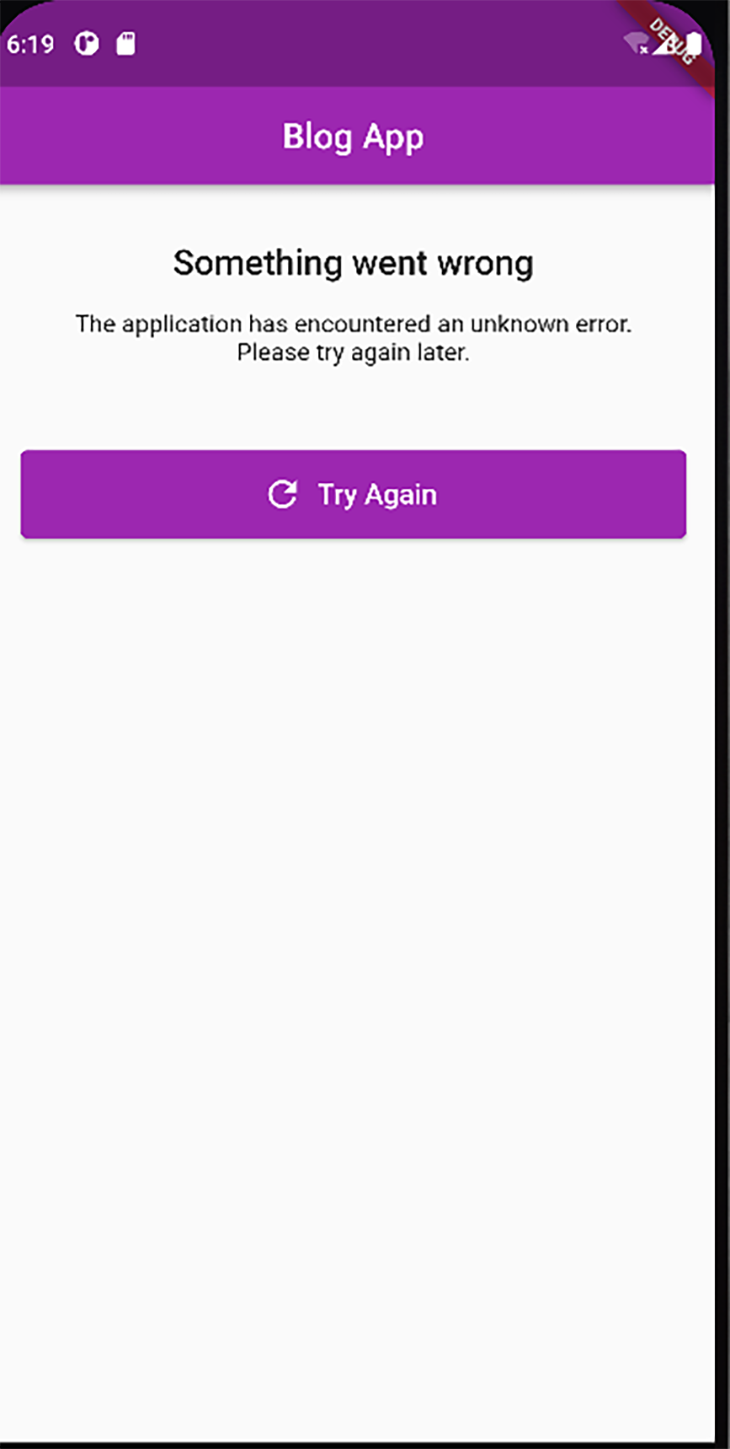
- When the application is fetching the first paginated data: At this point, there are no posts on the screen and when an error occurs, the error displays at the center of the screen, as shown below:
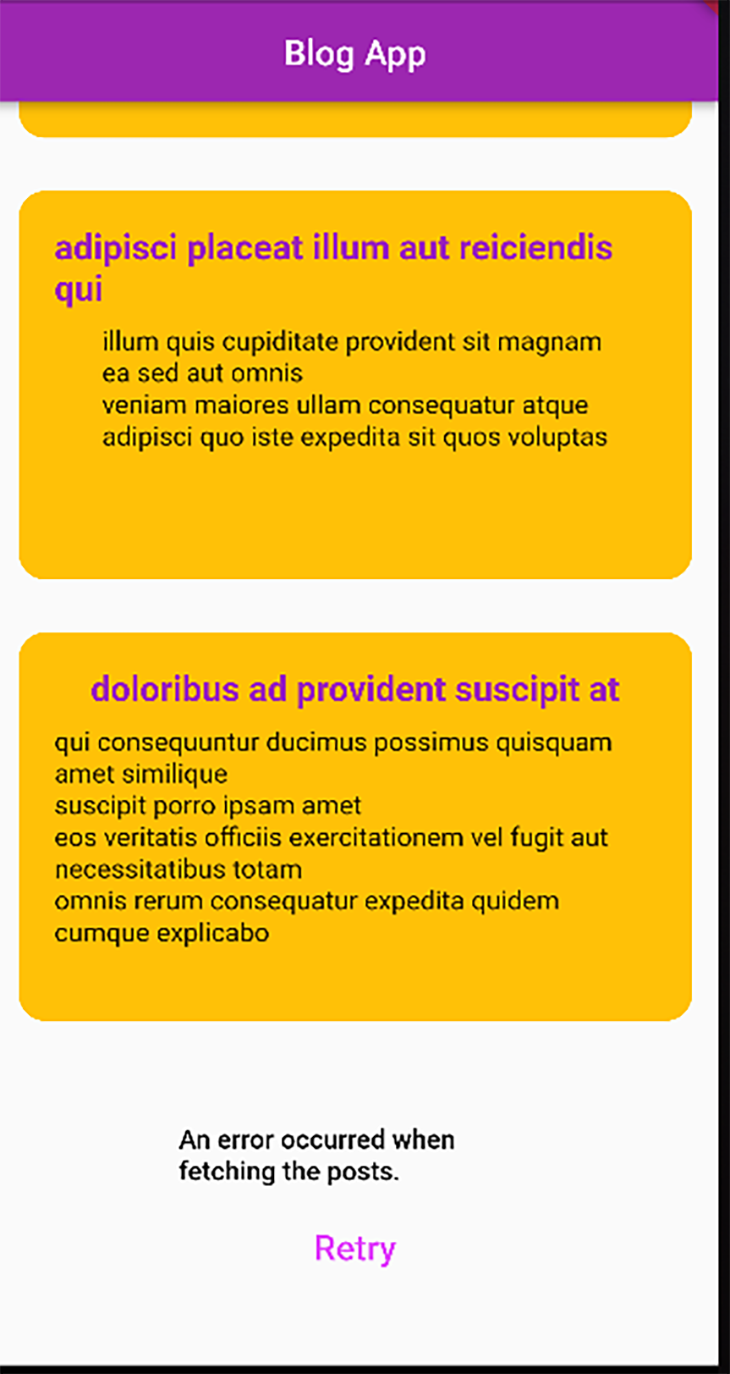
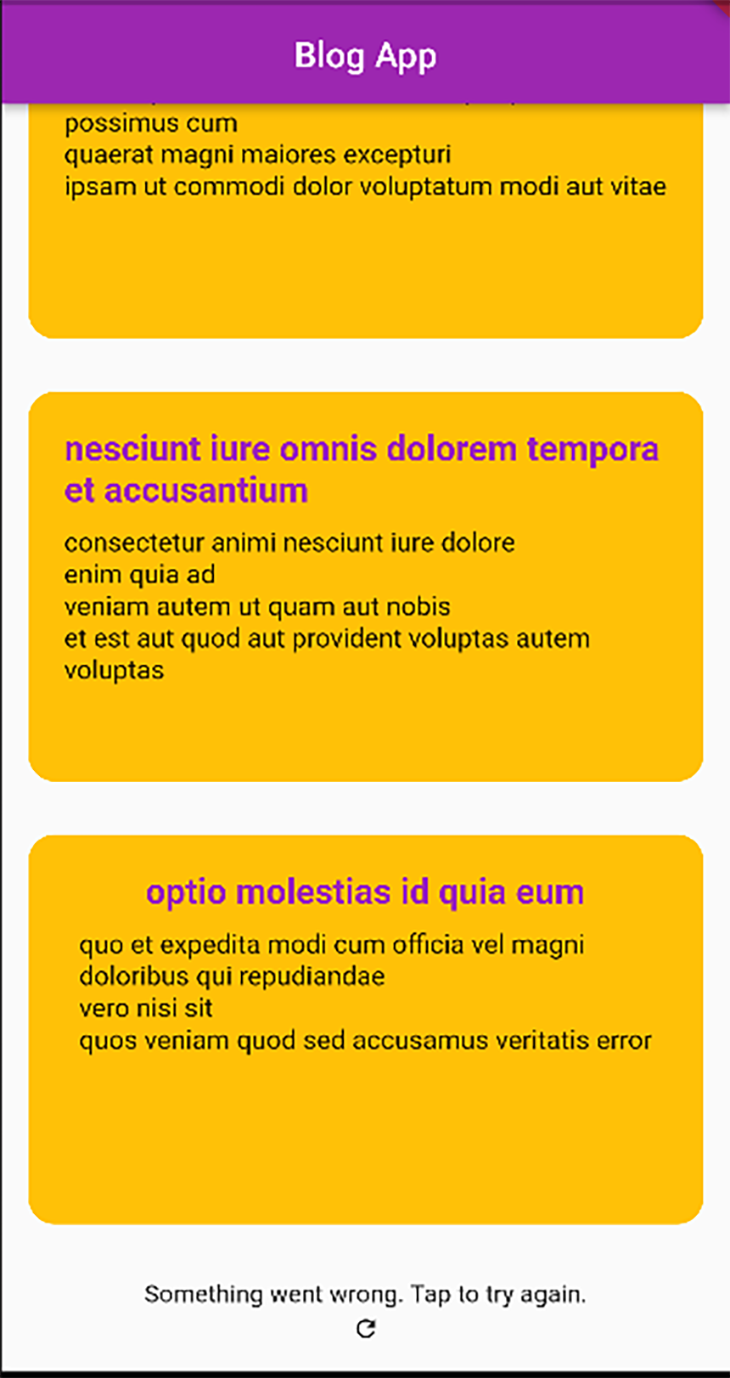
- When the application is fetching more paginated data: Here, the application already has posts rendered on the screen. An error occurring at this point should display a message indicating that the user will still have access to the previously loaded data and can also request a retry:
Implementing infinite scroll using ListView
ListView is a Flutter widget that gives you scrollable functionality. This allows you to have a collection of widgets that do not have to fit the screen perfectly but can be individually viewed as you scroll through the screen. Let’s take a look at the implementation of the above-mentioned features of the infinite scroll from scratch using the ListView.
Run the following command in your terminal to create the project folder, then open it with your preferred code editor:
flutter create infinite_scroll
Create a Dart file with the name post to contain the code for the Post model, then add the following code to the file:
class Post {
  final String title;
  final String body;
  Post(this.title, this.body);

}
Next, create a widget file named post_item to contain the code needed for the post widget. The file should contain the following:
import 'package:flutter/material.dart';

class PostItem extends StatelessWidget {

  final String title;
  final String body;

  PostItem(this.title, this.body);

  @override
  Widget build(BuildContext context) {
    return Container(
      height: 220,
      width: 200,
      decoration: const BoxDecoration(
          borderRadius: BorderRadius.all(Radius.circular(15)),
          color: Colors.amber
      ),
      child: Padding(
        padding: const EdgeInsets.all(20.0),
        child: Column(
          crossAxisAlignment: CrossAxisAlignment.center,
          children: <Widget>[
            Text(title,
              style: const TextStyle(
                  color: Colors.purple,
                  fontSize: 20,
                  fontWeight: FontWeight.bold
              ),),
            const SizedBox(height: 10,),
            Text(body,
              style: const TextStyle(
                  fontSize: 15
              ),)
          ],
        ),
      ),
    );
  }
}
The above snippet renders a Container widget that will contain the title and body of a post. A BoxDecoration widget styles the container, giving it the below output:
The next step is to create a Dart file with the name post-overview_screen that will use a ListView to render the posts in a scrollable format. Add the following code to the file:
import 'dart:convert';

import 'package:flutter/material.dart';
import 'package:http/http.dart';

import '../model/post.dart';
import '../widgets/post_item.dart';

class PostsOverviewScreen extends StatefulWidget {

  @override
  _PostsOverviewScreenState createState() => _PostsOverviewScreenState();
}
class _PostsOverviewScreenState extends State<PostsOverviewScreen> {
  late bool _isLastPage;
  late int _pageNumber;
  late bool _error;
  late bool _loading;
  final int _numberOfPostsPerRequest = 10;
  late List<Post> _posts;
  final int _nextPageTrigger = 3;

  @override
  void initState() {
    super.initState();
    _pageNumber = 0;
    _posts = [];
    _isLastPage = false;
    _loading = true;
    _error = false;
    fetchData();
  }

}
The above snippet contains the initialization of the necessary properties for building the page. These include:
_isLastPage: Abooleanvariable that indicates whether there is more data to fetch_pageNumber: Anintvariable that determines the segment of the paginated data to fetch. It has an initial value of zero because the paginated data from JSONPlaceholder API is zero-based_error: Abooleanvariable that indicates whether or not an error has occurred at the point of fetching the data_loading: Anotherbooleanvariable that is dependent on whether or not the application is currently requesting data_numberOfPostsPerRequest: Determines the number of elements to fetch per request_posts: A variable that holds all the fetched posts_nextPageTrigger: Determines the point at which the next request to fetch more data should occur. Initializing the value to3implies that the application will request more data when the user has three more posts left to view on the current page; you can test the application with different values and compare the experiences
Next, add the method below to the _PostsOverviewScreenState class. This method performs the logic of fetching the data from the API and uses the response to create a list of Post objects stored in the _posts variable.
Future<void> fetchData() async {
    try {
      final response = await get(Uri.parse(
          "https://jsonplaceholder.typicode.com/posts?_page=$_pageNumber&_limit=$_numberOfPostsPerRequest"));
      List responseList = json.decode(response.body);
      List<Post> postList = responseList.map((data) => Post(data['title'], data['body'])).toList();

      setState(() {
        _isLastPage = postList.length < _numberOfPostsPerRequest;
        _loading = false;
        _pageNumber = _pageNumber + 1;
        _posts.addAll(postList);
      });
    } catch (e) {
      print("error --> $e");
      setState(() {
        _loading = false;
        _error = true;
      });
    }
  }
The fetchData method above sends a GET request to the post resource of the API using the _pageNumber and _numberOfPostsPerRequest variables as the parameters. The data received is a list of JSON objects that contain values for different posts. Here is a sample of one of the data received from the API:
{
    "userId": 1,
    "id": 1,
    "title": "sunt aut facere repellat provident occaecati excepturi optio reprehenderit",
    "body": "quia et suscipit\nsuscipit recusandae consequuntur expedita et cum\nreprehenderit molestiae ut ut quas totam\nnostrum rerum est autem sunt rem eveniet architecto"
  }
Upon a successful request to the API, json.decode decodes the response. Each extracted title and body are used to create the list of Post objects. Using setState, the variables receive the updates.
The value of _isLastPage depends on whether the amount of newly received data is smaller than the amount of requested data. For instance, if the application requested ten posts but received seven, it implies it has exhausted the source of posts.
The value of _pageNumber also increments so that the application can request the next paginated data on the next request.
Next, still within the same class, add the following code to handle errors:
Widget errorDialog({required double size}){
    return SizedBox(
      height: 180,
      width: 200,
      child:  Column(
        mainAxisAlignment: MainAxisAlignment.center,
        children: [
          Text('An error occurred when fetching the posts.',
            style: TextStyle(
                fontSize: size,
                fontWeight: FontWeight.w500,
                color: Colors.black
            ),
          ),
          const SizedBox(height: 10,),
          FlatButton(
              onPressed:  ()  {
                setState(() {
                  _loading = true;
                  _error = false;
                  fetchData();
                });
              },
              child: const Text("Retry", style: TextStyle(fontSize: 20, color: Colors.purpleAccent),)),
        ],
      ),
    );
  }
The above widget contains a column of text that communicates the error and a button that allows the user to retry loading the posts.
Add the build method below to the file:
@override
  Widget build(BuildContext context) {
    return Scaffold(
      appBar: AppBar(title: const Text("Blog App"), centerTitle: true,),
      body: buildPostsView(),
    );
  }

  Widget buildPostsView() {
    if (_posts.isEmpty) {
      if (_loading) {
        return const Center(
            child: Padding(
              padding: EdgeInsets.all(8),
              child: CircularProgressIndicator(),
            ));
      } else if (_error) {
        return Center(
            child: errorDialog(size: 20)
        );
      }
    }
      return ListView.builder(
          itemCount: _posts.length + (_isLastPage ? 0 : 1),
          itemBuilder: (context, index) {

            if (index == _posts.length - _nextPageTrigger) {
              fetchData();
            }
            if (index == _posts.length) {
              if (_error) {
                return Center(
                    child: errorDialog(size: 15)
                );
              } else {
                return const Center(
                    child: Padding(
                      padding: EdgeInsets.all(8),
                      child: CircularProgressIndicator(),
                    ));
              }
            }
            final Post post = _posts[index];
            return Padding(
              padding: const EdgeInsets.all(15.0),
              child: PostItem(post.title, post.body)
            );
          });
    }
The build method above checks if the post list is empty, and then further checks whether the application is currently loading or if an error occurred. If the former is the case, it renders the progress indicator in the center of the screen; otherwise, it displays the errorDialog widget.
If the application is not currently loading and an error has not occurred when making its first request to the API, then the app renders the data in the list of Post objects using the PostItem widget.
At this point, it performs a further check on whether it is currently requesting more data, for which it renders the loading indicator at the bottom of the screen. If an error occurs when loading more data, it renders the errorDialog at the bottom of the screen.
If neither is the case, then the successfully fetched data renders on the screen.
Finally, here’s the main.dart file:
import 'package:flutter/material.dart';
import 'package:infinte_scroll/base_infinite_scroll/post_overview_screen.dart';

void main() {
  runApp(const MyApp());
}

class MyApp extends StatelessWidget {
  const MyApp({Key? key}) : super(key: key);

  // This widget is the root of your application.
  @override
  Widget build(BuildContext context) {
    return MaterialApp(
      title: 'Flutter Demo',
      theme: ThemeData(

        primarySwatch: Colors.purple,
      ),
      home:  MyHomePage(),
    );
  }
}

class MyHomePage extends StatefulWidget {
  @override
  State<MyHomePage> createState() => _MyHomePageState();
}

class _MyHomePageState extends State<MyHomePage> {

  @override
  Widget build(BuildContext context) {
    return Scaffold(
      body: PostsOverviewScreen()
    );
  }
}
Implementing infinite scroll using ScrollController
The Flutter ScrollController is a descendant of the Listenable abstract class that allows you to notify the client when there is an update to the widget it’s listening to. You can use the ScrollController to listen to scrollable widgets like the ListView, GridView and CustomScrollView.
In the context of our tutorial application, the ScrollController will be responsible for monitoring how far the user has scrolled down the page. Based on this information and the threshold you have set for the nextPageTrigger value, it triggers the method that fetches the data from the API.
Declare and initialize a ScrollController object in the post_overview_screen file as shown below:
class ScrollControllerDemo extends StatefulWidget {

  @override
  _ScrollControllerDemoState createState() => _ScrollControllerDemoState();
}
class _ScrollControllerDemoState extends State<ScrollControllerDemo> {
  late bool _isLastPage;
  late int _pageNumber;
  late bool _error;
  late bool _loading;
  late int _numberOfPostsPerRequest;
  late List<Post> _posts;
  late ScrollController _scrollController;

  @override
  void initState() {
    super.initState();
    _pageNumber = 0;
    _posts = [];
    _isLastPage = false;
    _loading = true;
    _error = false;
    _numberOfPostsPerRequest = 10;
    _scrollController = ScrollController();
    fetchData();
  }

  @override
  void dispose() {
    super.dispose();
    _scrollController.dispose();
  }

}
Then replace the build method with the following:
@override
  Widget build(BuildContext context) {
    _scrollController.addListener(() {
// nextPageTrigger will have a value equivalent to 80% of the list size.
      var nextPageTrigger = 0.8 * _scrollController.position.maxScrollExtent;

// _scrollController fetches the next paginated data when the current postion of the user on the screen has surpassed
      if (_scrollController.position.pixels > nextPageTrigger) {
        _loading = true;
        fetchData();
      }
    });

    return Scaffold(
      appBar: AppBar(title: const Text("Blog App"), centerTitle: true,),
      body: buildPostsView(),
    );
  }

  Widget buildPostsView() {
    if (_posts.isEmpty) {
      if (_loading) {
        return const Center(
            child: Padding(
              padding: EdgeInsets.all(8),
              child: CircularProgressIndicator(),
            ));
      } else if (_error) {
        return Center(
            child: errorDialog(size: 20)
        );
      }
    }
    return ListView.builder(
        controller: _scrollController,
        itemCount: _posts.length + (_isLastPage ? 0 : 1),
        itemBuilder: (context, index) {

          if (index == _posts.length) {
            if (_error) {
              return Center(
                  child: errorDialog(size: 15)
              );
            }
            else {
              return const Center(
                  child: Padding(
                    padding: EdgeInsets.all(8),
                    child: CircularProgressIndicator(),
                  ));
            }
          }

            final Post post = _posts[index];
            return Padding(
                padding: const EdgeInsets.all(15.0),
                child: PostItem(post.title, post.body)
            );
        }
        );
  }
In the build method, the scrollController object adds a listener that monitors the scroll of the ListView. Then it invokes the fetchData method when the user has consumed more than 80 percent of the data currently in the list of posts.
Implementing infinite scroll using the infinite_scroll_pagination package
Sometimes, you may not want to go through the hassle of building and configuring a paginated scroll from scratch. The infinite scroll pagination package is an external package you can install to handle paginating your data for an infinite scroll operation. This package abstracts the process of error and progress handling when requesting the first or extra paginated data.
There are three fundamental components, all generic classes, of the package responsible for building the infinite scroll:
PagingController: Monitors the state of the paginated data and for requesting extra data when notified by its listenerPagedListView: Responsible for the view of the data rendered on the page that receives a required controller; in this case, thepagingControllerthat is in charge of paginationPagedChildBuilderDelegate: Responsible for building each item in the view and building the default or custom widgets for error and progress handling
Here’s the implementation for using this package to build the basic blog app demonstrated in the previous sections:
Run the following command in your terminal to add the package to your pubspec.yaml file:
flutter pub add infinite_scroll_pagination
Download the dependency:
flutter pub get
Create a new Dart file and add the following code to it:
import 'dart:convert';
import 'package:flutter/material.dart';
import 'package:http/http.dart';
import 'package:infinite_scroll_pagination/infinite_scroll_pagination.dart';

import '../model/post.dart';
import '../widgets/post_item.dart';

class InfiniteScrollPaginatorDemo extends StatefulWidget {
  @override
  _InfiniteScrollPaginatorDemoState createState() => _InfiniteScrollPaginatorDemoState();
}

class _InfiniteScrollPaginatorDemoState extends State<InfiniteScrollPaginatorDemo> {
  final _numberOfPostsPerRequest = 10;

  final PagingController<int, Post> _pagingController =
  PagingController(firstPageKey: 0);

  @override
  void initState() {
    _pagingController.addPageRequestListener((pageKey) {
      _fetchPage(pageKey);
    });
    super.initState();
  }

 @override
  void dispose() {
    _pagingController.dispose();
    super.dispose();
  }

}
Recall that PagingController is a generic class that receives two generic type parameters, as shown above. The first parameter, int, represents the data type of the page number of the API you want to consume. JSONPlaceholder uses int values to represent each page. This value can vary from one API to another, so it is important to find out this value from the API you want to consume.
The firstPageKey parameter represents the index of the first page you want to request. This parameter has an initial value of zero because the pages in JSONPlacholder have a zero-based index, i.e., the first page number is 0 instead of 1.
In the initState, _pagingController sets up a listener that fetches a page based on the current value of pageKey.
Here’s the implementation for fetching a page. Add this method within the class:
Future<void> _fetchPage(int pageKey) async {
    try {
      final response = await get(Uri.parse(
          "https://jsonplaceholder.typicode.com/posts?_page=$pageKey&_limit=$_numberOfPostsPerRequest"));
      List responseList = json.decode(response.body);
      List<Post> postList = responseList.map((data) =>
          Post(data['title'], data['body'])).toList();
      final isLastPage = postList.length < _numberOfPostsPerRequest;
      if (isLastPage) {
        _pagingController.appendLastPage(postList);
      } else {
        final nextPageKey = pageKey + 1;
        _pagingController.appendPage(postList, nextPageKey);
      }
    } catch (e) {
      print("error --> $e");
      _pagingController.error = e;
    }
  }
The fetchPage method receives the pageKey as its argument and uses its value and the preferred size of the data to fetch the page from the API. It creates a list of Post objects using the data from the API response. The controller then saves the created list using the appendLastPage or appendPage method, depending on whether the newly fetched data is on the last page. If an error occurs when fetching the data, the controller handles it using its error property.
Below is the build method for the screen:
 @override
  Widget build(BuildContext context) {
      return Scaffold(
        appBar:
          AppBar(title: const Text("Blog App"), centerTitle: true,),
        body: RefreshIndicator(
          onRefresh: () => Future.sync(() => _pagingController.refresh()),
          child: PagedListView<int, Post>(
            pagingController: _pagingController,
            builderDelegate: PagedChildBuilderDelegate<Post>(
              itemBuilder: (context, item, index) =>
                  Padding(
                    padding: const EdgeInsets.all(15.0),
                    child: PostItem(
                        item.title, item.body
                    ),
                  ),

            ),

          ),
        ),
      );
}
The infinite scroll pagination package gives you the flexibility of wrapping your widgets around a refresh indicator. This allows you to drag the screen downwards to trigger a refresh. The refresh implementation invokes the refresh method of the controller to clear its data.
The PageListView also receives the same type of generic classes you assigned when creating the controller. Through the PageChildBuilderDelegate instance assigned to its builderDelegate parameter, it builds each PostItem widget.
Customizing your progress indicators and error handling
Note that you do not need to configure the progress indicators or error handling operations as you have done in the previous sections. This is because the package handles all that for you using its default values.
The PageChildBuilderDelegate object also gives you the flexibility to customize your error handling and progress operations via the following optional parameters:
newPageErrorIndicatorBuilder: This handles errors that occur when making more requests for data. It receives a widget that will render beneath the already-loaded data when an error occursfirstPageErrorIndicatorBuilder: This handles errors that occur when making the first request for data. The widget assigned to this operation renders at the center of the screen because the screen is empty at this pointfirstPageProgressIndicatorBuilder: This receives a widget that appears at the center of the screen when the app requests its first paginated datanewPageProgressIndicatorBuilder: This receives a widget that appears beneath the pre-existing data when the app requests more datanoItemsFoundIndicatorBuilder: This receives a widget that renders when the API returns an empty collection of data. This is not considered an error because, technically, the API call was successful but there was no data foundnoMoreItemsIndicatorBuilder: This receives the widget to render when the user has exhausted all the data returned by the API
Conclusion
In this tutorial, you learned about the need to paginate the data you provide to your users and what to consider when building paginated infinite scroll. You also built a basic blog app that performs the infinite scroll operation using a ListView from scratch, ScrollController to track the pagination and the >infinite_scroll_pagination external package.
The application is available on GitHub for further insights. Cheers!
The post How to implement infinite scroll pagination in Flutter appeared first on LogRocket Blog.
from LogRocket Blog https://ift.tt/jdwAmS0
via Read more


