


In the last few years, the Phoenix framework has gained considerable adoption, and each new release brings about more noteworthy improvements. The release of Phoenix v1.6 offers notable improvements to the frontend tooling, like the addition of HEEx templates, dropping webpack, and adopting esbuild.
However, sometimes, developers might need to develop more complex and robust interfaces; in these scenarios, we can leverage the power and vast ecosystem that React offers.
With the adoption of esbuild, Phoenix support for TypeScript comes out of the box, making it much simpler to include React. In this tutorial, we’ll develop the basic functionality of a to-do list app with Phoenix, React, and TypeScript. To follow along, you can access the source code for this tutorial on GitHub. Let’s get started!
Table of contents
- Prerequisites
- Install Phoenix
- Setting up our Phoenix application
- Using TypeScript with Phoenix
- Using React with Phoenix
- Building our to-do list app
- Creating the to-do list schema
- Adding React to our Phoenix and TypeScript app
- Creating the to-do list components
- Wiring up the to-do list API
- Seeding the database
- Complete and remove a task
- Add a new task
Prerequisites
For this tutorial, we need to ensure that we have a good working Elixir environment; follow the official Elixir instructions, which will give you a couple of options for:
- Local installation on Linux, Windows, and macOS
- Dockerized versions of Elixir
- Package manager versions setup
I recommend focusing on the local installation since it might be the easiest one to get started with.
You’ll also need to have npm installed locally and a running version of PostgreSQL. You can install Node.js easily from the official instructions, and in most cases, it’s possible that your system may already have Node.js preinstalled.
Depending on what operating system you’re using, Postgres can be a little tricky to install. However, we can leverage Docker and get a local version running. First, create a folder to persist the DB data:
> mkdir ${HOME}/phoenix-postgres-data/
Run a Docker container with the Postgres image as follows:
$ docker run -d \
    --name phoenix-psql \
    -e POSTGRES_PASSWORD=Phoenix1234 \
    -v ${HOME}/phoenix-postgres-data/:/var/lib/postgresql/data \
    -p 5432:5432 \
    postgres
Validate that the container is running:
> docker ps
CONTAINER ID   IMAGE      COMMAND                  CREATED         STATUS        PORTS                                  NAMES
7ce134cb32   postgres   "docker-entrypoint.s…"   6 seconds ago   Up 5 seconds  5432/tcp, 0.0.0.0:5432->5432/tcp       phoenix-psql
Validate that PostgreSQL is up and running:
> docker exec -it phoenix-psql bash
root@7ce134cb32:/# psql -h localhost -U postgres
psql (13.2 (Debian 13.2-1.pgdg100+1))

Type "help" for help.
postgres=# \l
                                 List of databases
   Name    |  Owner   | Encoding |  Collate   |   Ctype    |   Access privileges
-----------+----------+----------+------------+------------+-----------------------
 postgres  | postgres | UTF8     | en_US.utf8 | en_US.utf8 | ...
Install Phoenix
Now that we have the necessary dependencies installed, we can go ahead and install the Phoenix application generator and create our first Phoenix app. The Phoenix generator is distributed as a mix archive and can be installed with the following command:
> mix archive.install hex phx_new 1.6.15
Mix archives are essentially .zip files of an Elixir project that follow the Erlang Archive Format. Put simply, archives give us a way to distribute projects and use them as a regular command tool.
Setting up our Phoenix application
The first step is to create a new Phoenix application with the following command:
> mix phx.new react_todo_list
Before starting the application, make sure that you have the database created and running. You can do so by running the following commands:
mix ecto.create
Next, start the Phoenix server with the following code:
mix phx.server
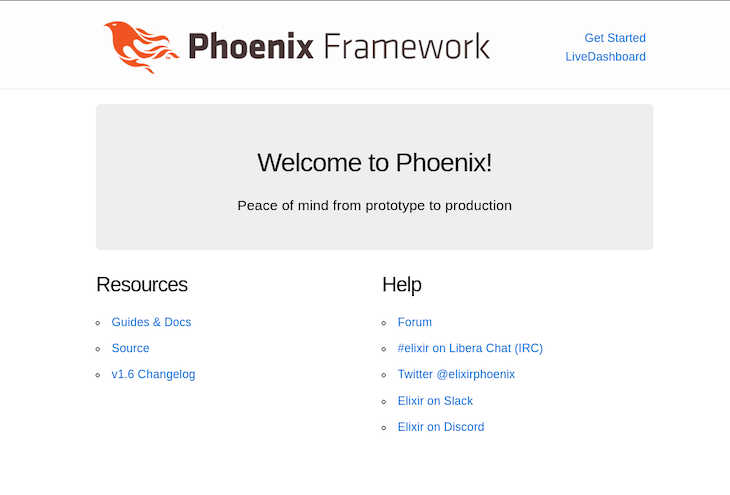
If things are working correctly, you should see the Phoenix homepage when you visit http://localhost:4000:
Using TypeScript with Phoenix
In Phoenix ≤v1.6, the default frontend tooling was webpack, which is a great tool for bundling and compiling assets. However, webpack is a bit complex to set up, leading to a lot of frustration for developers.
With the release of Phoenix 1.6, the default frontend tooling was changed to esbuild, which is a much simpler tool that doesn’t require a configuration file. In addition, esbuild supports TypeScript out of the box, which will make our lives much easier when working with React.
We can test that TypeScript is working by creating a new file in the react_todo_list/assets/js folder called hello.ts and adding the following code:
function hello(name: string): string {
    return "Say hello to " + name + " with TypeScript!";
  }
  export default hello;
Next, we’ll need to import the file in the react_todo_list/assets/js/app.js file:
import hello from "./hello";
document.querySelector("section.phx-hero h1").innerHTML = hello("Phoenix");
Once we’re done, the homepage should look like the following:
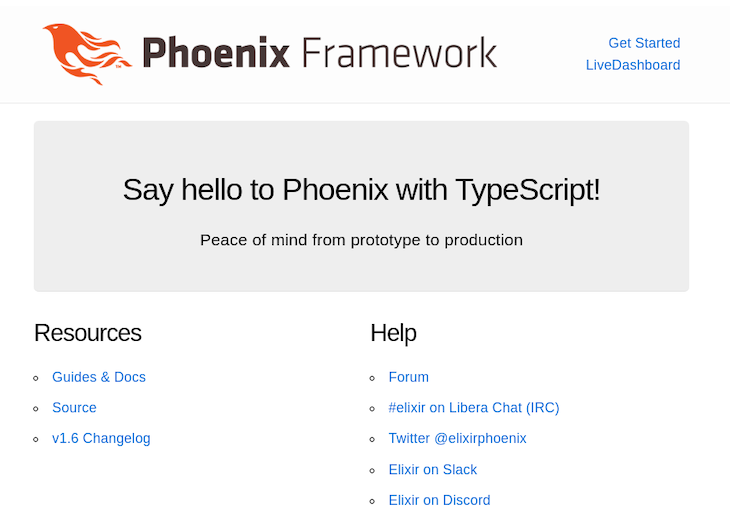
Getting started with TypeScript and Phoenix was that simple, requiring no additional configuration.
Using React with Phoenix
Our last setup step will be to add React to our application. Unlike TypeScript, we’ll need to add some additional code to get React working.
Make sure you’re in the assets folder and run the following command:
cd react_todo_list/assets
Once we’re in the assets folder, we can install the necessary dependencies by running the following command:
npm install --save react react-dom remount
npm install --save-dev @types/react @types/react-dom
The command above will install the React and react-dom packages, as well as the TypeScript definitions for both packages to help us with autocompletion. We can test that everything is working by creating a new file called react_hello.tsx in the react_todo_list/assets/js folder and adding the following code:
import React from "react";
interface HelloProps {
    name: string;
}
const ReactHello: React.FC<HelloProps> = (props: HelloProps) => {
    const name = props.name;
    return (
        <section className="phx-hero">
         <h1>Say Hello to {name} with TypeScript and React!</h1>
          <p>We are ready to go!</p>
        </section>
    );
};
export default ReactHello;
Next, open the template file react_todo_list/lib/react_todo_list_web/templates/page/index.html.heex and replace the code block below with the following code snippet, respectively:
<section class="phx-hero">
  <h1><%= gettext "Welcome to %{name}!", name: "Phoenix" %></h1>
  <p>Peace of mind from prototype to production</p>
</section>
<div id="hello"/>
Finally, we need to import the component in the react_todo_list/assets/js/app.js file:
import React from "react";
import ReactDOM from "react-dom";
import ReactHello from "./react_hello";
const hello = document.getElementById("hello");
ReactDOM.render(<ReactHello name="Phoenix" />, hello);
Make sure to replace the two lines we added previously and remove the hello.ts file.
Finally, rename the file to app.jsx. Then, we need to update the configuration file in react_todo_list/config/config.exs. Replace the following code block with the code block below:
~w(js/app.js --bundle --target=es2017 --outdir=../priv/static/assets --external:/fonts/* --external:/images/*),
~w(js/app.jsx --bundle --target=es2017 --outdir=../priv/static/assets --external:/fonts/* --external:/images/*),
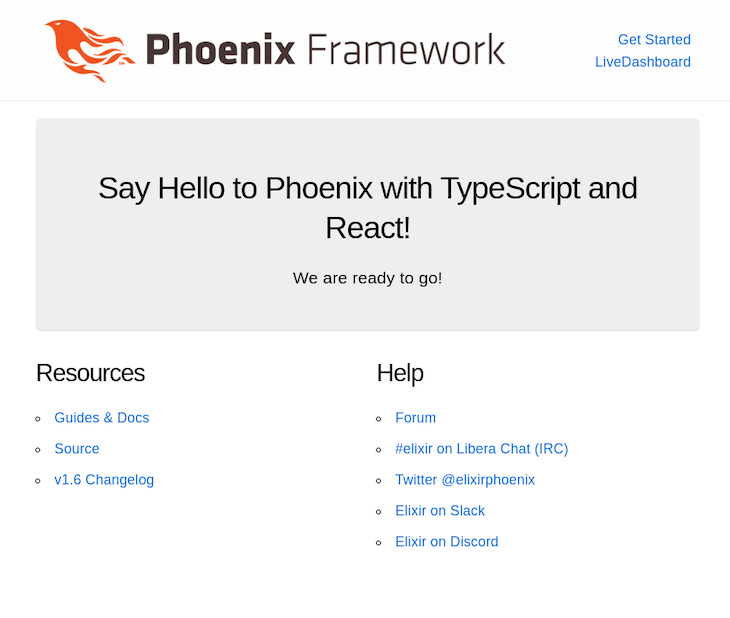
Once we’re done, restart the server and visit http://localhost:4000 to see the result:
Building our to-do list app
Now that our base Phoenix, React, and TypeScript setup is complete, we can start building our to-do list application. Remember that the goal is to build a simple to-do list application that uses React components to display the list of items and allows us to add new items to the list.
Creating the to-do list schema
Before continuing to work on the frontend, we need to create the database schema for our to-do list. We can do so by running the following command:
mix phx.gen.json Todo Task tasks description:text completed:boolean --web Api
Be sure to add the resource to your routes file in lib/react_todo_list_web/router.ex:
     scope "/api", ReactTodoListWeb.Api, as: :api do
      pipe_through :api
      ...
      resources "/tasks", TaskController
    end
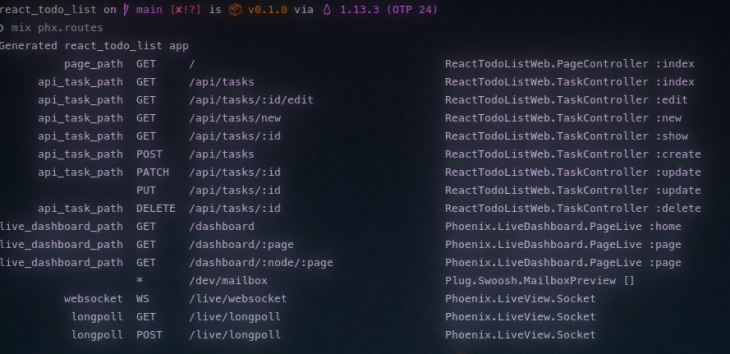
Confirm that the routes are correct by running the following command:
mix phx.routes
Next, we need to run the migrations to create the database tables:
mix ecto.migrate
Next, we’ll update the PageController so that it returns the list of tasks from the database. Open the lib/react_todo_list_web/controllers/page_controller.ex file and replace the index function with the following:
...
  use ReactTodoListWeb, :controller
  alias ReactTodoList.Todo
  def index(conn, _params) do
    tasks = Todo.list_tasks()
    render(conn, "index.html", props: Poison.encode!(%{tasks: tasks}))
  end
Make sure to add Poison to the list of dependencies in mix.exs:
   defp deps do
    [
...
      {:poison, "~> 4.0"}
    ]
  end
Install the dependencies by running the following command:
mix deps.get
Adding React to our Phoenix and TypeScript app
With a schema in hand, we can start working on the frontend. First, we need to set up the baseline structure for our React application.
Start by creating the following folders in the react_todo_list/assets/js folder:
cd react_todo_list/assets/js
mkdir react
mkdir react/components
mkdir react/constants
touch react/index.jsx
touch react/App.jsx
Next, we need to create an entrypoint to our React application under the react_todo_list/assets/js/react/index.jsx file and add the following code:
import { define } from 'remount';
import App from './App';
define({'x-application': App});
The code above will allow us to mount our React application to the x-application element in our HTML template.
Now, we need to update the index template to mount our React application. Open the react_todo_list/lib/react_todo_list_web/templates/page/index.html.heex file and replace the code with the following:
<section class="row">
  <x-application props-json={@props}/>
</section>
Make sure to update app.jsx to import the react/index.tsx file.
On reloading the page, we should see an empty page outside of the default Phoenix header; we haven’t added any content to our React application yet.
Let’s go ahead and add some simple scaffolding to react_todo_list/assets/js/react/App.tsx:
import { Title } from "./components/Title";
import React from "react";
interface AppProps {
  name: string;
}
const App: React.FC<AppProps> = (props: AppProps) => {
  return (
    <div className="title">
      <Title
       title="What do you have to do today?"
        subtitle="Phoenix + Typescript + React"
      />
    </div>
  );
}
export default App;
We’ll also add some scaffolding to react_todo_list/assets/js/react/components/Title.tsx:
import React from "react";
interface TitleInterface {
    title: string;
    subtitle: string;
  }

  export function Title({ title, subtitle }: TitleInterface) {
    return (
      <div className="mb-11">
        <h1 className="text-center font-display text-4xl tracking-tighter text-app-800 antialiased sm:text-left">
          {title}
        </h1>
        <h2 className="font-base mt-2 text-center text-sm text-app-500 antialiased sm:text-left">
          {subtitle}
        </h2>
      </div>
    );
  }
If things worked correctly, our React application will be mounted to the x-application element, and we should see the following:
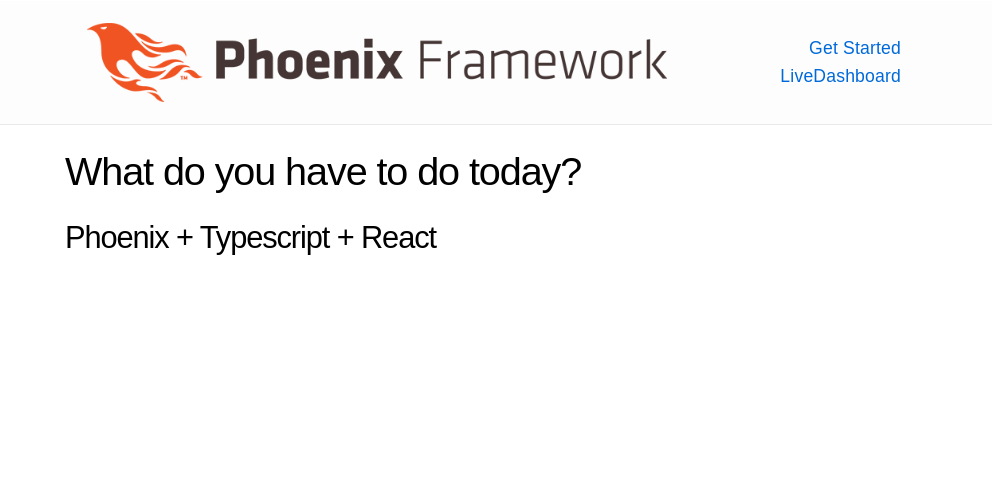
Now that we have a basic React application set up, we can start working on the to-do list components.
Creating the to-do list components
For this part of the tutorial, we’ll create the following components:
TaskForm: Responsible for adding new tasks to the listTaskItem: Responsible for displaying a single task itemTaskList: Responsible for displaying the list of tasks
TaskForm
`react_todo_list/assets/js/react/components/TaskForm.tsx`:
import React from "react";
export function TaskForm() {
  return (
    <>
        <div className="task-form-container">
            <input type="text" placeholder="e.g. Make a healthy dinner" />
            <button className="button">
                Add new Task
            </button>
       </div>
        <hr className="my-12" />
    </>
 );
}
TaskItem
`react_todo_list/assets/js/react/components/TaskItem.tsx`:
import React from "react";
interface TaskItemInteface {
    id: number;
    text: string;
    completed: boolean;
  }

export function TaskItem({ id, text, completed }: TaskItemInteface) {
    return (
        <div className="task-item">
            <p>
            <span className={completed ? "line-through" : ""}>{text}</span>
            </p>
            <div className="task-actions">
                <button className="button">
                    Complete
                </button>
                <button className="button">
                   Remove
               </button>
            </div>
        </div>
    );
}
TaskList
`react_todo_list/assets/js/react/components/TaskList.tsx`:
import { TaskItem } from "./TaskItem";
import React from "react";
export function TaskList() {
  const tasks = Array<typeof TaskItem>();
  return (
    <>
      {tasks.length > 0 ? (
        tasks.map((tasks) => (false))
      ) : (
        <div className="task-list-container">
            <h3>You don't have any tasks anymore :(</h3>
        </div>
      )}
    </>
  );
}
Once we’ve added all the components, we can update the App.tsx file to include the components:
import { Title } from "./components/Title";
import React from "react";
import { TaskForm } from './components/TaskForm';
import { TaskList } from './components/TaskList';
interface AppProps {
  name: string;
}
const App: React.FC<AppProps> = (props: AppProps) => {
  return (
    <div className="title">
      <Title
        title="What do you have to do today?"
        subtitle="Phoenix + Typescript + React"
      />
      <TaskForm />
      <TaskList />
    </div>
  );
}
export default App;
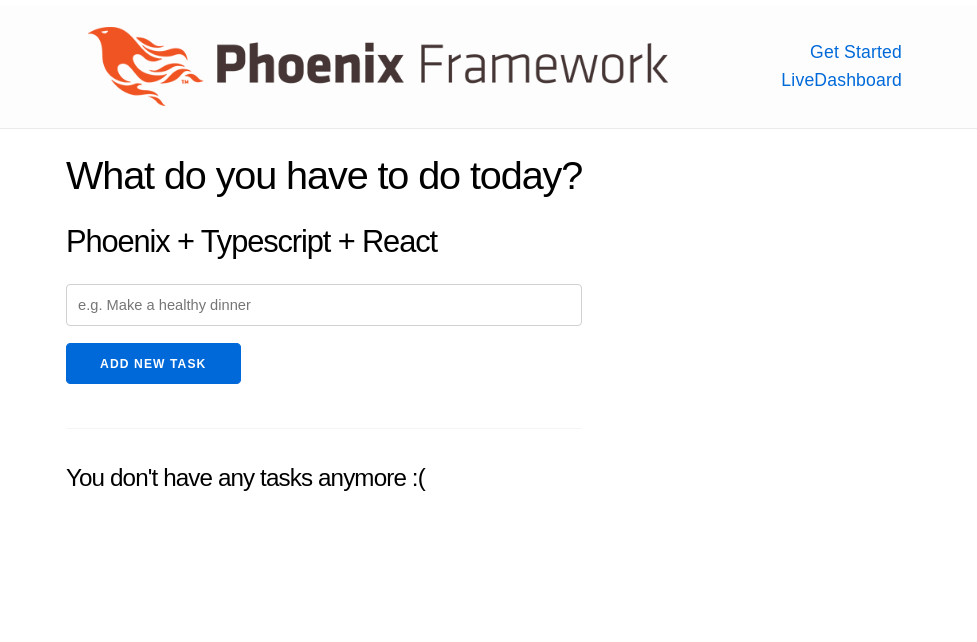
If everything worked correctly, we should see the following screen:
Wiring up the to-do list API
Although we’ve set up the components, we haven’t yet wired up the API. We’ll start by making our list of tasks dynamic; for that, we’ll need some seeded data.
Seeding the database
Open the react_todo_list/priv/repo/seeds.exs file and add the following code:
alias ReactTodoList.Repo
alias ReactTodoList.Todo.Task
Repo.insert!(%Task{
  id: 1,
  description: "Learn Elixir",
  completed: false
})
Repo.insert!(%Task{
  id: 2,
  description: "Build a Todo App",
  completed: false
})
To seed the database, run the following command:
mix run priv/repo/seeds.exs
Now, go back to the TaskList component and update TaskList.tsx to fetch the tasks from the API:
import { TaskItem } from "./TaskItem";
import React from "react";
import { useState, useEffect } from "react";
export  function TaskList() {
    const [tasks, setTasks] = useState({});
    useEffect(() => {
      const getTaskList = async () => {
        const response = await fetch(
          "http://localhost:4000/api/tasks"
       );
        const responseJson = await response.json();
       setTasks(responseJson);
      };
     getTaskList();
   }, []);
    return (
    <>
        {tasks?.data?.length > 0 ? (
            tasks.data.map((task) =>  <TaskItem key={task.id} {...task} />)
        ) : (
        <div className="task-list-container">
            <h3>You don't have any tasks anymore :(</h3>
        </div>
        )}
    </>
    );
}
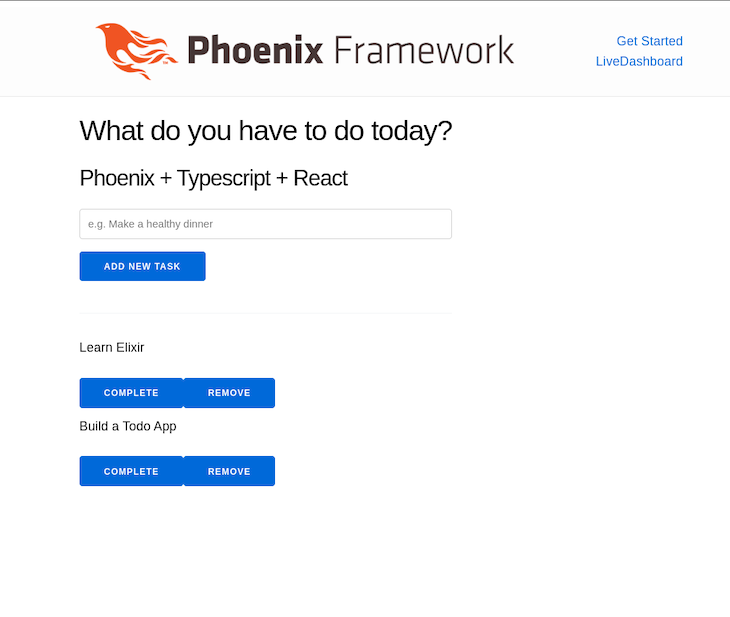
In the code above, we use the useEffect Hook from React to fetch the tasks from the API. We use the map function to loop through the tasks and render the TaskItem component for each task.
If everything worked correctly, you should see the following screen:
Complete and remove a task
Now that we have the list of tasks, we can begin working on the TaskItem component. We’ll add the functionality to complete and remove a task.
First, open the TaskList.tsx file and add the following function to handle the deleteItem event:
...
    const deleteItem = async (id: number) => {
        const responseDelete = await fetch(
            http://localhost:4000/api/tasks/${id}`,
            {
            method: "DELETE",
            }
        );
        const response = await fetch(
           "http://localhost:4000/api/tasks"
          );
        const responseJson = await response.json();
       setTasks(responseJson);
    }
Right now, we’re going for the simplest approach, fetching the tasks again after deleting a task. Next, we’ll update the TaskItem.tsx file to add the deleteItem function to the Remove button:
import React from "react";
interface TaskItemInteface {
    id: number;
    description: string;
    completed: boolean;
    deleteItem: (id: number) => void;
  }

export function TaskItem({ id, description, completed, deleteItem }: TaskItemInteface) {
    const handleDelete = async (id) => {
        deleteItem(id)
    }
    return (
      <div className="task-item">
          <p>
          <span className={completed ? "line-through" : ""}>{description}</span>
            </p>
            <div className="task-actions">
                <button className="button">
                    Complete
                </button>
             <button onClick={() => handleDelete(id)} className="button">
                   Remove
                </button>
            </div>
        </div>
    );
}
Notice how we added a new prop to the TaskItem component called deleteItem. We’re also passing the deleteItem function to the TaskItem component from the TaskList.
You can try deleting a task, and you should see it removed from the list. Next, we’ll add the functionality to complete a task. In a very similar fashion, we’ll update the TaskList file to add the completeItem function:
    const completeItem = async (id: number, description: string) => {
        const requestOptions = {
            method: 'PUT',
            headers: { 'Content-Type': 'application/json' },
            body: JSON.stringify({id: id, task: { completed: true}})
        };
        const responseUpdate = await fetch(
            http://localhost:4000/api/tasks/${id}`,
            requestOptions
        );
        const response = await fetch(
            "http://localhost:4000/api/tasks"
         );
        const responseJson = await response.json();
        setTasks(responseJson);
    }
The code above is very similar to the deleteItem function. We’re using the PUT method to update the task. Next, we’ll update the TaskItem.tsx file to add the handleComplete function to the Complete button:
import React from "react";
interface TaskItemInteface {
    id: number;
    description: string;
    completed: boolean;
    deleteItem: (id: number) => void;
    completeItem: (id: number) => void;
  }

export function TaskItem({ id, description, completed, deleteItem, completeItem}: TaskItemInteface) {
    const handleDelete = async (id) => {
        deleteItem(id)
    }
    const handleComplete = async (id) => {
        completeItem(id)
    }
    return (
        <div className="task-item">
           <p>
           <span className={completed ? "line-through" : ""}>{description}</span>
           </p>
           <div className="task-actions">
                <button onClick={() => handleComplete(id)} className="button">
                   Complete
                </button>
               <button onClick={() => handleDelete(id)} className="button">
                    Remove
                </button>
            </div>
        </div>
    );
}
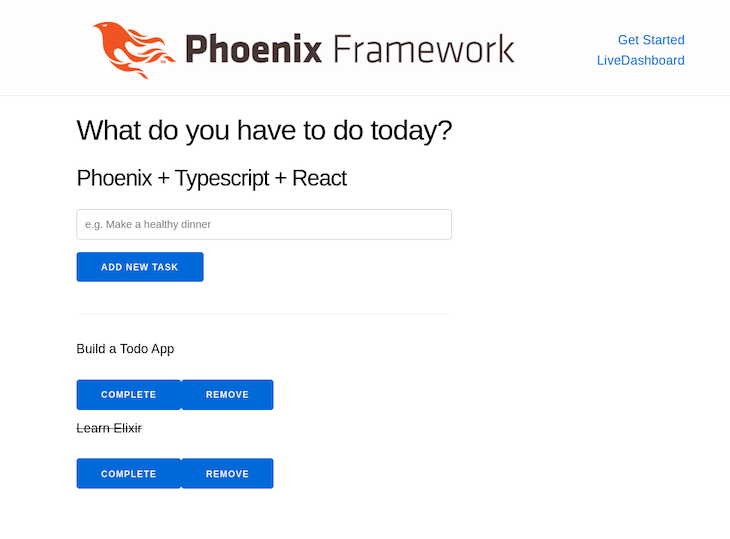
Just like with the deleteItem function, we’re passing the completeItem function to the TaskItem component from the TaskList. Finally, update the app.css file to add the line-through class:
.line-through {
  text-decoration: line-through;
}
You can try completing a task, and you should see it crossed out:
Add a new task
Finally, we’ll add the functionality to add a new task. First, we’ll update the TaskForm.tsx file to add the addItem function:
import React from "react";
import { useState } from "react";
export function TaskForm() {
    const [input, setInput] = useState(typeof string);
    const addItem = async (description: string) => {
        const requestOptions = {
            method: 'POST',
            headers: { 'Content-Type': 'application/json' },
            body: JSON.stringify({task: {description: description, completed: false}})
        };
        const responseCreate = await fetch(
           http://localhost:4000/api/tasks`,
            requestOptions
        );
        const response = await fetch(
            "http://localhost:4000/api/tasks"
            );
        const responseJson = await response.json();
    }
    return (
    <>
        <div className="task-form-container">
           <input value={input} onChange={(e) => setInput(e.target.value)} type="text" placeholder="e.g. Make a healthy dinner" />
            <button onClick={() => addItem(input)} className="button">
                Add new Task
            </button>
        </div>
        <hr className="my-12" />
    </>
    );
}
If you try adding a new task, you’ll notice that the task is not added to the list until you refresh the entire page. This is because the TaskForm and the TaskList components don’t share the same state.
To fix this, we’ll move the state up to the App component. First, update the App.tsx:
import { Title } from "./components/Title";
import React from "react";
import { TaskForm } from './components/TaskForm';
import { TaskList } from './components/TaskList';
import { useState, useEffect } from "react";
interface AppProps {
  name: string;
}
const App: React.FC<AppProps> = (props: AppProps) => {
  const [tasks, setTasks] = useState({});
  return (
   <div className="title">
      <Title
        title="What do you have to do today?"
        subtitle="Phoenix + Typescript + React"
      />
      <TaskForm setTasks={setTasks} />
      <TaskList tasks={tasks} setTasks={setTasks} />
    </div>
  );
}
export default App;
Next, we’ll update the TaskForm and TaskList components to receive the setTasks and tasks functions as a prop:
`react_todo_list/assets/js/react/components/TaskList.tsx`

import { TaskItem } from "./TaskItem";
import React from "react";
import { useState, useEffect } from "react";
export  function TaskList({tasks, setTasks}) {
    useEffect(() => {
      const getTaskList = async () => {
        const response = await fetch(
          "http://localhost:4000/api/tasks"
        );
        const responseJson = await response.json();
        setTasks(responseJson);
      };
      getTaskList();
    }, []);
    const deleteItem = async (id: number) => {
        const responseDelete = await fetch(
            http://localhost:4000/api/tasks/${id}`,
            {
            method: "DELETE",
            }
        );
       const response = await fetch(
            "http://localhost:4000/api/tasks"
          );
        const responseJson = await response.json();
        setTasks(responseJson);
    }
    const completeItem = async (id: number, description: string) => {
        const requestOptions = {
          method: 'PUT',
            headers: { 'Content-Type': 'application/json' },
            body: JSON.stringify({id: id, task: { completed: true}})
        };
        const responseUpdate = await fetch(
          http://localhost:4000/api/tasks/${id}`,
            requestOptions
        );
      const response = await fetch(
           "http://localhost:4000/api/tasks"
         );
      const responseJson = await response.json();
        setTasks(responseJson);
    }
    return (
    <>
        {tasks?.data?.length > 0 ? (
            tasks.data.map((task) =>  <TaskItem deleteItem={deleteItem} completeItem={completeItem} key={task.id} {...task} />)
        ) : (
        <div className="task-list-container">
            <h3>You don't have any tasks anymore :(</h3>
        </div>
        )}
    </>
    );
}
``react_todo_list/assets/js/react/components/TaskForm.tsx`
import React from "react";
import { useState } from "react";
export function TaskForm({setTasks}) {
    const [input, setInput] = useState(typeof string);
    const addItem = async (description: string) => {
        const requestOptions = {
            method: 'POST',
            headers: { 'Content-Type': 'application/json' },
            body: JSON.stringify({task: {description: description, completed: false}})
        };
        const responseCreate = await fetch(
            http://localhost:4000/api/tasks`,
            requestOptions
        );
       const response = await fetch(
           "http://localhost:4000/api/tasks"
            );
        const responseJson = await response.json();
        setTasks(responseJson);
    }
    return (
   <>
        <div className="task-form-container">
            <input value={input} onChange={(e) => setInput(e.target.value)} type="text" placeholder="e.g. Make a healthy dinner" />
            <button onClick={() => addItem(input)} className="button">
                Add new Task
            </button>
        </div>
        <hr className="my-12" />
    </>
    );
}
Go ahead and try adding a new task. You should see the task list update without having to refresh the page. In addition, you can now delete and complete tasks without having to refresh the page.
Conclusion
In this tutorial, we’ve learned how to create a simple to-do list application using Phoenix, TypeScript, and React.
We’ve learned how to combine the power of a Phoenix API with the flexibility of a React application. However, we’ve only scratched the surface of what is possible with Phoenix and React.
If you want to learn more about Phoenix and React, I recommend experimenting with this application and adding new features. For example, you can add a new page to the application that allows you to view all the completed tasks. Let us know in the comments what you decide to build on to this simple application. I hope you enjoyed this tutorial. Happy coding!
The post Create a to-do list app with Phoenix, React, and TypeScript appeared first on LogRocket Blog.
from LogRocket Blog https://ift.tt/EVxk6Qn
Gain $200 in a week
via Read more


