


Phoenix is an Elixir-based web development framework that uses the server-side Model View Controller (MVC) design pattern. Its implementations (components and constructs) are comparable to that of other well-known frameworks, including Ruby on Rails, Node’s Express.js, and Python’s Django. Phoenix leverages well-known web development constructs, making it simple to learn if you’ve already worked in the field.
In this tutorial, we will learn how to add authentication to a Phoenix application using the phx.gen.auth generator. The phx.gen.auth generator is widely used because of its flexibility, security, and its implementation of Elixir’s best practices. Phx.gen.auth is included in the Phoenix framework and is the recommended way to add authentication to Phoenix applications.
We’ll cover:
- Getting started with Phoenix
- Creating a Phoenix application
- Updating database credentials
- Generating MVC for an HTML resource using
phx.gen.html - Authentication with
phx.gen.auth - Exploring the files created by
phx.gen.auth - Adding authentication to our
/tasksroutes
Prerequisites
- Elixir
- PostgreSQL
To install Elixir on your system, visit the Elixir docs and follow the installation instruction for your operating system.
Getting started with Phoenix
Run the following command to install Phoenix on your system:
mix archive.install hex phx_new
The command above instructs Mix to install the Phoenix framework. Similar to other mainstream programming languages, Elixir provides the Mix build tool to help with compiling, creating, and testing applications, as well as installing, updating, and uninstalling dependencies. It would be unimaginable to use Elixir without a tool like Mix.
Creating a Phoenix application
By providing the --no-ecto flag with the phx.new command, a Phoenix application can be created without a database, but because we need data persistence, we’ll be using a database instead. The database of choice for this lesson is PostgreSQL, the standard selection for Phoenix apps.
To install PostgreSQL, refer to the docs or you can visit this tutorial to install and run using Docker:
mix phx.new todo_app
Here, todo is the name of the application we wish to create. When prompted to Fetch and install dependencies? [Yn], select yes. After fetching the dependencies, we still have a couple of steps to get our application up and running.
First of all, we have to enter our newly created app directory:
cd todo_app
Updating database credentials
Next, we have to configure our database, locate the config/dev.exs, and
update the following line to reflect our Postgres database username and password:
username: "postgres",
password: "postgres",
Then, run the following command to create your database:
mix ecto.create
Finally, we can run our server using this command:
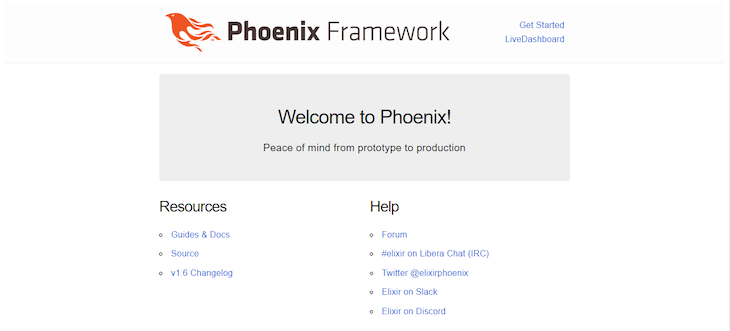
mix phx.server
Visit http://localhost:4000 to see your Phoenix application:
Generating MVC for an HTML resource using phx.gen.html
Phoenix provides a way for us to generate controllers, views, and context for an HTML resource:
mix phx.gen.html Todo Task tasks name:string completed:boolean
We provide a couple of arguments to the phx.gen.html generator, the first of which is the context module, followed by the name of the schema module, and finally, the plural name of the schema (the name to be used as the schema table name). The name:string and completed:boolean are the two fields that will be created in the tasks table.
Looking at the terminal, we can see the instructions provided by Phoenix:
First, we have to copy the resources "/tasks", TaskController into our lib/todo_app_web/router.ex file:
defmodule TodoAppWeb.Router do
use TodoAppWeb, :router
...

scope "/", TodoAppWeb do
pipe_through(:browser)
get("/", PageController, :index)
resources "/tasks", TaskController #updated
end
...
The resources represent different HTTP methods — rather than writing each method out explicitly, Phoenix provides resources.
Then, we have to update our database to update the changes made by phx.gen.html:
mix ecto.migrate
Finally, to access the generated task route, visit http://localhost:4000/tasks:
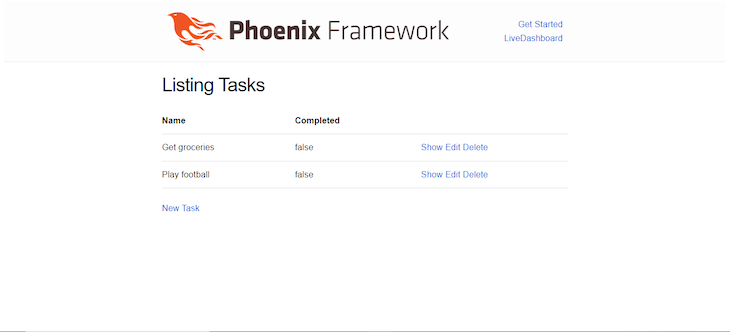
In the screenshot above, I added a couple of uncompleted tasks. Feel free to do the same and play around with the application a bit. Phoenix provides CRUD ability out of the box with these generated resources, so without any additional pieces of code, we can create, update, and delete tasks from the database.
Authentication with phx.gen.auth
Phoenix provides a very easy way to add authentication to our application using the phx.gen.auth generator. Let’s see how to do that.
In your terminal, run:
mix phx.gen.auth Accounts User users
With this command, an Accounts context is created with a module for the Accounts.User schema. The last argument is the plural form of the schema module, which creates database table names and route helpers. The mix phx.gen.auth generator is comparable to the mix phx.gen.htm``l generator, with the exception that it does not accept a list of extra fields to add to the schema and that it generates a lot more context functions.
Looking at our terminal, we can see that Phoenix has generated a couple of files and also updated existing files. We will look at some of those files in a moment, especially the lib/todo_app_web/router.ex file, but let’s quickly run a couple of commands.
In your terminal, run:
mix deps.get
This command updates your application dependencies. We also need to update our database to reflect the changes made by the phx.gen.auth generator.
Now, run this command:
mix ecto.migrate
If we check our application running in the browser, we can see the Register and Log in generated by the phx.gen.auth generator:

Register on the application and you should see a “user created successfully” pop-up message.
Exploring the files created by phx.gen.auth
Let’s look at some of the files created by phx.gen.auth.
The router file at lib/todo_app_web/router.ex already existed, the phx.gen.auth generator just added a couple of lines of code to it:
...
## Authentication routes
  scope "/", TodoAppWeb do
    pipe_through [:browser, :redirect_if_user_is_authenticated]
    get "/users/register", UserRegistrationController, :new
    post "/users/register", UserRegistrationController, :create
    get "/users/log_in", UserSessionController, :new
    post "/users/log_in", UserSessionController, :create
    get "/users/reset_password", UserResetPasswordController, :new
    post "/users/reset_password", UserResetPasswordController, :create
    get "/users/reset_password/:token", UserResetPasswordController, :edit
    put "/users/reset_password/:token", UserResetPasswordController, :update
  end

  scope "/", TodoAppWeb do
    pipe_through [:browser, :require_authenticated_user]
    get "/users/settings", UserSettingsController, :edit
    put "/users/settings", UserSettingsController, :update
    get "/users/settings/confirm_email/:token", UserSettingsController, :confirm_email
  end

  scope "/", TodoAppWeb do
    pipe_through [:browser]
    delete "/users/log_out", UserSessionController, :delete
    get "/users/confirm", UserConfirmationController, :new
    post "/users/confirm", UserConfirmationController, :create
    get "/users/confirm/:token", UserConfirmationController, :edit
    post "/users/confirm/:token", UserConfirmationController, :update
  end
...
The :require_authenticated_user and :redirect_if_user_is_authenticated are called plugs. The routes that occur after adhere to the rules they state.
The :require_authenticated_user plug allows us to protect routes from being accessed by unauthenticated users, while the :redirect_if_user_is_authenticated plug allows us to prevent authenticated users from visiting certain routes.
Both the :require_authenticated_user and :redirect_if_user_is_authenticated plugs are from the lib\todo_app_web\controllers\user_auth.ex controller:
def redirect_if_user_is_authenticated(conn, _opts) do
    if conn.assigns[:current_user] do
      conn
      |> redirect(to: signed_in_path(conn))
      |> halt()
    else
      conn
    end
  end
  @doc """
  Used for routes that require the user to be authenticated.
  If you want to enforce the user email is confirmed before
  they use the application at all, here would be a good place.
  """
  def require_authenticated_user(conn, _opts) do
    if conn.assigns[:current_user] do
      conn
    else
      conn
      |> put_flash(:error, "You must log in to access this page.")
      |> maybe_store_return_to()
      |> redirect(to: Routes.user_session_path(conn, :new))
      |> halt()
    end
Adding authentication to our /tasks routes
Currently, our /tasks routes do not require users to be authenticated before they can access them. If we want, we can separate our /tasks route into its different HTTP methods. Therefore, the line that has just a single resource to access all methods:
resources "/tasks", TaskController
is the same as:
get "/tasks", TaskController, :index
post "/tasks", TaskController, :create
get "/tasks/new", TaskController, :new
get "/tasks/:id", TaskController, :show
get "/tasks/:id/edit", TaskController, :edit
put "/tasks/:id/update", TaskController, :update
delete "/tasks/:id/delete", TaskController, :delete
In order to make these routes require user authentication, all we have to do is put the resources behind the :require_authenticated_user plug:
scope "/", TodoAppWeb do
    pipe_through [:browser, :require_authenticated_user]
    ...
    resources "/tasks", TaskController
  end
Log out of the application, then try to access the http:localhost:4000/tasks routes. You’ll be redirected to the login route with an error message displayed:
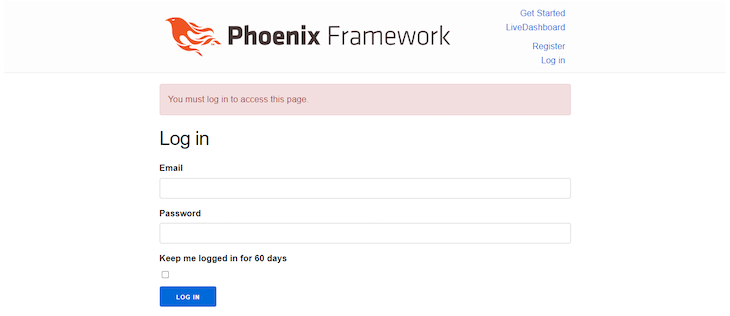
You can only access these routes when you log in. And that’s it! We’ve achieved authentication in our Phoenix app.
Conclusion
In this tutorial, we learned how to implement authentication in Phoenix applications by using the phx.gen.auth generator to generate authentication for our application and understand the middleware it provides to us. Hopefully, with the help of this tutorial, you can achieve much more with Phoenix.
The post Authentication with Phoenix appeared first on LogRocket Blog.
from LogRocket Blog https://ift.tt/yNMXIxc
Gain $200 in a week
via Read more


