One of the interesting things about using static site generators (SSGs) is the ability to spin up apps and make additions and changes to them easily. This makes it perfect for building blogs because of the constant article additions and editing that happens with blogs.
In this article, we’ll be using Capri, a static site generator that generates static sites using the islands architecture model.
Jump ahead:
How does Capri work?
Ordinarily, Capri doesn’t ship any JavaScript to the frontend by default, just static HTML and CSS. To handle interactivity and dynamic data on our Capri blog, we need to hydrate it by using an *island.* suffix. This means that if you’re fetching data or handling some interactivity with your component, you can name it componentname.island.jsx. This name format depends on the framework/library we’re using — for instance, if we’re using Vue, it’ll be componentname.island.vue.
In cases where we need to render both static and dynamic content in the same component, or when we have a dynamic component that passes props into a static component, we use the *lagoon.* suffix. The aim of this is to ensure that the site is faster and hydrates dynamic components only when necessary.
Getting started
Let’s spin up our blog using React and Capri. To trigger a quickstart, run this command in your terminal:
npm init capri my-capri-site -- -e react
It sets up a sample Capri site in React. We’ll have to remove the boilerplate code and add custom components for our project.
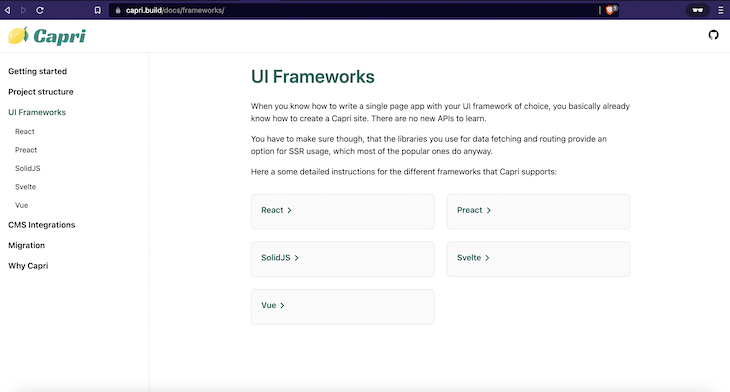
We can also use Capri with other popular UI frameworks that have SSR support, like Vue, Svelte, Preact, etc.:

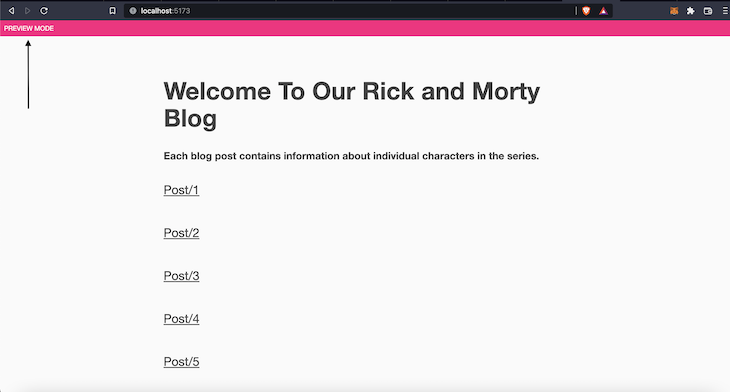
You should know that Capri offers a preview mode that enables hot reloads while running our app locally. It renders our app locally as a SPA.
import { Navigate } from "react-router-dom";
/**
 * Handle preview requests like `/preview?slug=/about` by redirecting
 * to the given slug parameter.
 */
export default function Preview() {
  const url = new URL(window.location.href);
  const slug = url.searchParams.get("slug") ?? "/";
  return <Navigate to={slug} />;
}
/**
 * Component to display a banner when the site is viewed as SPA.
 */
export function PreviewBanner() {
  return <div className="banner">Preview Mode</div>;
}

// src/preview.tsx
We wrap the preview component around the <App/> component:
import { StrictMode } from "react";
import ReactDOM from "react-dom/client";
import { BrowserRouter } from "react-router-dom";
import { App } from "./App";
import { PreviewBanner } from "./Preview.jsx";
ReactDOM.createRoot(document.getElementById("app")!).render(
  <StrictMode>
    <BrowserRouter basename={import.meta.env.BASE_URL}>
      <PreviewBanner />
      <App />
    </BrowserRouter>
  </StrictMode>
);

// src/main.tsx
So, for our server rendering, the entry file looks like this:
import { RenderFunction, renderToString } from "@capri-js/react/server";
import { StrictMode } from "react";
import { StaticRouter } from "react-router-dom/server.js";
import { App } from "./App";
export const render: RenderFunction = async (url: string) => {
  return {
    "#app": await renderToString(
      <StrictMode>
        <StaticRouter location={url} basename={import.meta.env.BASE_URL}>
          <App />
        </StaticRouter>
      </StrictMode>
    ),
  };
};

// src/main.server.tsx
Another thing to note is that Capri uses Vite out of the box for its config.
import capri from "@capri-js/react";
import react from "@vitejs/plugin-react";
import { defineConfig } from "vite";
export default defineConfig({
  plugins: [
    react(),
    capri({
      spa: "/preview",
    }),
  ],
});
Finally, we have the root index.html in our root folder:
<!DOCTYPE html>
<html lang="en">
  <head>
    <meta charset="UTF-8" />
    <meta name="viewport" content="width=device-width, initial-scale=1" />
    <link rel="icon" type="image/svg+xml" href="/src/capri.svg" />
  </head>
  <body>
    <div id="app"></div>
    <script type="module" src="/src/main.tsx"></script>
  </body>
</html>
Building our blog
We’ll be building a Rick and Morty blog, where each post contains information about characters in the series.

Scaffolding the home page
Let’s build our blog’s home page. Create a Home.tsx file in our src folder. It’s the first page the user sees once they land on the blog. It’s going to be a static component.
export default function Home() {
  return (
    <main>
      <h1>Welcome To Our Rick and Morty Blog</h1>
      <h5>
        Each blog post contains information about individual characters in the
        series.
      </h5>
      <Posts />
    </main>
  );
}

// src/Home.tsx
We can now go into our App.tsx file and import our Home.tsx file.
import "./App.css";
import { Suspense } from "react";
import Preview from "./Preview.jsx";
import { Route, Routes } from "react-router-dom";
import Home from "./Home";

export function App() {
  return (
    <Suspense fallback={<div>loading...</div>}>
      <Routes>
        <Route index element={<Home />} />
        <Route path="/preview" element={<Preview />} />
      </Routes>
    </Suspense>
  );
}

// src/App.tsx
We wrap our component using React Router and Suspense to handle our app’s routing and data fetching, respectively.
Displaying the list of posts
Next, we need to display the list of posts. To do that, let’s create a Posts component in a file we’ll call Posts.lagoon.tsx:
import { Link } from "react-router-dom";

export default function Posts() {
  const container = {
    display: "grid",
  };
  const containerItem = {
    paddingBottom: "3rem",
  };
  return (
    <div style={container}>
      {[...Array(10)].map((x, i) => (
        <div style={containerItem}>
          <Link to={`/post/${i + 1}`}>
            Post/{i + 1}
          </Link>
        </div>
      ))}
    </div>
  );
}

// Posts.lagoon.tsx
Here, we loop through ten items in an array and display ten posts. Each item has a Link (from React Router) that uses dynamic parameters to pass an id to the page. We’ll get to that id later in the article.
For now, let’s import the Posts.lagoon.tsx component into our Home.tsx component.
import Posts from "./Posts.lagoon";

export default function Home() {
  return (
    <main>
      <h1>Welcome To Our Rick and Morty Blog</h1>
      <h5>
        Each blog post contains information about individual characters in the
        series.
      </h5>
      <Posts />
    </main>
  );
}
We list out the ten post items. As previously mentioned, we’re currently in preview mode since we’re still running the app locally.

Then, we need to create a new component that’s called the PostItem.lagoon.tsx file to display each post.
import { Link, useParams } from "react-router-dom";
import axios from "axios";
import useSWR from "swr";
export default function PostItem() {
  let { id } = useParams();
  const url = `https://rickandmortyapi.com/api/character/${id}`;
  const fetcher = (url: string) =>
axios.get(url).then((res: any) => res.data);
  const { data, error } = useSWR(url, fetcher, { suspense: true });
  if (error) return <div>failed to load</div>;
  return (
    <main>
      <h1>{data.name}</h1>
      <img src={data.image}></img>
      <section>Status: {data.status}</section>
      <section>Species: {data.species}</section>
      <section>Number of episodes featured: {data.episode.length}</section>
      <section>
        <h5>Location: {data.location.name}</h5>
        <h5>Gender: {data.gender}</h5>
      </section>
      <Link to="/">Back Home</Link>
    </main>
  );
}
Within this component, we are going to retrieve the id from Posts.lagoon.tsx. We’ll make use of the useParams Hook from our React Router instance to get the current id from our URL params. We’ll then take this id and append it to our Rick and Morty endpoint.
To call this endpoint, we’ll make use of useSWR and Axios. To use this, we’ll have to install both packages:
yarn add swr

yarn add axios
Next, we write a fetcher function that receives the endpoint, makes a GET request using axios, and returns the response.
const fetcher = (url: string) =>
axios.get(url).then((res: any) => res.data);
const { data, error } = useSWR(url, fetcher, { suspense: true });
We then make the actual request using useSWR. We pass in the fetcher function and assign suspense as true to handle our loading state.
The loading state is the temporary timeframe when we’re waiting for a response from the endpoint. If our requests work as expected, we assign the response to data. If there’s an error, we’ll display <div>failed to load</div>.
After this, we can display all the data within the component. We’ll also add a Link that’ll take us back to the home page.
<main>
  <h1>{data.name}</h1>
  <img src={data.image}></img>
  <section>Status: {data.status}</section>
  <section>Species: {data.species}</section>
  <section>Number of episodes featured: {data.episode.length}</section>
  <section>
    <h5>Location: {data.location.name}</h5>
    <h5>Gender: {data.gender}</h5>
  </section>
  <Link to="/">Back Home</Link>
</main>
Let’s now import this PostItem.lagoon.tsx component into our App.tsx as a route.
import "./App.css";
import { Suspense } from "react";
import { Route, Routes } from "react-router-dom";
import Home from "./Home";
import Preview from "./Preview.jsx";
import PostItem from "./PostItem.lagoon";
export function App() {
  return (
    <Suspense fallback={<div>loading...</div>}>
      <Routes>
        <Route index element={<Home />} />
        <Route path="/preview" element={<Preview />} />
        <Route path="/post/:id" element={<PostItem />} />
      </Routes>
    </Suspense>
  );
}

// App.tsx
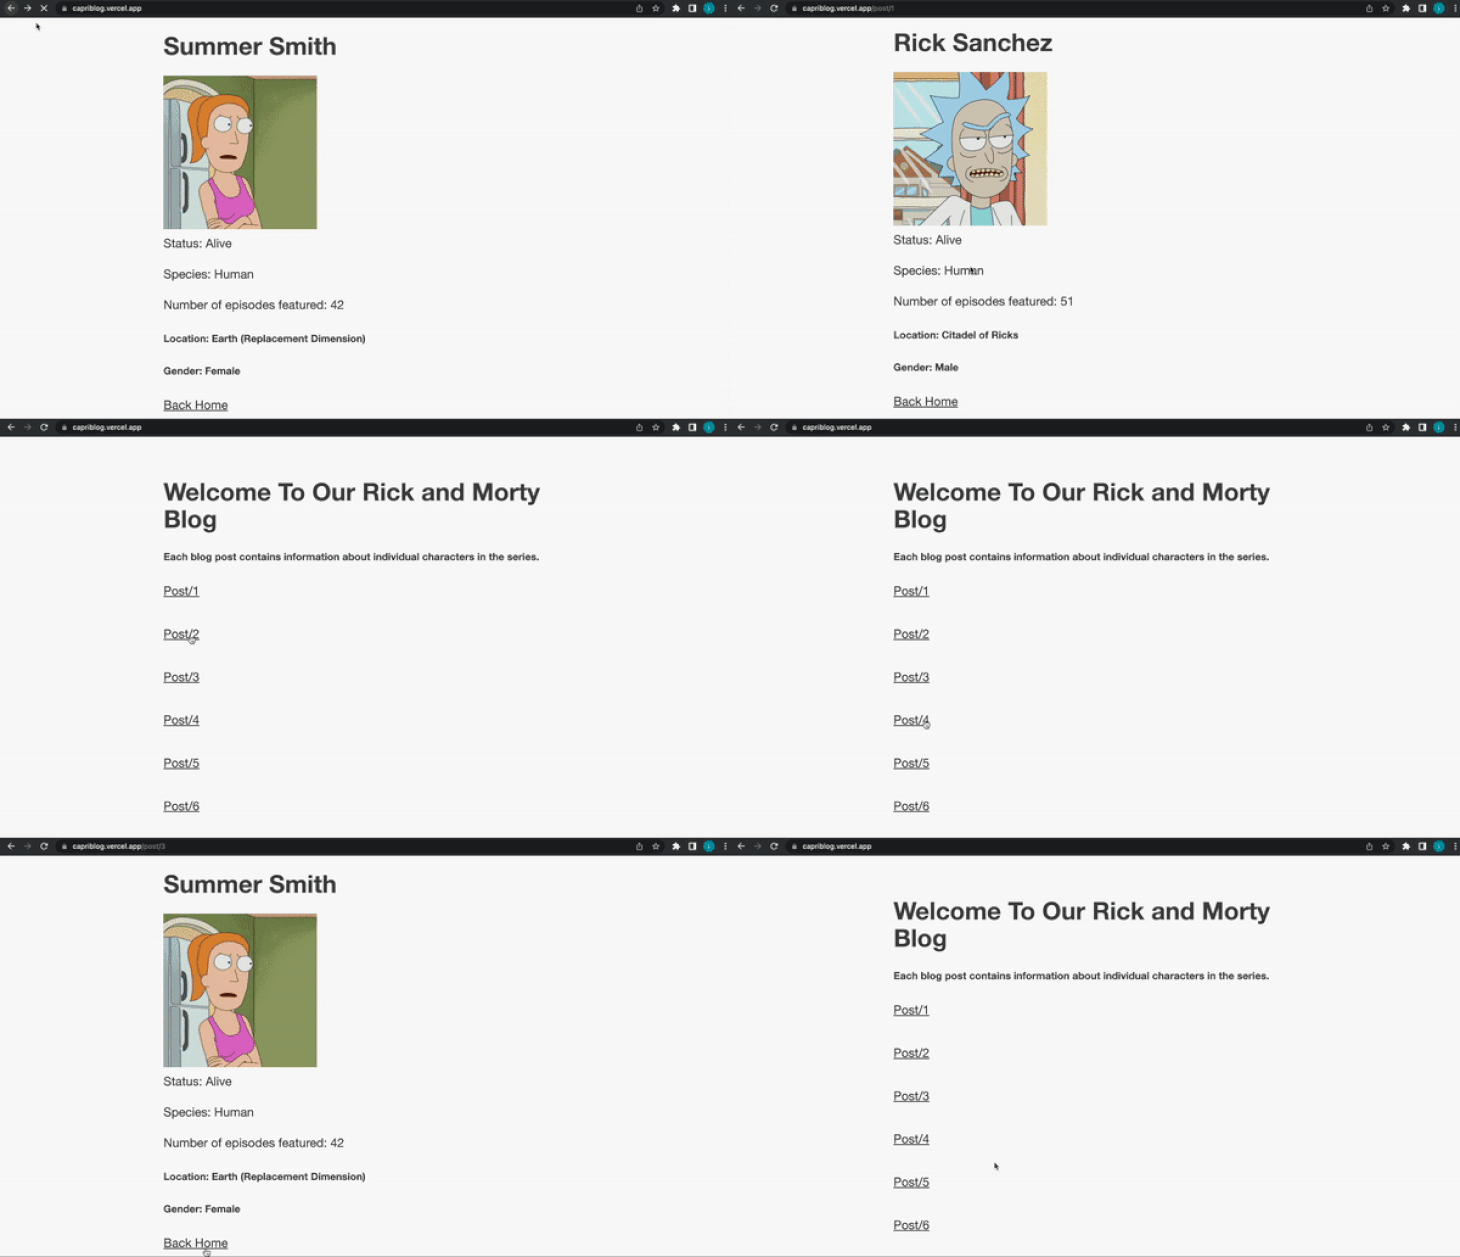
The live demo is right here, while the code is hosted on my GitHub.
Conclusion
Congratulations . We’ve successfully gotten started with Capri and spun up our own blog in record time.
If you’re looking for another project, you can merge the superpowers of Capri with headless content management systems (CMS) like Contentful or Storyblok. These CMSs act as a source for our data. You can upload the data to your preferred CMS and pull it into your Capri app.
The post Build an SSG blog with Capri appeared first on LogRocket Blog.
from LogRocket Blog https://ift.tt/Pkqgtr0
Gain $200 in a week
via Read more


