What is React Native Reanimated and when should you use it?
Have you ever built an app, showed it to your friends or clients, and they complained that it didn’t “feel smooth”? Maybe they recommended adding fluid animations, but you’re not an animator.
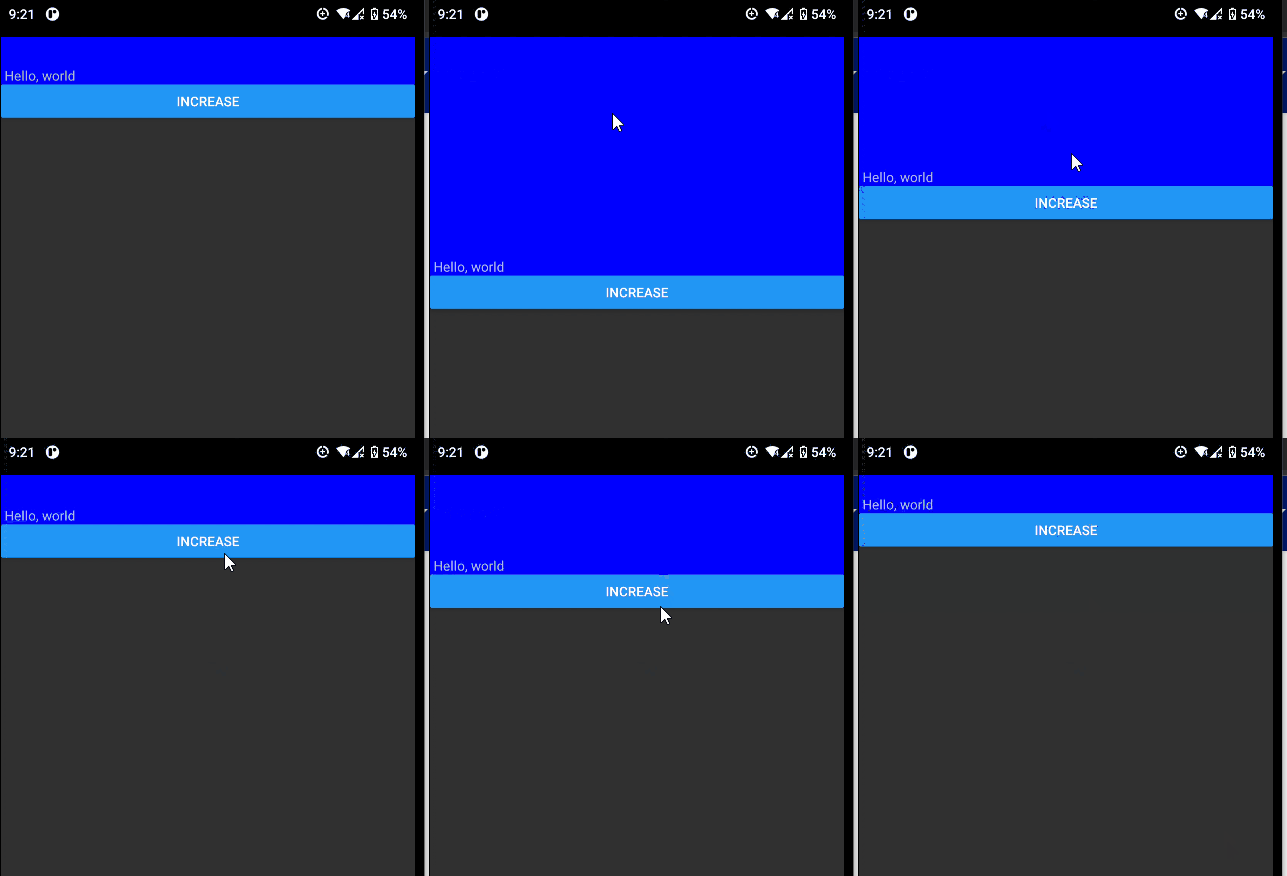
Right now, your app looks jittery like this:
But you want it to look like this with animation:
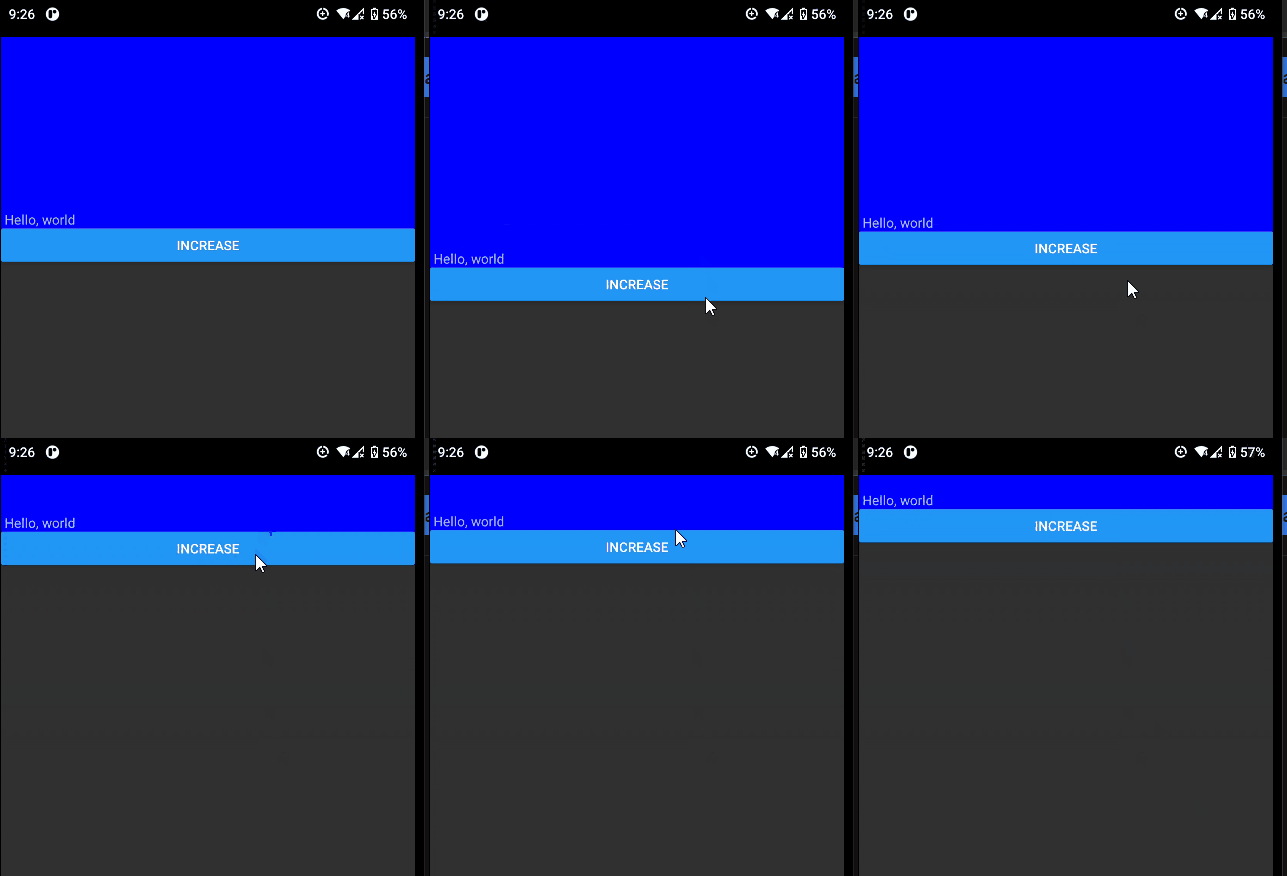
Undoubtedly, animations enhance the app’s user experience. However, when it comes to actually implementing them, we have to perform these steps:
- Write complex JavaScript code to create transitions
- Build custom math logic so that our animations have a more fluid motion
- Ensure that our animations are compatible with Fabric. This brings performance and security upgrades to the table
- Optionally, test your project thoroughly to check whether your animations are stable on all platforms
Although this is one approach to solve this problem, there is a minor issue: developing animations requires lots of skill and time. This is a major headache for small teams.
This is where React Native Reanimated comes in. It’s an open source React Native library (at around 6.5k stars on GitHub) that allows developers to implement animations.
Recently, the developer team has released version 3, which brings in major improvements. In this article, we will cover what’s new in React Native Reanimated.
Here’s what we’ll learn today:
New features in React Native Reanimated
According to the developers, most of the features are under-the-hood changes.
Shifting to Fabric
As of version 3, Reanimated now uses the Fabric architecture under the hood. This brings huge security and performance upgrades. As a result, this means that your app is secure and snappy.
For those who don’t know much about Fabric, let’s briefly cover the fundamentals and history.
Back in 2018, Facebook started developing a new renderer for the React Native library called Fabric. In the old process, React handled all UI operations via a sequence of cross-bridge steps. We can explain this via the following diagram:
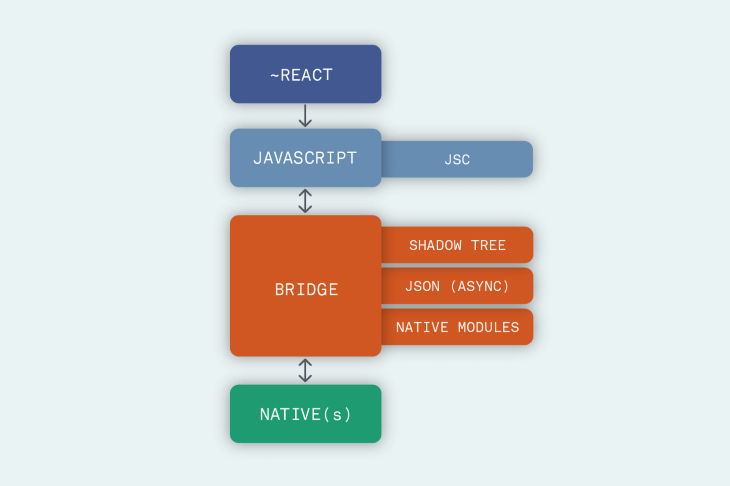
As the diagram shows, there are four sections:
- React code — this is the code that the developer writes
- JavaScript translation layer — this component translates React code into JavaScript
- The bridge — when the compiler has translated all the code, the bridge translates the JavaScript code into the native (host OS) specific instruction
- Native — the native platform code that runs on the device
While this method works as intended, there was one major flaw: the JavaScript and Native components communicated by asynchronous JSON messages via the bridge. Sometimes, the bridge transmitted messages slowly, thus causing performance issues.
To solve this problem, Facebook built a new renderer called Fabric. It includes many benefits, some of which include:
- Enhanced interoperability between host and React views — this means that the compiler can now render UI components in a synchronous manner. Before, React would render widgets asynchronously. As a consequence, this led to rendering bugs
- Integration with React suspense — this makes the data fetching process easier and robust.
- Type safety assurance: Under the hood, the library uses code generation to check for mismatches between JavaScript components and the host platform’s code. As a result, this brings in improved stability and reduces the chance of a run-time error
- Faster startup — React can now render host components quicker than before. This is possible via lazy initialization
Later on in the article, we will cover on how to migrate our codebase to use the Fabric architecture.
Ending support for Reanimated 1
The team has removed support for the deprecated Reanimated 1 API. The reason for this was porting Fabric to the older API meant too much effort. Consequently, this meant that projects using the legacy version will not run on the latest version of Reanimated.
If your app relies on the legacy API, here are some steps you can take:
- Replace the dependencies that use the old version
- Upgrade your dependencies. This way, you can improve your app’s performance and security as well
- Refactor the code to the new API. As a result, your code will be cleaner and easier to read
Building for Android
As of Reanimated 3, the library will not ship prebuilt binaries for Android. This means that the developer needs to have the Android NDK pre-installed before building their app. However, in most situations, this is not a problem since Android Studio already bundles the NDK.
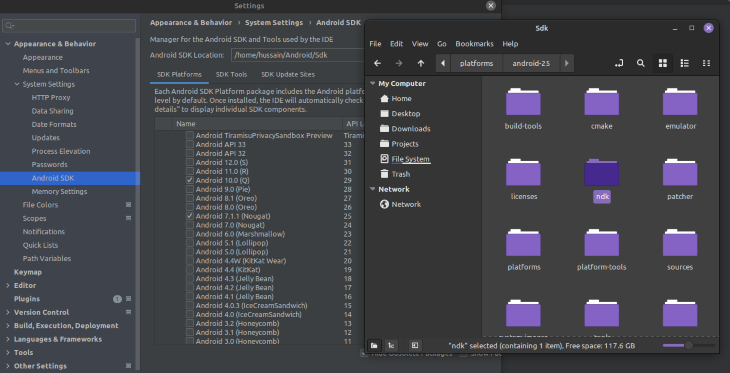
Furthermore, it is important to note that the developer has to compile the C++ code of Animated from source. We will cover this in detail during our migration.
Migrating to Reanimated v3
Project setup
First, initialize a blank React Native project like so:
npx react-native init reactAnimatedNew #initialize the project
cd reactAnimatedNew #navigate into project directory
Next, install the newest version of react-native-reanimated:
npm install react-native-reanimated@next
#make sure that '@next is appended, otherwise NPM will install version 2!
When that’s done, let’s now tell React that we want to use the Fabric renderer instead of its legacy counterpart.
Switching to Fabric
In this section, we will cover how to integrate Fabric in our project.
To build for Android, first navigate to android/gradle.properties. Here, find the newArchEnabled property and set it to true:
#in android/gradle.properties:
newArchEnabled=true
We‘ve instructed the compiler to enable Fabric for Android.
For iOS, run this command in your terminal:
cd ios
#change the flag that enables/disables Fabric:
RCT_NEW_ARCH_ENABLED=1 bundle exec pod install
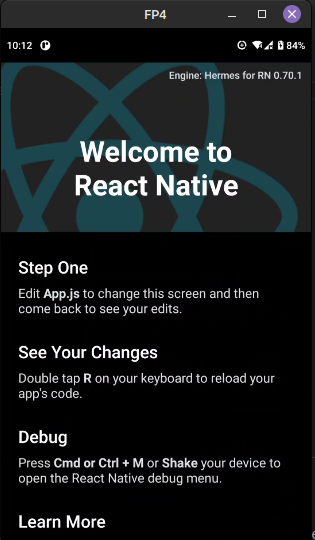
Let’s see if everything works! To build your project, run this terminal command:
npx react-native run-android
#in a new terminal window:
npx react-native start
One important thing to note is that unlike previous versions, the library will compile Hermes from source. This means that the build times of our projects will increase.
Creating an animation
Now that we have built our project using Fabric, let’s build a simple animation.
To do so, create a file called AnimatedRenderer.js. Here, start by writing the following code:
import Animated, {
  useSharedValue,
  useAnimatedStyle,
  withSpring,
} from "react-native-reanimated";
import { Button, View, Text } from "react-native";
export default function AnimationRenderer() {
  const height = useSharedValue(20); //this value is shared between worker threads
  const animatedStyles = useAnimatedStyle(() => {
    return {
      height: height.value, //change the height property of the component
    };
    return (
      <View>
        <Animated.View style={[{backgroundColor: 'blue'}, animatedStyles]}>
          <Text> This text space will expand</Text>
        </Animated.View>
    {/* When clicked, increment the shared value*/}
    {/* this will increase the height of the component.*/}
      <Button
          onPress={() => (height.value = height.value + 1)}
          title="Increase" //when clicked, increment 'height'
        />
      </View>
    );
  });
}
A few inferences from this code:
- We created an offset variable, which is an instance of the
useSharedValueHook. This allows us to build animated values - Later on, we then used the
useAnimatedStylesHook to tell React that we want to animate the height property - Finally, we attached our
animatedStylesvariable to ourAnimated.Viewcomponent for animation purposes
As a final step, all that’s left for us is to render our custom component to the UI. To do so, modify your App.js file like so:
//App.js
import React from "react";
import { SafeAreaView } from "react-native";
import AnimationRenderer from "./AnimationRenderer";
export default function App() {
  return (
    <SafeAreaView style={backgroundStyle}>
      <AnimationRenderer /> {/*render our custom component to the DOM */}
    </SafeAreaView>
  );
}

Notice that our animation is jittery. To smoothen it, we can use the withSpring method:
//AnimationRenderer.js:
<Button
  onPress={() => (offset.value = withSpring(offset.value + 10))}
  title="Increase"
/>;
This results in a more fluid animation:

Conclusion
The Reanimated library has the following alternatives:
Even though they are easier to use, Reanimated allows for more granular control and performance via worklets. Furthermore, with Fabric support, the library brings in more security and snappiness out of the box. When it comes to personal projects, Reanimated has always been a part of my arsenal.
Thank you so much for reading!
The post Smooth animations with React Native Animated 3 appeared first on LogRocket Blog.
from LogRocket Blog https://ift.tt/qJ8tQxI
Gain $200 in a week
via Read more


