


Introduction
In this post, we are going to learn how to Dockerize a Go application. Specifically, we are going to learn how to install Go inside a Docker container via a file, called the Dockerfile. Not to worry — we will learn more about Dockerfiles as we proceed.
If you’re not familiar, Go is an open source, statically typed, compiled programming language that lets you build simple, reliable, and efficient software. It is used to build web apps, cloud-native applications, CLIs, and so on — even Docker is written in Go!
We will create a minimal Go project for demo purposes and show how to expose local folders inside the Docker container for easy development. This is so that we do not have to rebuild the Docker container every time we make a change in our Go app.
Jump ahead:
- Advantages of Dockerizing your apps
- Prerequisites
- Setting up our development environment
- An intro to Dockerfiles
- Building the Docker image for our application
- Run our Docker image inside of a container
Advantages of Dockerizing your apps
Docker is an open-source project that allows developers to package their applications with all necessary dependencies, configurations, scripts, etc. inside that container and deploy it as a single entity. This easily automates the deployment of applications inside an environment, called a container, and allows these applications to easily run on any host operating system.
The advantage of this approach is that, instead of deploying our applications inside virtual machines, which come with some bottlenecks relating to the available OS, you deploy inside a Docker container, which is more efficient because it can use a single host (in this case, a Linux operating system with all its underlying resources) to serve our applications. With this approach, we don’t have to care how or where we deploy our application because we no longer have to consider the target OS.
For instance, virtual machines run applications inside a guest OS. Containers, on the other hand, offer us a sandboxed way to package our application and abstract it from the environment in which it actually runs, i.e., the host. This allows applications built with Docker to be easily deployed, irrespective of the target OS. Therefore, it is easier for developers to create applications that can run anywhere and can be sure they run without issue because they are isolated from the rest of the host OS processes.
Prerequisites
For this post, all we have to be familiar with is a basic usage of the command line and a text editor and we should be good to go. Prior experience in developing web applications with Go will be helpful, but is not absolutely required. To get started with Go, please check out this link from the documentation.
Lastly, please create an account on DockerHub and install it on your development machine based on your operating system of choice.
Setting up our development environment
To proceed we need to install the following based on our operating system.
- Go version ≥ 1.16. You might want to download and install Go first
- Docker running locally. Follow the instructions to download and install Docker
- An IDE or a text editor to edit files. In this post, we will be making use of Visual Studio Code, but any other modern code editor is also fine
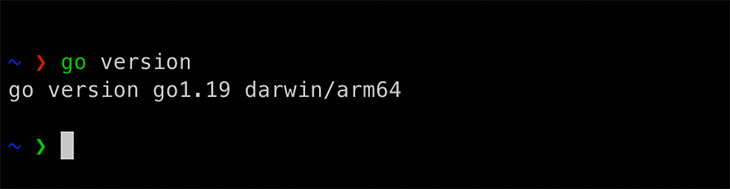
In this post, we’ll be using macOS. After downloading Go, click the .pkg file, extract the Go package on your system path, and install Go. Once Go is installed, we can confirm the version by running the following command in our terminal:
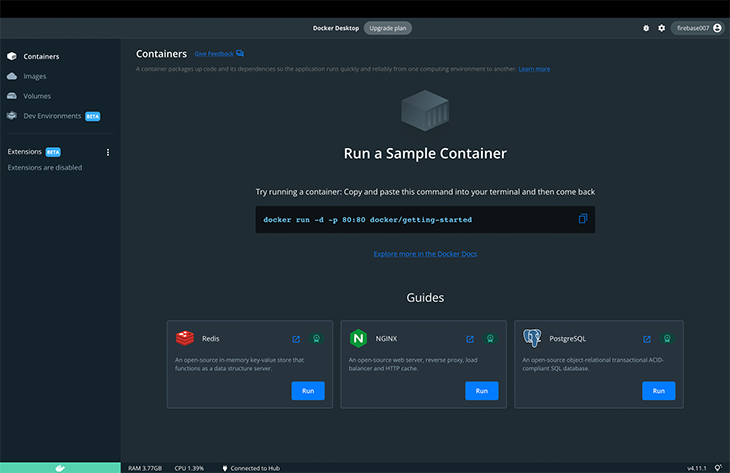
After that, proceed to download and install the Docker desktop on your local machine. An image of the Docker desktop after installation is shown below.
Also, to confirm we have Docker installed on our system, we can run the following command:
docker --version

Next, let us proceed to bootstrap a minimal Go application, since for this post, our focus is not on learning Go. To begin, create a new folder and name it go-demo on any path on your local machine.
mkdir go-docker-demo
Navigate into the directory.
cd go-docker-demo
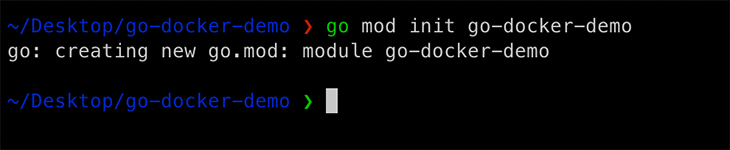
Run the following command to spin up a new Go module:
go mode init go-docker-demo
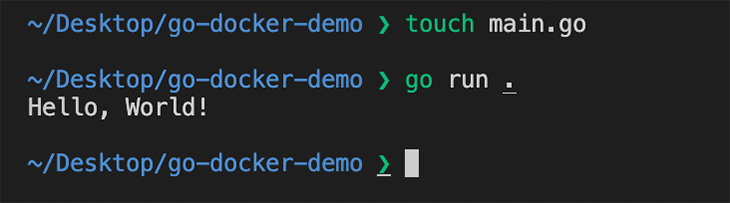
Open the folder in your code editor. Inside our project folder, create a file named main.go, and paste the following code into file. Save the file and see below.
package main
import "fmt"

func main() {
    fmt.Println("Hello, World!")
}
To test that the code runs as expected, run either the go run . or go run main.go command from the terminal. The output is shown below.
Now that all is working as expected, in the next section we will proceed to learn about creating Dockerfiles. Let’s proceed.
An intro to Dockerfiles
A Dockerfile usually contains the necessary instructions for building Docker images for your program. Using the docker build command on the CLI, we can create an automated build that executes several command-line instructions in succession.
For example, we can make use of the -f flag with the docker build command to point to a Dockerfile anywhere in our system path. This command builds a Docker image based on the instructions in the Dockerfile.
docker build -f /path/to/docker/file
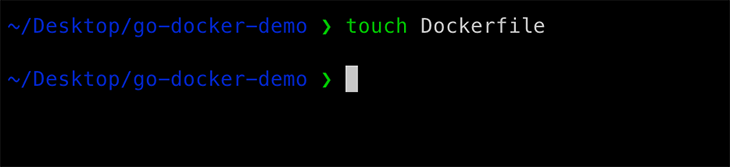
In order to create a Dockerfile for our application, create a new Dockerfile in the root of our project.
Inside the Dockerfile, proceed to write the instructions needed to build our Docker image for our Go application. Add a line inside the file that tells Docker which base image we should use for our application.
FROM golang:1.16-alpine
This line tells our Dockerfile to inherit and make use of the golang:1.16-alpine image as a base image for our own application image. This image is an official Go image that is already hosted and distributed, and contains all of the tools and packages needed to run a Go app. This means that we do not have to reinvent the wheel and create a new base image from scratch, but rather extend a preexisting, standard one for our own image needs.
Next, we can proceed to include the next lines for our Dockerfile. In the following section, we will go over what each line represents.
WORKDIR /app

COPY go.mod ./
RUN go mod download

COPY *.go ./

RUN go build -o /go-docker-demo

EXPOSE 8080

CMD [ "/go-docker-demo" ]
First, the WORKDIR /app line creates a new directory inside the Docker image. The idea is to use this directory to house our Docker image and run the rest of our Docker commands inside that directory so that it can serve as the new reference point for our source code inside the Docker container moving forward.
The next two lines, from 3-4, copy the contents in the go.mod file and paste them into the app directory, which is our current working directory inside our Docker container. As we can see, we have made use of the COPY command, which tells Docker the location of the file we want to copy and the destination we intend to copy it into.
Next, we want to install the modules needed to compile our Go app. This step comes after we have copied the file in the last step into the project folder. The RUN command executes and installs the Go modules into the directory inside the image.
Now that we have pulled the Docker image from DockerHub and installed the modules in our go.mod and go.sum files, the next step is to copy our source code into the image. As we can see on line 7, we basically use a wild card to copy all files that end with the .go extension into the current path or working directory. This is the same directory where the Dockerfile is also located, inside the Docker image.
The next step is to build our application as we would locally. To do so, we use the RUN command again. As we can see on line 9, we are using the go build command to build our Go app. This will create a Go binary with the same name in the root of the Docker image, the same way it does on our local machine when we run go build.
Finally, it is time to run our Docker image. We need to tell Docker which command to run when the image is used to start a container. On line 13 in the Dockerfile above, we can see the CMD argument with the name of the binary in the same path. This runs our code inside the Docker container.
Now that we are done with setup, let‘s proceed to build the Docker image inside the container in the next step.
Building the Docker image for our application
A Docker image contains configuration for a Docker container, such as environment variables, a default command to run, and other metadata. An image should also have everything you need to run an application, including the code or binary, runtime, dependencies, and any other file system objects required.
To build an image, we use the docker build command, which creates a Docker image from the Dockerfile. Proceed to the terminal and run the command in the current directory:
docker build -t go-docker-demo .
The -t flag is a tag to help us identify our Docker image. See the output of this command below.
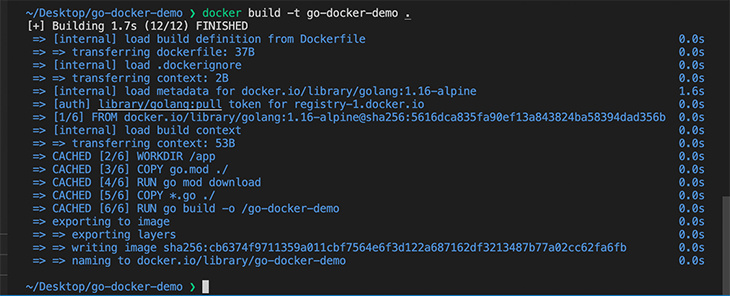
As we can see above, we have successfully built our Docker image inside the container. To verify, we can view our image inside the container by running the command below:
docker image ls
The output is shown below.
![]()
In the next step, we are going to run our Docker image.
Run our Docker image inside of a container
To run our image inside of a container, we can make use of the docker run command. It requires one parameter: the image name.
Let’s start our image and make sure it is running correctly. Run the following command in your terminal.
docker run go-docker-demo
To verify the output of this command, and that our code runs as expected inside the Docker container as it would locally:

We can run the docker ps command to show us a list of containers running on our machine.

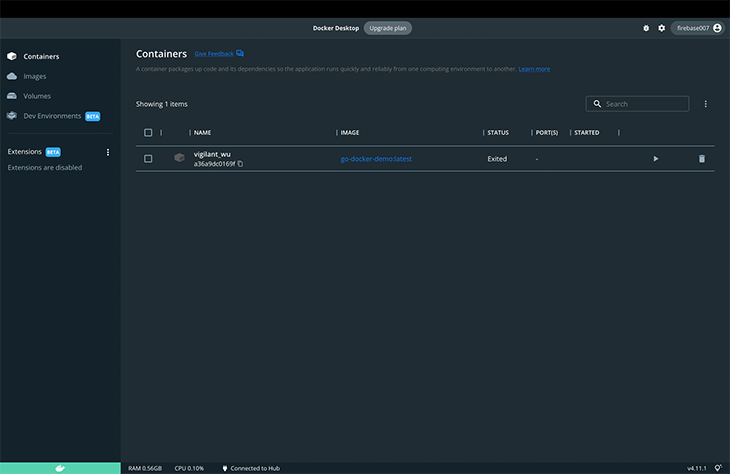
The image above indicates that we did not see an image running — because our app is not like a web server that runs continuously. For apps that run continuously, we would see a container image running continuously with all the other details.
Another way to confirm is to visit the Docker desktop. Navigate to the screen below to view the logs.
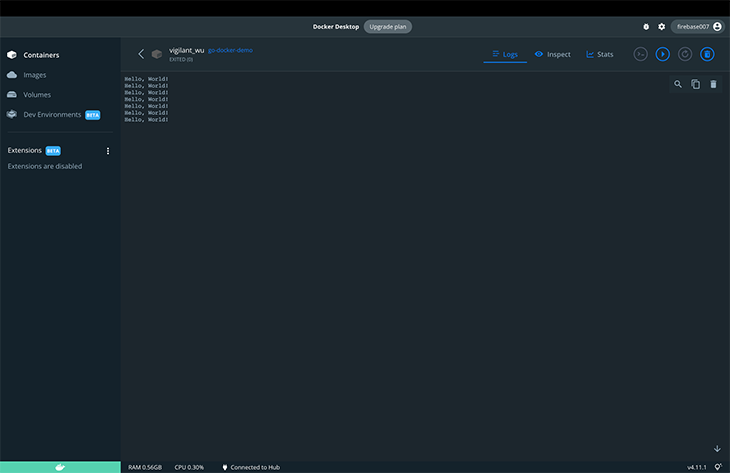
If we click the Docker image and check the logs, we can see that our image is up and running.
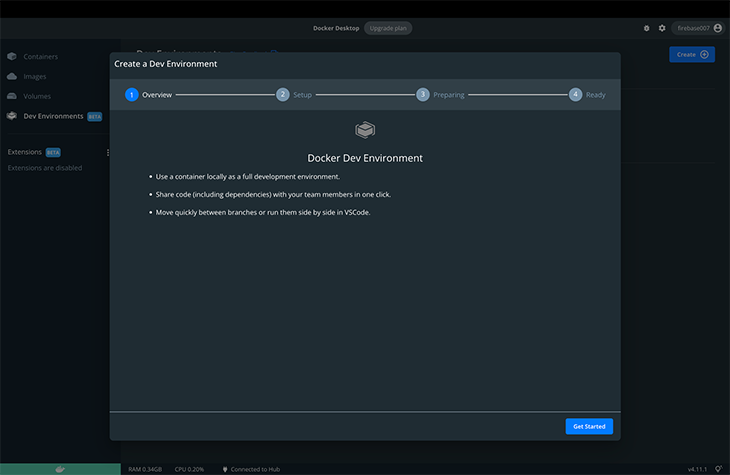
Finally, we can run our container locally as a full development environment with the dev environment option in the Docker desktop app (although it is currently in public beta, so there might be some subtle bugs). To try it out, navigate to the Create a Dev Environment tab on Docker desktop.
Click the Get Started button, create a new dev environment, and select the Local Directory radio button. Finally, add the path to your local repository.
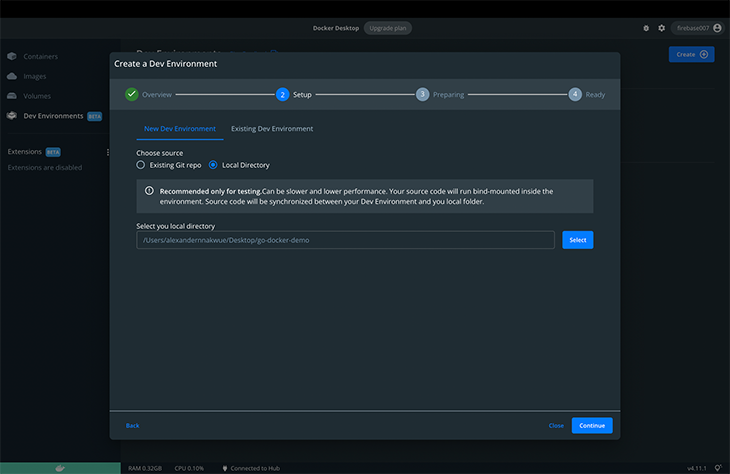
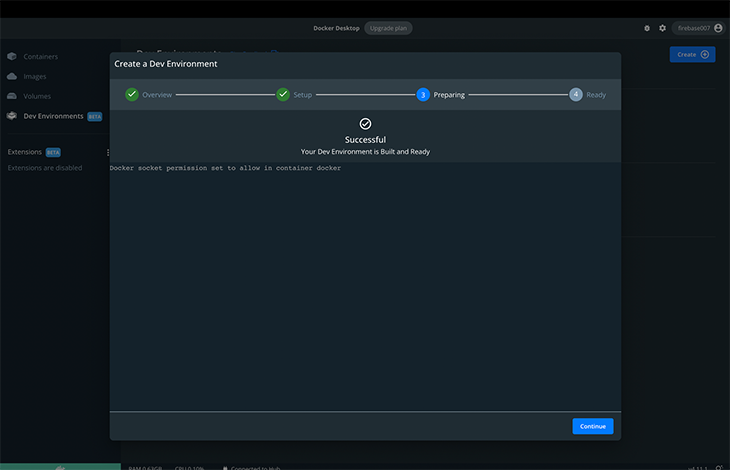
Click Continue and wait for the dev environment to be built.
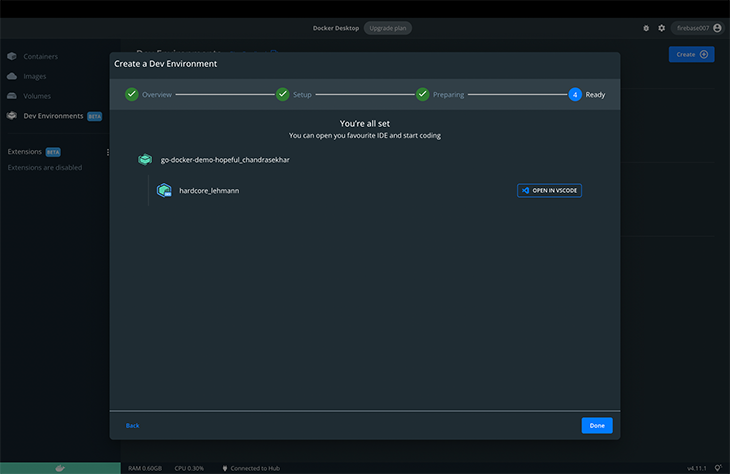
We can proceed to open the Docker image in our code editor. Currently, it integrates with VS Code.
Conclusion
In this post, we have learned how to Dockerize a Go application using the standard Go base image from DockerHub. We have gone through all the steps from setting up a basic Go app, setting up the Dockerfile, understanding the steps in the Dockerfile, building our Docker image, and running our image inside the Docker container.
As we have seen, Docker is a tool that is relevant to most code infrastructure setups due to its importance, some of which we have earlier outlined in this post. Another advantage of Docker containers is that they make our apps more portable because we can reuse and distribute them more easily. They also give the developer more control over resources, which can result in better use of computing resources.
The post Dockerizing your Go application appeared first on LogRocket Blog.
from LogRocket Blog https://ift.tt/abS3VWO
Gain $200 in a week
via Read more


