HTTP routers are tools and libraries that help receive and relay network requests to the specified handlers. HTTP routers run on servers, intercept incoming requests, and designate requests to specified handler functions.
Routers vary between backend frameworks; most backend frameworks ship with routers and many other functionalities for building software faster.
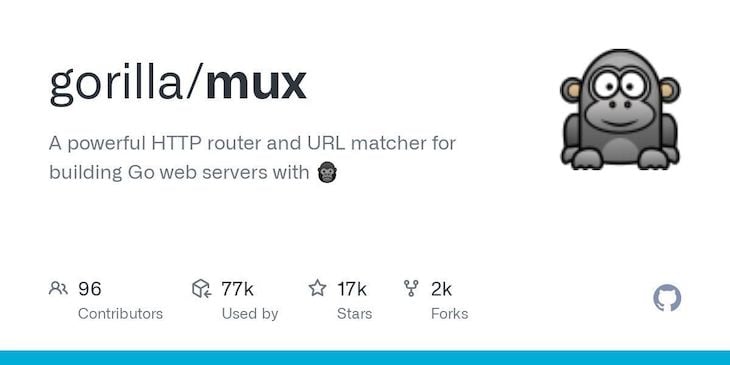
The Gorilla Mux package is one of the most popular routers and projects in the Go ecosystem, used in popular projects like Geth because of the package’s diverse features. Gorilla Mux provides functionalities for matching routes, serving static files, building single-page applications (SPAs), middleware, handling CORS requests, and testing handlers.
This tutorial will walk you through using the Gorilla Mux package as a router for your applications. You’ll learn how to use Gorilla Mux by building a simple API with it.
To jump ahead in this article:
- Getting started with Gorilla Mux
- Parsing structs into JSON in Go
- Routing with the Gorilla Mux package
- Setting up handler functions
- Setting up a server
- Gorilla Mux router vs. Chi router
Getting started with Gorilla Mux

Once you’ve set up your Go workspace, run this command in your working directory to install the Gorilla Mux package:
go get -u github.com/gorilla/mux
After installing the Gorilla Mux package, import the packages and modules that you’ll be using in this tutorial at the top of your Go file, like so:
import (
        "encoding/json"
        "github.com/gorilla/mux"
        "log"
        "net/http"
)
Gorilla Mux depends on the standard http package, and you’ll use the http package in many parts of this tutorial, including setting up a server. You’ll use the json package to encode and decode structs to JSON and vice versa.
Parsing structs into JSON in Go
Here’s the struct you’ll use as the model in this tutorial:
type Bio struct {
        Name string `json:"name"`
        Age  int    `json:"age"`
}
Gorilla Mux doesn’t provide functionality for parsing structs to JSON as frameworks like Fiber does. You can use the json package to decode JSON requests and encode structs as JSON responses to clients.
Here’s an example of encoding and decoding with the json package.
Start by creating the Go variable you want to decode:
var human Bio
The human variable is an instantiation of the Bio struct. You can use the Decode method of the NewDecoder method to parse the body of a request into the initialized struct.
 err := json.NewDecoder(request.Body).Decode(&human)
        if err != nil {
                log.Fatalln("There was an error decoding the request body into the struct")
        }
Similarly, you can use the Encode method of the NewEncoder method to write a struct that will be encoded as JSON to the client.
err = json.NewEncoder(writer).Encode(&human)
        if err != nil {
                log.Fatalln("There was an error encoding the initialized struct")
}
Routing with the Gorilla Mux package
You can create a router instance with the NewRouter method, like so:
router := mux.NewRouter()
After declaring a new router instance, you can use the HandleFunc method of your router instance to assign routes to handler functions along with the request type that the handler function handles. Here’s an example:
router.HandleFunc("/api/v1/example", exampleHandler).Methods("GET")
The HandleFunc method assigned the api/v1/example route to the exampleHandler handler function to handle GET requests.
These are the router declarations for the endpoints of the CRUD API you’ll be building in this tutorial:
router.HandleFunc("/create", create).Methods("POST")
router.HandleFunc("/read", read).Methods("GET")
router.HandleFunc("/update", update).Methods("PUT")
router.HandleFunc("/delete", delete_).Methods("DELETE")
Next, you’ll create these handler functions and set up a server.
Setting up handler functions
The handler function is where you’ll declare the business logic for your application. Depending on the operation, you’ll be using a writer and request an instance of the http.ResponseWriter and/or *http.Request types, respectively.
func example(writer http.ResponseWriter, request *http.Request) {
        writer.Header().Set("Content-Type", "application/json")
}
The response content type is set to JSON in the example handler function above.
var BioData = make([]Bio, 0)
The BioData variable above is the slice we will use as a data store in this tutorial. For your projects, you can check out these tutorials on MongoDB and the GORM ORM for how to use a database with Go.
The create handler function was assigned as a POST request, so the business logic will save the request body to a data store.
func create(writer http.ResponseWriter, request *http.Request) {
        writer.Header().Set("Content-Type", "application/json")
        writer.WriteHeader(http.StatusOK)
        var human Bio
        err := json.NewDecoder(request.Body).Decode(&human)
        if err != nil {
                log.Fatalln("There was an error decoding the request body into the struct")
        }
        BioData = append(BioData, human)
        err = json.NewEncoder(writer).Encode(&human)
        if err != nil {
                log.Fatalln("There was an error encoding the initialized struct")
        }

}
The create handler function writes the StatusOk header to the client on request receipt, decodes the JSON request body into the human struct instance, saves the human struct to the BioData slice, and writes the human struct back to the client.
The read handler function was assigned to a GET request; thus, the business logic will fetch data from the data store and return the data to the client based on the client’s request.
func read(writer http.ResponseWriter, request *http.Request) {
        writer.Header().Set("Content-Type", "application/json")
                params := mux.Vars(request)["name"]
        for _, structs := range BioData {
                if structs.Name == name {
                        err := json.NewEncoder(writer).Encode(&structs)
                        if err != nil {
                                log.Fatalln("There was an error encoding the initialized struct")
                        }
                }
        }

}
The read function reads the name parameter of the request using the Vars method of the mux package, loops through the data store, and returns the struct that matches the name query to the client as JSON.
The update handler function was assigned to the PUT request so that the business logic would update a struct in the BioData data store.
func update(writer http.ResponseWriter, request *http.Request) {
        writer.Header().Set("Content-Type", "application/json")
        var human Bio
        err := json.NewDecoder(request.Body).Decode(&human)
        if err != nil {
                log.Fatalln("There was an error decoding the request body into the struct")
        }
        for index, structs := range BioData {
                if structs.Name == human.Name {
                        BioData = append(BioData[:index], BioData[index+1:]...)
                }
        }
        BioData = append(BioData, human)
        err = json.NewEncoder(writer).Encode(&human)
        if err != nil {
                log.Fatalln("There was an error encoding the initialized struct")
        }
}
The update function parses the JSON in the request body into the human variable, loops through the BioData slice, deletes the entry if it exists, and appends the human struct from the request body.
The delete_ handler function was assigned the DELETE request; thus, the business logic would delete a struct from the data store.
func delete_(writer http.ResponseWriter, request *http.Request) {
        writer.Header().Set("Content-Type", "application/json")
        params := mux.Vars(request)["name"]
        indexChoice := 0
        for index, structs := range BioData {
                if structs.Name == name {
                        indexChoice = index
                }
        }
        BioData = append(BioData[:indexChoice], BioData[indexChoice+1:]...)
}
The delete_ function retrieves the name parameter from the request, loops through the BioData data store, and deletes the entry if it exists.
After setting up handler functions, the next step is to set up a server that listens for requests.
Setting up a server
You can set up a server using the ListenAndServe method of the http package. The ListenAndServe method takes in the port for the server and the router instance, if any.
func Run() {
        router := mux.NewRouter()
        router.HandleFunc("/create", create).Methods("POST")
        router.HandleFunc("/read", read).Methods("GET")
        router.HandleFunc("/update", update).Methods("PUT")
        router.HandleFunc("/delete", delete_).Methods("DELETE")

        err := http.ListenAndServe(":8080", router)
        if err != nil {
                log.Fatalln("There's an error with the server," err)
        }

}
Calling the Run function in the main function of your project should start up a server on the local host port 8080. And that’s all you need to know to get started with Gorilla Mux!
Gorilla Mux router vs. Chi router

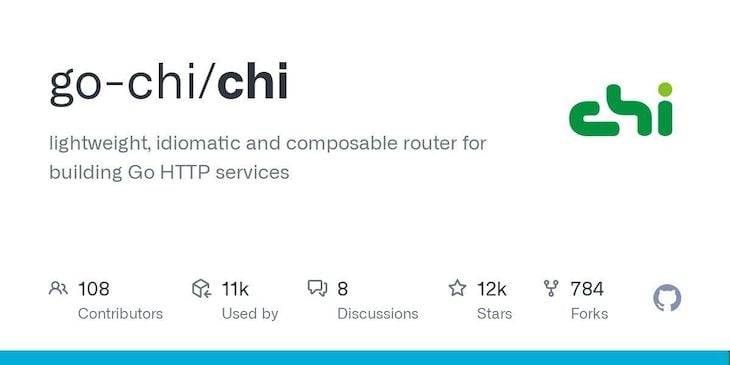
Chi is a lightweight, composable router for building HTTP services in Go. You’ll find the Chi router useful for building large RESTful API services you want to maintain and support over time. Heroku, Cloudflare, and 99designs use the Chi router in production.
Chi is built on the context package, making it suitable for handling signaling, cancellation, and request-scoped operations across handler chains. The Chi package also contains sub-packages for middleware and generating documentation, and a rendering package for managing HTTP requests and response payloads.
Here’s a quick example of routing with the Chi router.
import (
        "net/http"
        "github.com/go-chi/chi/v5"
        "github.com/go-chi/chi/v5/middleware"
)

func main() {
        router := chi.NewRouter()
        router.Use(middleware.Logger)
        router.Get("/", func(writer http.ResponseWriter, request *http.Request) {
                writer.Write([]byte("welcome to the chi"))
        })
        http.ListenAndServe(":3000", router)
}
The main function starts up a server that listens on port 3000 and writes a string to the client as a response.
When you start a new project, you might wonder which router to use. Here’s a comparison between the two router packages to help you decide based on what you’re building.
| Metric | Gorilla Mux | Chi Router |
|---|---|---|
| Speed | Fast, see benchmarks | Fast, see benchmarks |
| Documentation Generation | No | Yes |
| Popularity | 17k stars, used in 77k projects on GitHub | 12k stars, used by 11k projects on GitHub |
| Rendering | Yes | Yes |
| MiddleWare | Yes | Yes |
| WebSockets | Yes | Yes |
| Testing | Yes | Yes |
The Gorilla Mux and Chi router are both great at routing, but you’ll find most Go developers use Gorilla Mux because it’s older and because there are more learning resources for Gorilla Mux.
Conclusion
In this tutorial, you learned about the Gorilla Mux and Chi router packages, how to route and build APIs with the Gorilla Mux router, and read an overview of the two packages to help you make better decisions for your projects.
Check out how these Go frameworks can help you build web applications faster.
The post An intro to routing in Go with Gorilla Mux appeared first on LogRocket Blog.
from LogRocket Blog https://ift.tt/XJP3ud9
Gain $200 in a week
via Read more


