Many of us use sites like Facebook to connect with friends and loved ones, sharing moments of our lives online for them to see and respond to. However, Facebook is in sole control of the data stored on its servers. Therefore, many users feel that they are practically giving Facebook their personal data, and Facebook can choose to edit, restrict, or wipe the data they share.
However, the blockchain and Web3 solve these problems through decentralization, effectively removing this power from governments and organizations, ensuring that ownership of this data remains with the users.
In this tutorial, we’ll explore the Cosmos SDK, a blockchain framework, and we’ll learn how to deploy smart contracts written for the Ethereum to the Cosmos blockchain. Let’s get started!
- Cosmos
- Deploy smart contracts on Cosmos
- Create a Truffle project
- Create a
Hellosmart contract - Add evmos configuration
- Compiling our smart contract
- Deploy our smart contract
Cosmos
Cosmos is an SDK used in building a blockchain. With Cosmos, we can write our custom blockchain, test the blockchain in a testnet, launch the blockchain to a mainnet, and connect to other Cosmos blockchains.
Cosmos is open source, meaning that the SDK is built and maintained by the Cosmos developer community. Written in the Go programming language, Cosmos is modular, scalable, and interoperable with other Cosmos blockchains.
Deploy smart contracts on Cosmos
You can deploy smart contracts written in Solidity on the Cosmos blockchain, including ERC-20 tokens. Therefore, you can deploy the same smart contracts that you wrote for the Ethereum blockchain on the Cosmos blockchain.
In this section, we’ll learn how to deploy smart contracts on the Cosmos blockchain by deploying to Evmos. Evmos is a scalable blockchain built using the Cosmos SDK that runs on the Tendermint Core consensus engine.
Evmos is compatible with EVM and Web3, has fast transactions, and implements the Tendermint Core. We’ll write our smart contract using Truffle, but first, we have to install the Truffle utility tool.
Create a Truffle project
Install the Truffle tool by running the following command:
npm install -g truffle
To create a new Truffle project, run the following command:
mkdir cosmoprj
cd cosmoprj
truffle init
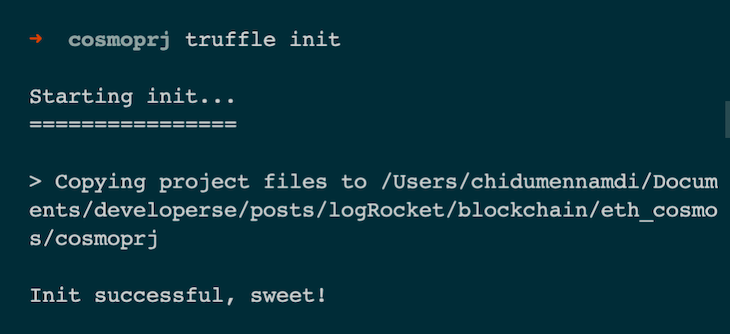
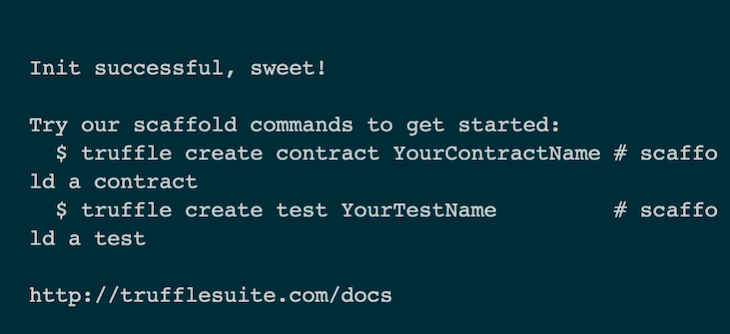
Our project will have the following structure:
cosmoprj/
├── /contracts
├─── /Migrations.sol
├── /migrations
├─── /1_initial_migration.js
├── /test
├── package.json
└── truffle-config.js
migrations/: Contains our migration scriptscontracts/: Contains our smart contractspackage.json: Contains our dependenciestruffle-config.js: Contains our Truffle configurationtest/: Contains our test scripts
Create a Hello smart contract
We’ll create a smart contract called Hello that will print the message Hello World. Run the command below to create a contract Hello file:
truffle create contract Hello
Now, we’ll see a Hello.sol file in our contracts folder. Open the file and add the following code:
// SPDX-License-Identifier: MIT
pragma solidity >=0.4.22 <0.9.0;

contract Hello {
  function sayHello() public pure returns (string memory)  {
    return "Hello, world!";
  }
}
We have a function called sayHello that returns a string. The public keyword means that this function can be called by anyone, and the pure keyword means that the function will not modify any state.
Add Evmos configuration
Now, we’ll deploy our smart contract to the Evmos Testnet. Evmos offers many testnets that we can use, but for this tutorial, we’ll use the Evmos Testnet testnet. We’ll configure this testnet in our truffle-config.js file:
const HDWalletProvider = require("@truffle/hdwallet-provider");

const mnemonic =
  "candy maple cake sugar pudding cream honey rich smooth crumble sweet treat";

module.exports = {
  networks: {
    evmos: {
      provider: () =>
        new HDWalletProvider(mnemonic, "https://eth.bd.evmos.dev:8545"),
      network_id: 9000,
      chain_id: 9000,
    },
  },

  // Set default mocha options here, use special reporters etc.
  mocha: {
    // timeout: 100000
  },

  // Configure your compilers
  compilers: {
    solc: {
      version: "0.8.13", // Fetch exact
    },
  },
};
We required the @truffle/hdwallet-provider package, which allows us to connect to the Evmos Testnet. The @truffle/hdwallet-provider package is also an HD wallet-enabled Web3 provider used to sign transactions for addresses derived from a 12-word mnemonic. The mnemonic variable is the 12-word mnemonic that we used to generate our private key and from which our addresses are generated.
We pass "https://eth.bd.evmos.dev:8545" as the provider URL, which is the URL of the Evmos Testnet.
The network_id is the ID of the network that we are connecting to, and the chain_id is the ID of the chain that we are connecting to. We use the solc property to configure the Solidity compiler; we’re using version 0.8.13.
Next, let’s install the @truffle/hdwallet-provider package:
npm install --save @truffle/hdwallet-provider
Compiling our smart contract
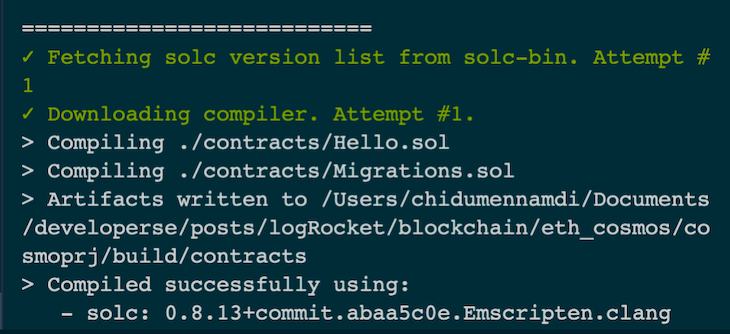
Let’s compile our smart contract using the truffle compile command:
truffle compile
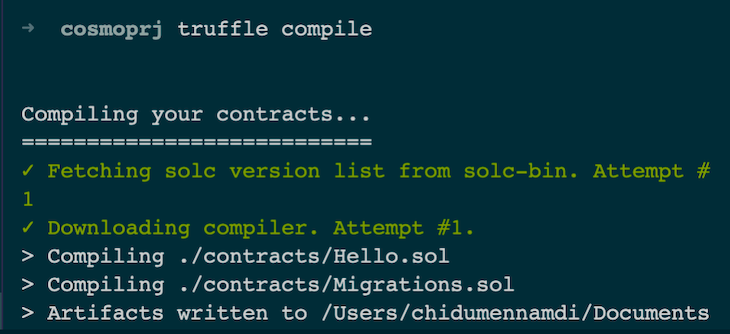
We’ll see that a new build folder was generated, which contains the compiled smart contract. The compiled smart contract is stored in the build/contracts folder.
In the folder, we’ll see Hello.json and Migrations.json. These files are the compiled smart contract, and they contain the ABI and the bytecode of the smart contract.
Deploy our smart contract
With that completed, we can deploy our smart contract. We’ll use the truffle migrate command:
truffle migrate --network evmos
The code above will deploy our smart contract to the Evmos Testnet. See that we used the --network flag to specify the network that we want to deploy to, in our case, the evmos network. We’ll see the following in our console:
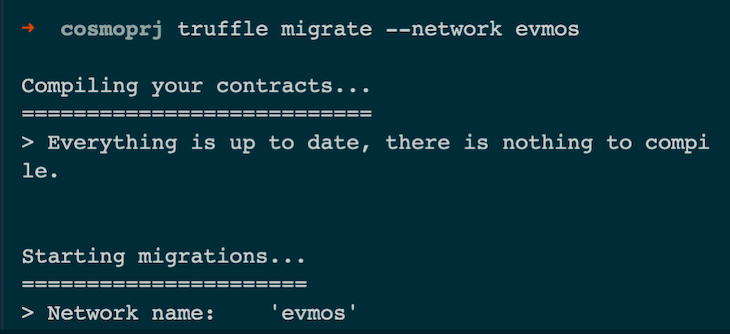
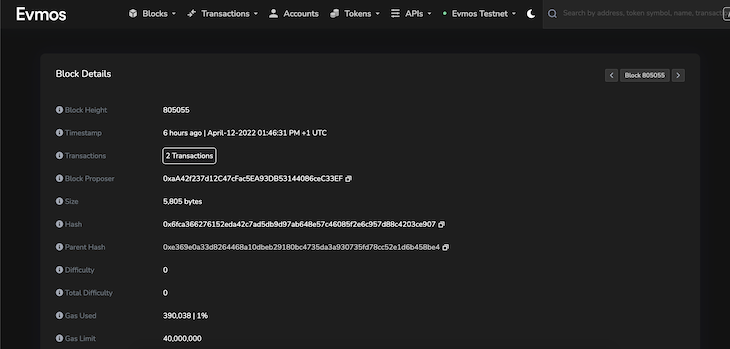
Our block number is 805055, which is the block number of the transaction that was executed. We’ll use this block number to query the smart contract.
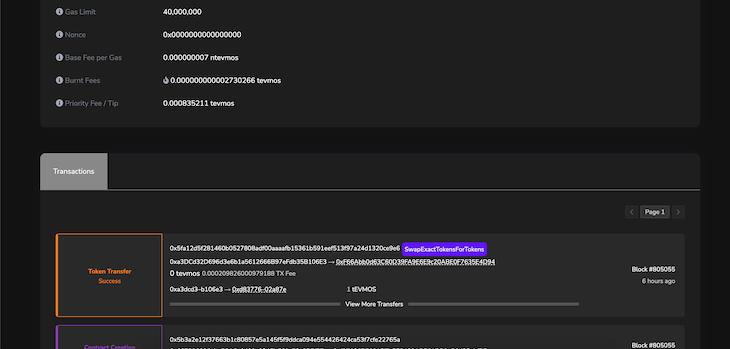
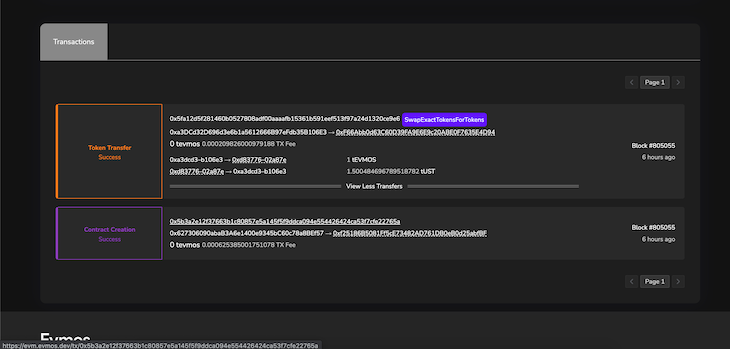
Let’s view this block in the Evm Explorer https://evm.evmos.dev/blocks/805055:
Conclusion
A benefit of both Cosmos and Evmos is that thay are both compatible with the Ethereum blockchain. We can port our smart contracts to the Cosmos blockchain and deploy them to the Evmos Testnet easily without any configuration.
In this article, we learned what Cosmos is and reviewed how to create a smart contract using Truffle. Finally, we learned how to deploy our smart contract to the Evmos Testnet. I hope you enjoyed this article, happy coding!
The post Deploy Ethereum smart contracts on the Cosmos ecosystem appeared first on LogRocket Blog.
from LogRocket Blog https://ift.tt/aDc4b5F
via Read more


