Introduction
Golang is one of the fastest growing programming languages in use today. Developed by Google, it is said to be as fast as C but with the simplicity of Python.
Flutter, on the other hand, is a Dart framework that allows you to build cross platform mobile applications. Apps written with Flutter can run on Android, iOS, web, and recently, desktop as well. In this article, we will be taking a look at how we can build a Flutter application that reads data from a Golang backend.
Prerequisites
To follow along with this, here are a few things you need to have installed:
- Flutter — This is our mobile framework of choice
- Golang — We will be using Go as our backend
- Heroku — We will be hosting our app on Heroku, so you need to create an account. Make sure to install the Heroku CLI as well
- Knowledge of Flutter and Go — This is not a beginner tutorial, so you need to have some knowledge of how to code in Flutter and Golang
Why Flutter and Golang?
Flutter allows us to build cross-platform applications that run on mobile, web, and desktop with the same codebase.
Now, let’s take a look at some of the reasons Golang is so popular and why you might want to use it on your next project:
- It’s an easy language to learn quickly
- Golang is useful for building microservices
- Golang has an active developer community
- Golang compiles down to a single binary which can run in any environment
- Because Go is compiled to machine code, it will naturally outperform languages that are interpreted or have virtual runtimes
Building the backend
The backend of this application is pretty straightforward. We just have one endpoint that returns a random image depending on the path. To generate the random image, we will be using a library called cameron.
Create a backend folder in your projects root directory and in a server.go file, add the following code:
package main

import (
   "bytes"
   "fmt"
   "image/png"
   "log"
   "net/http"
   "os"

   "github.com/aofei/cameron"
)

func main() {
   port := os.Getenv("PORT")
   if port == "" {
       port = "3000"
   }
   log.Println("Starting server on port", port)
   log.Fatalln(http.ListenAndServe(fmt.Sprintf(":%v", port), http.HandlerFunc(identicon)))
}

func identicon(rw http.ResponseWriter, req *http.Request) {
   buf := bytes.Buffer{}
   png.Encode(&buf, cameron.Identicon([]byte(req.RequestURI), 540, 60))
   rw.Header().Set("Content-Type", "image/png")
   buf.WriteTo(rw)
}
We start off by importing the packages we need including the cameron package. In our main method, we get the application port from our environment variables and if that is not set, we set the port to 3000.
Then we call the http.ListenAndServe function and pass in a single handler that calls the identicon function each time the endpoint is hit. The identicon function takes in the HTTP request and response and generates a random image from the request’s path using the cameron library.
Now, run the command go mod init go-flutter to initialize Go modules in the current directory. Next, run go mod tidy to install all the packages our application relies on. Finally, run the command go run server.go to start up the Golang server.
![]()
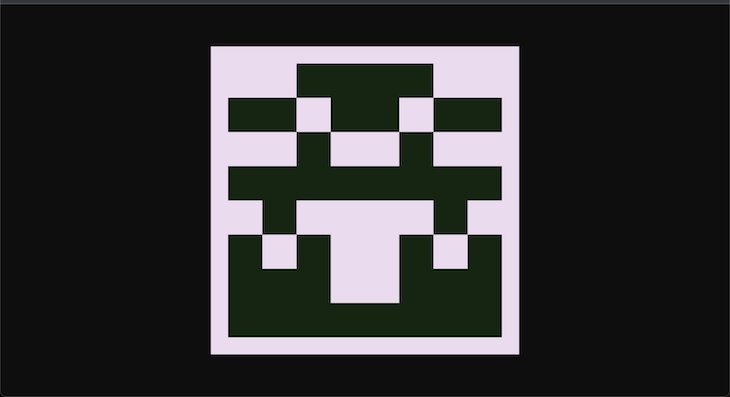
Navigate to http://localhost:3000 to view the application. You should see a random image generated.

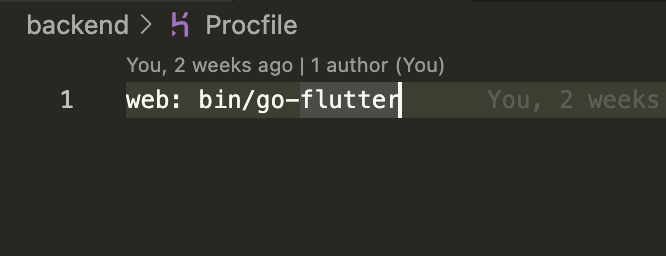
Before we can connect our app to the backend, we need to host it publicly online. Create a file called Procfile and add this:

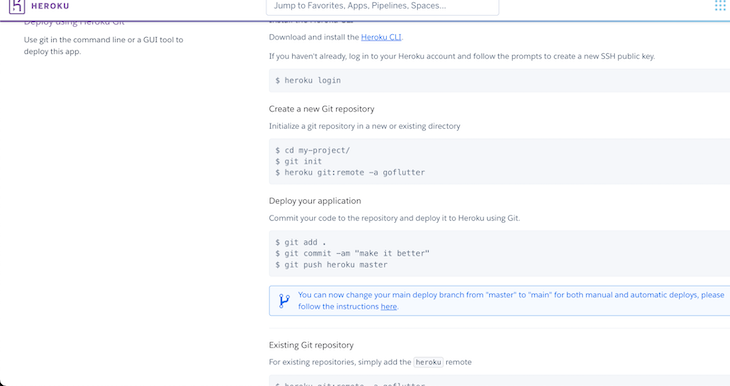
Now commit the backend files to git, log in to Heroku by running heroku login, and run the command Heroku create <app_name> create a new app.

Navigate to the Heroku dashboard to view your app and follow the instructions on the Deploy tab to deploy the app.

Click on Open app to view the app in your browser.
Building the Flutter app
Alright, now that the backend has been deployed, let’s build the Flutter application. In your project root, run the command flutter create <app_name> to create a new Flutter application. Replace the code in the main.dart file with this:
import 'package:flutter/material.dart';

void main() {
 runApp(const MyApp());
}

class MyApp extends StatelessWidget {
 const MyApp({Key? key}) : super(key: key);

 // This widget is the root of your application.
 @override
 Widget build(BuildContext context) {
   return MaterialApp(
     debugShowCheckedModeBanner: false,
     title: 'Flutter Demo',
     theme: ThemeData(
       primarySwatch: Colors.blue,
     ),
     home: const MyHomePage(title: 'Image Generator'),
   );
 }
}

class MyHomePage extends StatefulWidget {
 const MyHomePage({Key? key, required this.title}) : super(key: key);

 final String title;

 @override
 State<MyHomePage> createState() => _MyHomePageState();
}

class _MyHomePageState extends State<MyHomePage> {
 final TextEditingController _formController = TextEditingController();
 String _text = "";

 void _changeSeed() {
   setState(() {
     _text = _formController.text;
   });
 }

 @override
 Widget build(BuildContext context) {
   return Scaffold(
     appBar: AppBar(
       title: Text(widget.title),
     ),
     body: SingleChildScrollView(
       child: Padding(
         padding: const EdgeInsets.all(8.0),
         child: Center(
           child: Column(
             mainAxisAlignment: MainAxisAlignment.center,
             children: <Widget>[
               const Padding(
                 padding: EdgeInsets.all(8.0),
                 child: Text(
                   'Enter a seed text',
                 ),
               ),
               TextFormField(
                 decoration: InputDecoration(
                     border: OutlineInputBorder(
                         borderRadius: BorderRadius.circular(10))),
                 controller: _formController,
               ),
               Container(
                 margin: const EdgeInsets.all(40.0),
                 width: 540,
                 height: 540,
                 decoration: BoxDecoration(
                     image: DecorationImage(
                         image: NetworkImage(
                             "https://<your_app_name>.herokuapp.com/" + _text))),
               )
             ],
           ),
         ),
       ),
     ),
     floatingActionButton: FloatingActionButton(
       onPressed: _changeSeed,
       tooltip: 'Refresh',
       child: const Icon(Icons.refresh),
     ), // This trailing comma makes auto-formatting nicer for build methods.
   );
 }
}
First, we call the runApp method to start the Flutter application and pass in the MyApp widget. In the HomePage widget, we create a function to change the text we are getting from the input widget. Then, we return a Scaffold widget with the text field, image container, and floating action button we are using in the app.
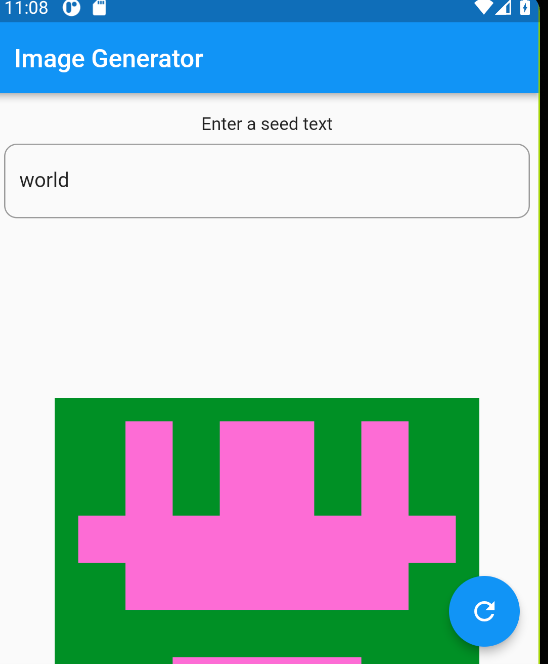
Make sure to replace https://.herokuapp.com with the URL of the Golang backend. Now start your Android emulator and run the command flutter run to build and install the application in the emulator.

Enter a text in the input field and click the refresh button to generate a new image.
Conclusion
In this article, we took a look at how to build a Flutter application that connects to a Golang backend while discussing some reasons why we should use Golang and Flutter.
Though Golang is a relatively new language, it has gained a lot of popularity over the years and is quickly becoming a tool of choice to build web backends. Flutter as well is a tool used to build cross-platform web applications. Pair these two together and you have a powerful combination.
The post Build an image generator with Flutter and Go appeared first on LogRocket Blog.
from LogRocket Blog https://ift.tt/gL9ISvo
via Read more


