WebViews offer developers opportunities to render any web components in a React Native application. A web component can be anything from a whole webpage/application or just a simple HTML file. The package react-native-webview makes it super simple to embed WebViews into your React Native apps!
In this post, we are going to look at the most common use cases of React Native WebView, including:
- Getting started
- Creating the basic URL structure
- Writing the basic inline HTML
- Communicating between JavaScript and Native
- The
injectJavaScriptmethod
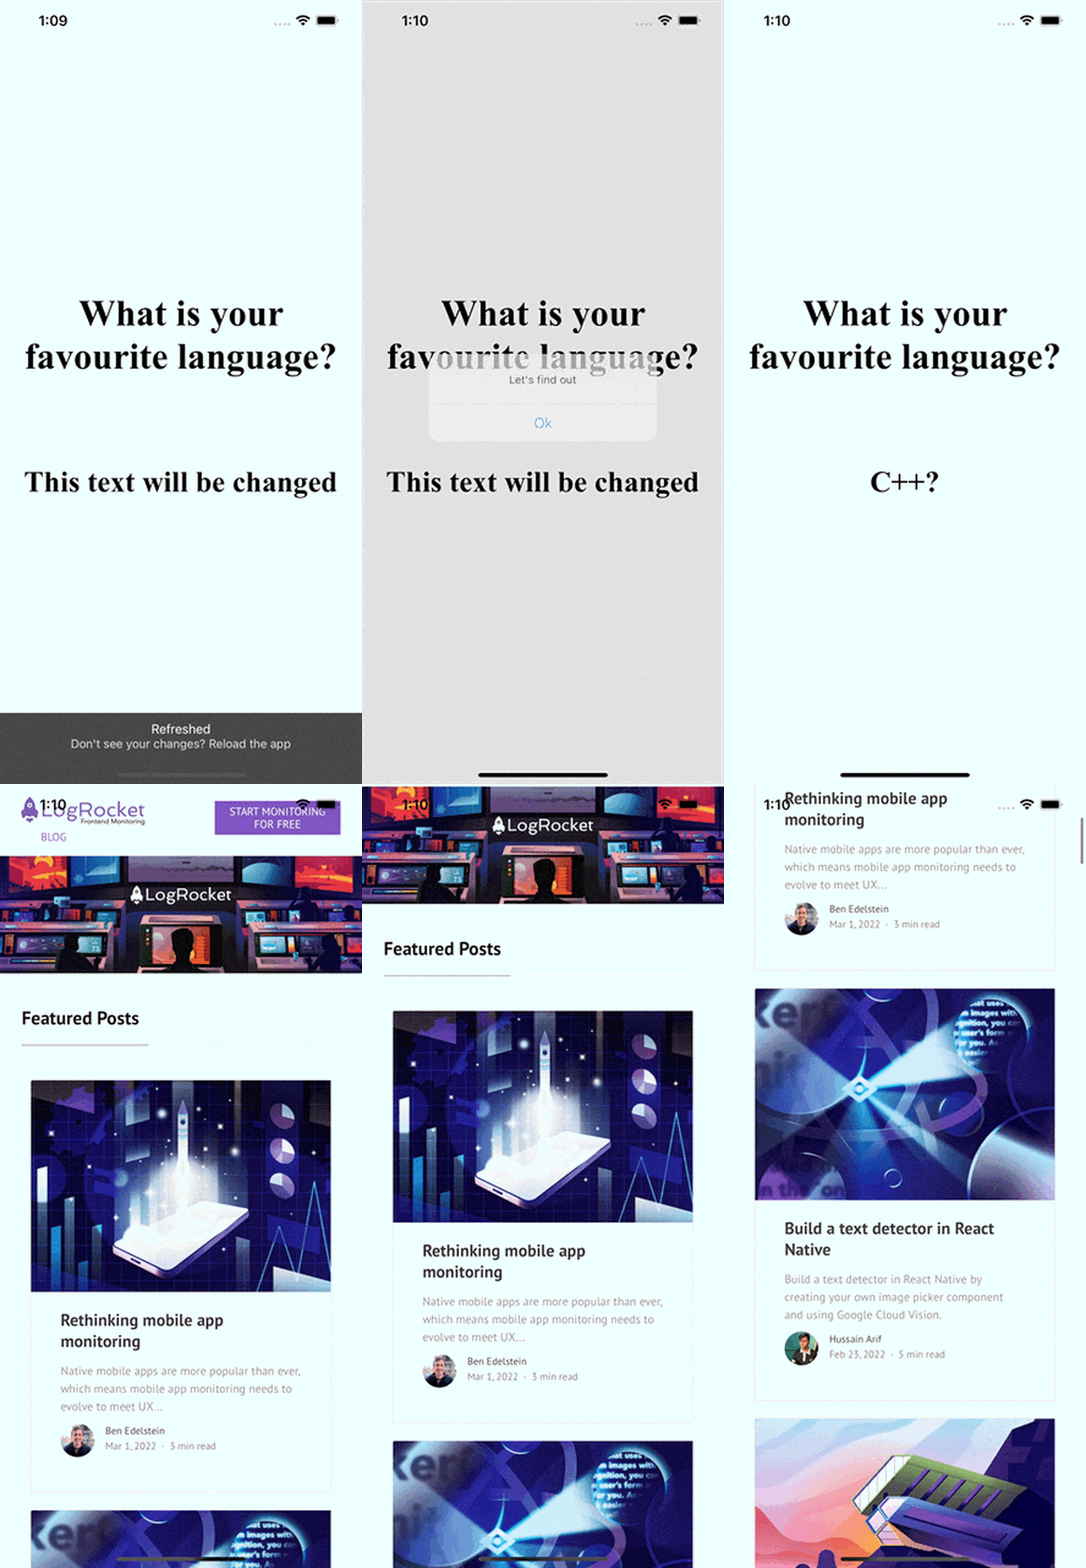
Below, you can find the final result of this step-by-step guide. As you can see, we display random programming languages, and, in the end, we are redirected to the LogRocket Blog section!

Prerequisites
I personally use Expo when developing React Native apps, so you should go ahead and install the Expo client by running this code on your machine:
npm install --global expo-cli
Apart from using Expo, I can recommend working with Visual Studio Code or something similar. Additionally, some basic knowledge in JavaScript, React/React Native, and HTML will help you follow this tutorial.
Getting started
So, first, let’s initialize our project! Go to the directory where you want to store your project. Inside this directory, run expo init my-project in order to initialize the Expo project. You can replace “my-project” with whatever name you like.
Then, change to the newly created directory with cd my-project and run expo start to start the development server. Expo lets you decide which kind of device you want to work with; the device I used in the demo and the video above is an iPhone 12 Pro Max with iOS version 14.5 installed.
But before we start our app, we still need to install the React Native WebView package. In order to do that, run the following command inside your project directory:
expo install react-native-webview
This package will work both on Android and iOS devices.
Here is a short overview of the terminal commands:
# cd into the directory where to store your project
 $ cd dir

# initialize the expo project
$ expo init my-project

# navigate inside the newly created project
$ cd my-project

# install the webview package
$ expo install react-native-webview

# run the development server
$ expo start
Creating the basic URL structure
For the sake of simplicity, we are going to add our code to the App.js file and we will not create any additional files.
The simplest way to embed a WebView into your React Native application is to provide a URL as a source to your WebView component:
# App.js
import React, { Component } from 'react';
import { SafeAreaView } from "react-native";
import { WebView } from 'react-native-webview';

class MyWeb extends Component {
  render() {
    return (
      <SafeAreaView style=>
        <WebView
          source=
        />
      </SafeAreaView>
    );
  }
}
In order to use a WebView component, you have to import it, as we did in line 4. After that, all you need to do is set the source props!
Please note that source takes an object as a value. In this case, we are providing a URI:
source=
This code will result in something like this:

Writing the basic inline HTML
Another common way to provide your WebView with a source is to write some inline HTML code. Let’s start with a very simple example here:
# App.js

class MyWeb extends Component {
  render() {
    const customHTML = `
      <body style="display:flex; flex-direction: column;justify-content: center;
        align-items:center; background-color: black; color:white; height: 100%;">
          <h1 style="font-size:100px; padding: 50px; text-align: center;"
          id="h1_element">
            This is simple html
          </h1>
          <h2 style="display: block; font-size:80px; padding: 50px;
          text-align: center;" id="h2_element">
            This text will be changed later!
          </h2>
       </body>`;

    return (
      <SafeAreaView style=>
        <WebView
          source=
        />
      </SafeAreaView>
    );
  }
}
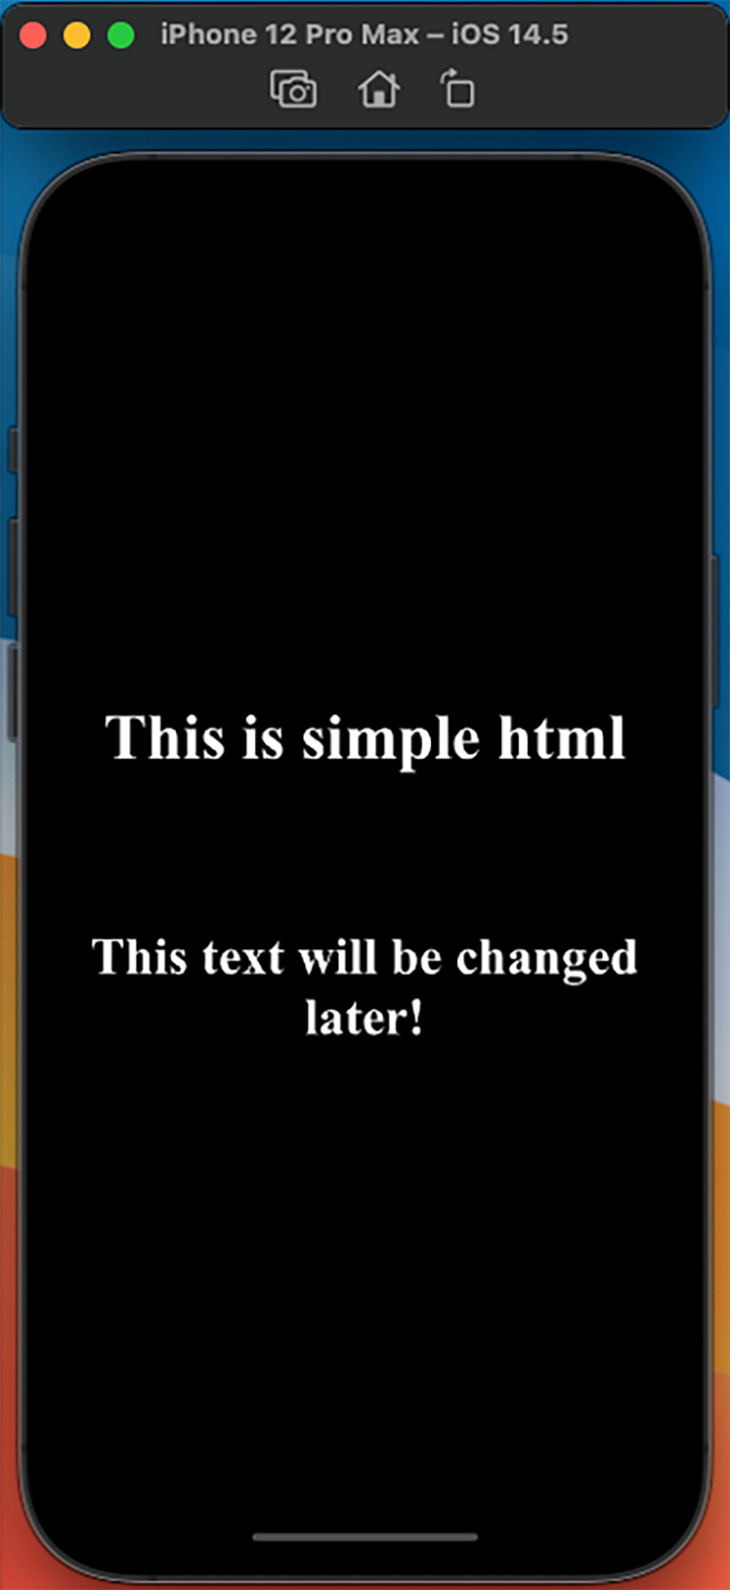
This will be the result:

The most fundamental difference between this code and the one before is that now we are using inline HTML as the source of the WebView component: source=.
From line 6–16, we define the constant customHTML. In the end, this is only a string containing an h1 and an h2 tag wrapped inside a body tag.
Additionally, we define some basic inline styles in order to center the elements and to provide some background-colors.
This is how easily you can render your custom HTML code. But what if you wanted to include some functionality that requires JavaScript to be included, like dynamic features? Well, React Native WebView also offers a solution for this problem!
Communicating between JavaScript and Native
Let’s start with some code:
# App.js

class MyWeb extends Component {
  render() {
  const runFirst = `
      setTimeout(function() {
          window.alert("Click me!");
          document.getElementById("h1_element").innerHTML =
          "What is your favourite language?";
          document.getElementById("h2_element").innerHTML =
          "We will see!";
        }, 1000);
      true; // note: this is required, or you'll sometimes get silent failures
    `;

  const runBeforeFirst = `
      window.isNativeApp = true;
      true; // note: this is required, or you'll sometimes get silent failures
  `;

    return (
      <SafeAreaView style=>
        <WebView
          source=
          onMessage={(event) => {}}
          injectedJavaScript={runFirst}
          injectedJavaScriptBeforeContentLoaded={runBeforeFirst}
        />
      </SafeAreaView>
    );
  }
}
If you take a short look at the WebView component in lines 25–27, you will notice that three new props have been introduced: onMessage, injectedJavaScript, and injectedJavaScriptBeforeContentLoaded.
The JavaScript code that is provided to the injectedJavaScript prop is only going to be executed once, after the resource loads for the first time. Even if you refresh the site, the code will not be executed again!
Our script, called runFirst, can be found in lines 5–14. Inside this script, we first trigger a message to render and, afterwards, we change the text of our h1 and h2 elements. All of this is wrapped inside a setTimeout function in order to run this script after 1s.
On the other hand, the script provided in the injectedJavaScriptBeforeContentLoaded prop will be executed before the page is loaded for the first time. The corresponding script, runBeforeFirst, can be found in lines 16–19. In this case, this script has no effect on the visuals of our app.
The onMessage prop is required, even though the function inside this prop is empty at the moment. Without this prop, the scripts will not run!

A quick caveat
The downside of the injectedJavaScript and injectedJavaScriptBeforeContentLoaded props is that they both run only once. However, as you know, there are scenarios where you want to execute your JavaScript code more than once. That’s what we are taking a look at in the next section!
The injectJavaScript method
In this section, we are going to implement the final features of this demo app: Randomly displaying programming languages and finally redirecting to the corresponding section of the LogRocket Blog.
# App.js
const selectProgrammingLanguage = () => {
  const languages = [
    "Rust",
    "Python",
    "JavaScript",
    "TypeScript",
    "C++",
    "Go",
    "R",
    "Java",
    "PHP",
    "Kotlin",
  ];
  const randomInt = Math.floor(Math.random() * languages.length);
  return languages[randomInt];
};

class MyWeb extends Component {
  render() {
  let counter = 1;

  const script = () => {
      const selectedLanguage = selectProgrammingLanguage();
      counter += 1;
      const newURL = "https://blog.logrocket.com";
      const redirectTo = 'window.location = "' + newURL + '"';

      if (counter <= 10) {
        return `
          if (document.body.style.backgroundColor === 'white') {
            document.body.style.backgroundColor = 'black'
            document.body.style.color = 'white'
          } else {
            document.body.style.backgroundColor = 'white'
            document.body.style.color = 'black'
          };

          document.getElementById("h2_element").innerHTML = "${selectedLanguage}?";
          window.ReactNativeWebView.postMessage("counter: ${counter}");
          true;  // note: this is required, or you'll sometimes get silent failures
      `;
      } else if (counter === 11) {
        return `
          window.ReactNativeWebView.postMessage("you are now getting redirected!");
          ${redirectTo};
          true;  // note: this is required, or you'll sometimes get silent failures
        `;
      } else {
        return null;
      }
    };

    setInterval(() => {
        this.webref.injectJavaScript(script());
      }, 2000);

    return (
      <SafeAreaView style=>
        <WebView
          source=
          ref={(r) => (this.webref = r)}
          onMessage={(event) => {
          console.log(event.nativeEvent.data);
          }}
          injectedJavaScript={runFirst}
          injectedJavaScriptBeforeContentLoaded={runBeforeFirst}
        />
      </SafeAreaView>
    );
  }
}
In lines 2–17, we first define a function that randomly returns a programming language from the languages array in line 3. The same function is then called again, inside the script function defined in line 23. Every time the script function is called, a random programming language will be created and included inside the HTML code in line 39:
document.getElementById("h2_element").innerHTML = "${selectedLanguage}?";
Additionally, each time the background changes from black to white (or the other way around), we need the font color to change, too — but this will only happen for the first ten times this function gets called.
After the tenth execution, the script jumps to lines 44–48. There, we define that the we want to be redirected to the URL defined in lines 26 and 27.
Finally, you might ask yourself where the script function gets called. Well, if you take a look at lines 54–56, you’ll notice that every two seconds, this code will be executed:
this.webref.injectJavaScript(script());
This is how you can execute JavaScript more than once!
But we are not done yet. Maybe you noticed that the onMessage prop inside the WebView component in lines 63–65 has changed, too. You can see that we are logging some kind of information.
Until now, we have only sent information from our app to the webpage. But what if we wanted to receive information from the webpage? This is where the onMessage prop comes in.
We are already logging this kind of data with (event.nativeEvent.data). This data comes from line 49:
window.ReactNativeWebView.postMessage("counter: ${counter}");
and line 45:
window.ReactNativeWebView.postMessage("you are now getting redirected!");
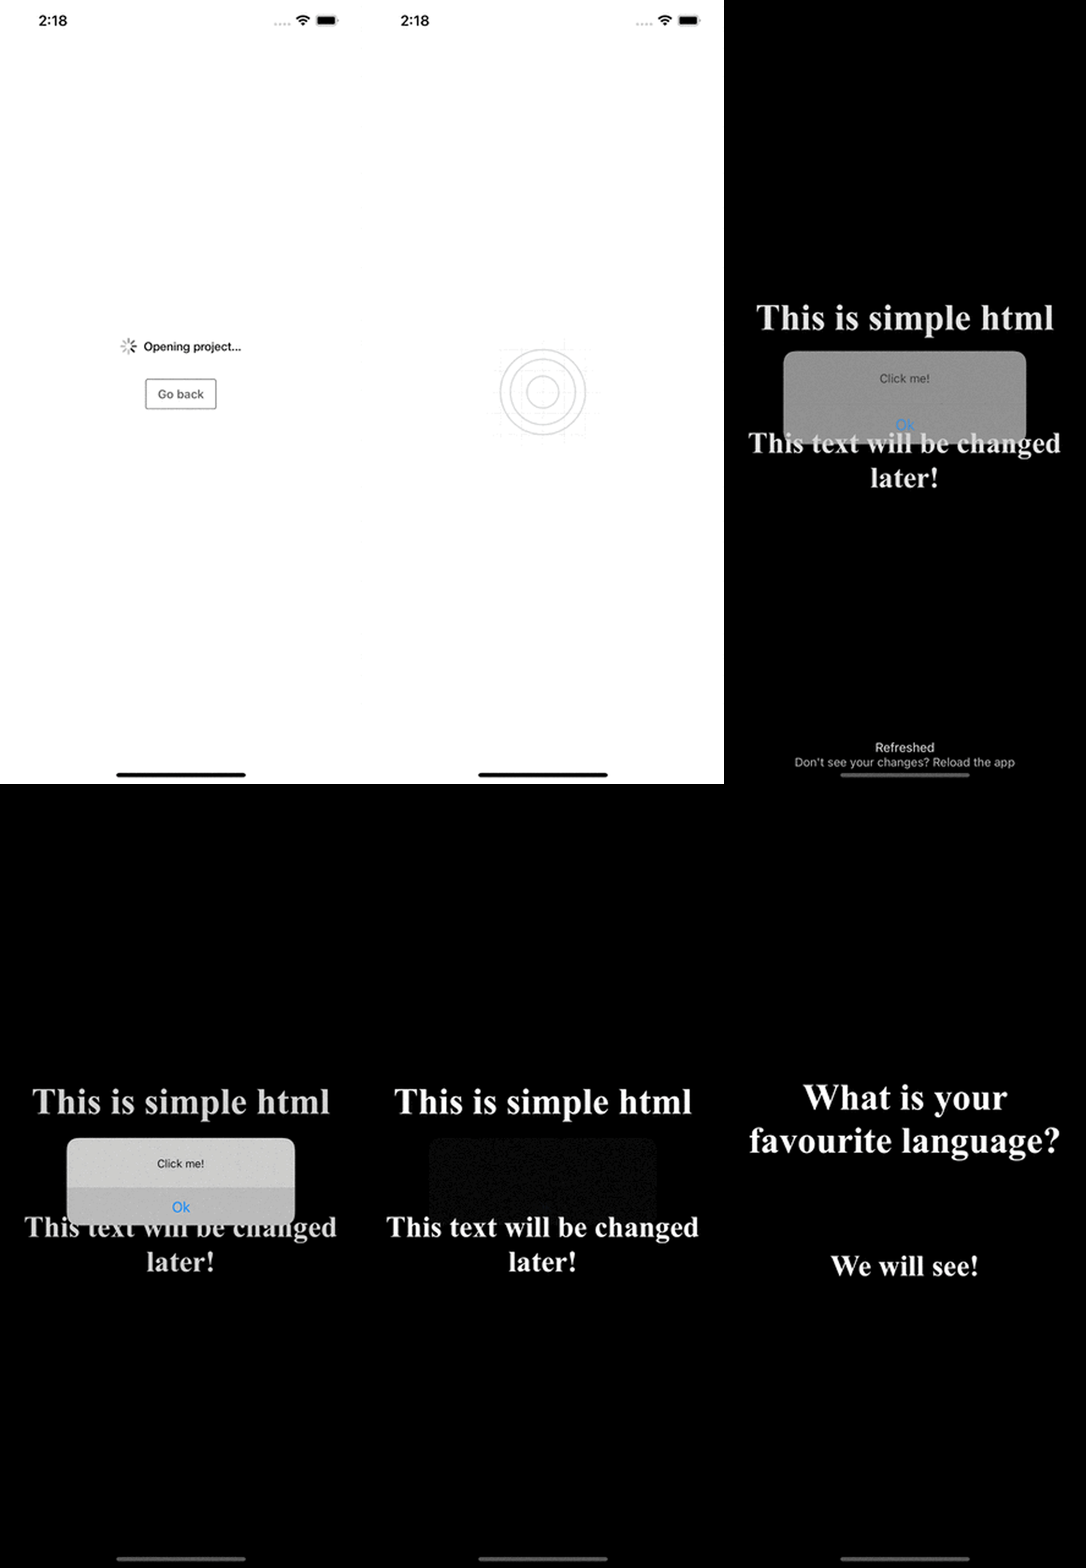
This is the final result of our demo app:

Conclusion
In this post, we reviewed how to embed WebViews into your React Native app. You can either provide URLs to your WebView component or add some custom inline HTML. In addition, we also discussed how to inject JavaScript code into your WebView component.
Feel free to use this code as a foundation for further development. The source code for this project can be found on my GitHub profile!
The post React Native WebView: A complete guide appeared first on LogRocket Blog.
from LogRocket Blog https://ift.tt/VeSw4Av
via Read more


