


In Flutter, states are used to describe the behavior of an application at any given point in time. The concept of state management allows you to share data between screens and widgets within your application, and Flutter describes everything as a widget organized in a tree structure.
The main thing you need to understand is how you can inject data into the Flutter tree. In this case, Flutter checks and compares the current state of a widget with other widgets within the tree. If it identifies any data change, it will rebuild its widgets, and set the new data to the current widget tree.
This way, Flutter will redraw its UI and display the current state of your application. Changing a state in the Flutter will always cause the UI to rebuild itself.
However, this case is not always one hundred percent effective. Flutter may fail to display this state to the current widget tree. This means Flutter won’t redraw itself, and the current widget won’t be rebuilt at the appropriate moment. As a result, you need to force that specific widget to rebuild.
In this article, we will look into how and when to force a Flutter widget to rebuild. We will create a simple orders application to guide us in such instances.
Contents
- Setting up the application
- Using
setStateto rebuild widgets - Using keys to force widget rebuild
- How to force Flutter to rebuild or redraw all widgets
Setting up the application
Open the terminal in your working directory and run the following command to initialize the application:
Flutter create orders_app
After the installation process is complete, navigate to the newly created directory:
cd orders_app
Start the development server by running:
Flutter run
Your application should be launched successfully from your emulator or phone device.
Implementing a list view of orders
Let’s start by changing the application name. Navigate to the lib/main.dart file, and inside the MyApp class, edit the MaterialApp widget like so:
MaterialApp(
    title: 'Orders',
    theme: ThemeData(
        primarySwatch: Colors.blue,
    ),
    debugShowCheckedModeBanner: false,
    // remove the debug banner
    home: const MyHomePage(title: 'Orders'),
);
Next, create an Order class to define the structure of an order:
class Order {
  Order(this.id, this.name, this.price, this.quantity, this.date);
  int id;
  String name;
  int quantity;
  double price;
  DateTime date;
}
Inside the _MyHomePageState class, create a list of dummy orders:
final List<Order> _orders = [
  Order(1, 'Coffee', 20.00, 1, DateTime(2020, 1, 1)),
  Order(2, 'Tea', 10.00, 1, DateTime(2020, 1, 2)),
  Order(3, 'Cake', 50.00, 1, DateTime(2020, 1, 3)),
  Order(4, 'Pizza', 100.00, 1, DateTime(2020, 1, 4)),
];
Then, remove the current child widgets for the Column widget, and render an Expanded widget to display the orders using the ListView widget:
Expanded(
    child: ListView.builder(
    itemCount: _orders.length,
    itemBuilder: (context, index) {
        final order = _orders[index];
        return ListTile(
        title: Text(order.name),
        subtitle: Text('USD ${order.price}'),
        trailing: Row(
            mainAxisSize: MainAxisSize.min,
            children: <Widget>[
            const IconButton(
                onPressed: null,
                icon: Icon(Icons.remove)),
            const SizedBox(width: 15),
            Text('${order.quantity}'),
            const SizedBox(width: 15),
            const IconButton(
                onPressed: null,
                icon: Icon(Icons.add)),
            ],
        ),);
    },),
)
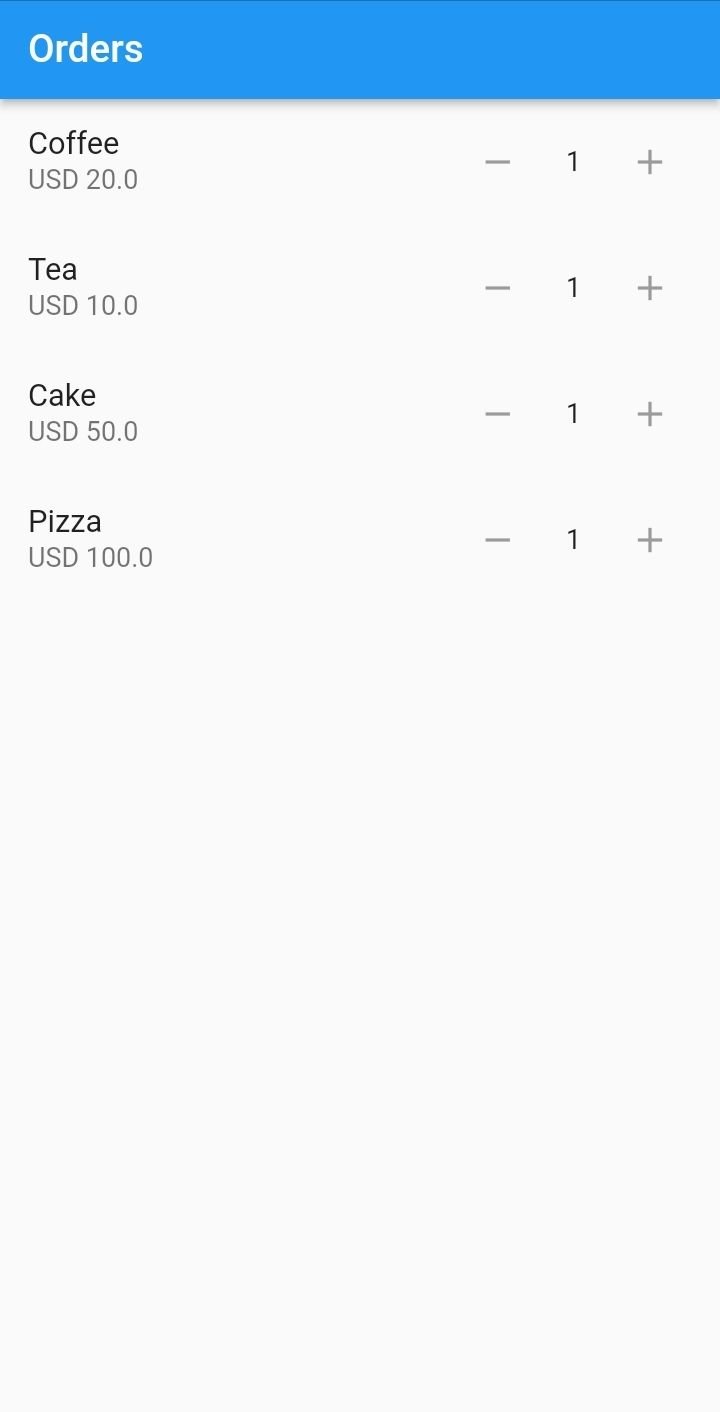
Reload your development server by pressing R on your terminal. Your application should now render the orders like in the image below.
Updating the orders
To update an order, we will be updating an order’s quantity, which will also update its price. There will be two instances here: increment and decrement.
Inside the rendering class, create a void function that increments the quantity of order:
void incrementQuantity(Order order) {
  double initialPrice = order.price / order.quantity;
  // the original price
  order.quantity++;
  // increment the quantity
  order.price = initialPrice * order.quantity;
  // change the price.
}
Similarly, create a void function that decrements the quantity of order:
void decrementQuantity(Order order) {
  if (order.quantity > 1) {
    // Check if the quantity is greater than one
    double initialPrice = order.price / order.quantity;
    // orginal price
    order.quantity--;
    // decrement the quantity
    order.price = initialPrice * order.quantity;
    // change the price
  }
}
Append the function to the onPressed event handler respectively:
return ListTile(
    title: Text(order.name),
    subtitle: Text('USD ${order.price}'),
    trailing: Row(
        mainAxisSize: MainAxisSize.min,
        children: <Widget>[
        IconButton(
            onPressed: () => decrementQuantity(order),
            icon: const Icon(Icons.remove)),
        const SizedBox(width: 15),
        Text('${order.quantity}'),
        const SizedBox(width: 15),
        IconButton(
            onPressed: () => incrementQuantity(order),
            icon: const Icon(Icons.add)),
        ],
    ),
);
Reload your development server and test out the functionality.
On pressing the + and – icons, you will notice that the quantity does not change, nor does the price. This is because we are not updating the current state of the application that is holding the data.
Updating the state will force a ListTile widget to rebuild and display the new quantity and price.
Using setState to rebuild widgets
Flutter gives you access to setState(). In this case, we have to ensure setState() has the new values. When setState() is called, Flutter will know to get these new values and mark the widget that needs to be rebuilt.
To ensure we are updating the state, we will make the following changes to the increment and the decrement functions:
void incrementQuantity(Order order) {
  double initialPrice = order.price / order.quantity;
  setState(() {
    // updating the state
    order.quantity++;
    order.price = initialPrice * order.quantity;
  });
}

void decrementQuantity(Order order) {
  if (order.quantity > 1) {
    double initialPrice = order.price / order.quantity;
    setState(() {
      // updating the state
      order.quantity--;
      order.price = initialPrice * order.quantity;
    });
  }
}
This ensures that everything inside the setState() method is going to be compared against the older values. Flutter will see some values have changed and then display them to the respective widget.
To test this, reload the development server and give it a test. This time, when you press the + and – icons, the quantity and the price will be updated accordingly.

Using keys to force widget rebuild
Let’s set a stateful widget and see how we can use keys to rebuild a widget. At times, Flutter setState() can be called, but will fail to display the changes on the screen. In this case, the internal state of a widget is already changed.
This means the new state is preserved and can be accessed. The state of a Flutter widget is stateful. When a new value is generated, a new widget is generated within the widget tree. This way, every newly generated widget generates a new key. Because its state is already preserved, we can use a key to access the new widget and force a rebuild to display the new state on the screen.
Flutter UI uses different keys such as unique key, value key, and object key. Let’s see how we can use them in Flutter and force a widget to rebuild.
We will need to do the following modifications to use keys on our existing application. Separate the existing ListTile widget that is rendering every order to be a stateful widget like so:
class OrderCard extends StatefulWidget {
  final Order order;
  // Order
  final Key orderKey;
  // key
  const OrderCard(this.order, this.orderKey) : super(key: orderKey);

  @override
  State<OrderCard> createState() => OrderCardState();
}

class OrderCardState extends State<OrderCard> {
  late Order order;
  @override
  void initState() {
    super.initState();
    order = widget.order;
    // Get the order
  }

  void incrementQuantity(Order order) {
    double initialPrice = order.price / order.quantity;
    setState(() {
      order.quantity++;
      order.price = initialPrice * order.quantity;
    });
  }

  void decrementQuantity(Order order) {
    if (order.quantity > 1) {
      double initialPrice = order.price / order.quantity;
      setState(() {
        order.quantity--;
        order.price = initialPrice * order.quantity;
      });
    }
  }

  @override
  Widget build(BuildContext context) {
    return ListTile(
      title: Text(order.name),
      subtitle: Text('USD ${order.price}'),
      trailing: Row(mainAxisSize: MainAxisSize.min, children: <Widget>[
        Row(mainAxisSize: MainAxisSize.min, children: <Widget>[
          IconButton(
              onPressed: () => decrementQuantity(order),
              icon: const Icon(Icons.remove)),
          const SizedBox(width: 15),
          Text('${order.quantity}'),
          const SizedBox(width: 15),
          IconButton(
              onPressed: () => incrementQuantity(order),
              icon: const Icon(Icons.add)),
        ])
      ]),
    );
  }
}
When you want to pass data from the parent to the child widget, set up a build method to compare the previous (parent) and new widget (child) being returned. An important part here is how we update these new quantity and price values.
When you run the application, the setState() will fail to rebuild the widget. In this example, the initState() is called only once. This means the results of clicking + or – icons won’t get displayed on the screen.
However, this clicking will always execute the setState() and pass the new value to the widget tree. The results are not displayed, but calling setState() has already triggered the change. The new state is preserved and can be accessed with the key that every new widget generates.
Using a unique key
Update the _orders on the parent widget to be a list of widgets like so:
final List<Widget> _orders = [
  OrderCard(Order(1, 'Coffee', 20.00, 1, DateTime(2020, 1, 1)), UniqueKey()),
  OrderCard(Order(2, 'Tea', 10.00, 1, DateTime(2020, 1, 2)), UniqueKey()),
  OrderCard(Order(3, 'Cake', 50.00, 1, DateTime(2020, 1, 3)), UniqueKey()),
  OrderCard(Order(4, 'Pizza', 100.00, 1, DateTime(2020, 1, 4)), UniqueKey()),
];
For the above case, we are passing a UniqueKey as the key prop. This will update the new state being returned.
Now, change how the orders are rendered on the build function:
body: Center(
    child: Column(
      mainAxisAlignment: MainAxisAlignment.start,
      children: _orders,
    ),
)
In the code above, we are not using a ListView Builder because we already have a list of widgets.
Reload your development server to load your application. Your application should be as responsive to the new changes. Every time you click the icons, Flutter will refresh the keys and force the widget to rebuild.
Using a value key
To change from a value key to a unique key, update the _orders list of widgets as follows:
final List<Widget> _orders = [
  OrderCard(Order(1, 'Coffee', 20.00, 1, DateTime(2020, 1, 1)),
      const ValueKey('coffee')),
  OrderCard(
      Order(2, 'Tea', 10.00, 1, DateTime(2020, 1, 2)), const ValueKey('Tea')),
  OrderCard(
      Order(3, 'Cake', 50.00, 1, DateTime(2020, 1, 3)), const ValueKey('Cake')),
  OrderCard(Order(4, 'Pizza', 100.00, 1, DateTime(2020, 1, 4)),
      const ValueKey('Pizza')),
];
From above, we supply a specific value to the ValueKey constructor that identifies that order.
Reload your application to reflect the change. The experience should be similar to the prior one.
Using an object key
To use an object key in place of a value key, change the ValueKey constructor to ObjectKey as follows:
final List<Widget> _orders = [
  OrderCard(Order(1, 'Coffee', 20.00, 1, DateTime(2020, 1, 1)),
      const ObjectKey('Coffee')),
  OrderCard(
      Order(2, 'Tea', 10.00, 1, DateTime(2020, 1, 2)), const ObjectKey('Tea')),
  OrderCard(Order(3, 'Cake', 50.00, 1, DateTime(2020, 1, 3)),
      const ObjectKey('Cake')),
  OrderCard(Order(4, 'Pizza', 100.00, 1, DateTime(2020, 1, 4)),
      const ObjectKey('Pizza')),
];
In the code above, we are supplying the ObjectKey with a unique identifier of the item.
Refresh the development server to test it. The behavior should be similar to the prior instances, i.e., using a unique and value key.
How to force Flutter to rebuild or redraw all widgets
In some instances, you may require your application to redraw all widgets. This mainly applies when setting up an application with local or theme settings. Let’s use the theme case and see how Flutter rebuilds all widgets.
In the MyApp class, add the following theme properties to the MaterialApp widget being returned:
return MaterialApp(
    title: 'Orders',
    theme: ThemeData(brightness: Brightness.light),
    // light theme
    darkTheme: ThemeData(brightness: Brightness.dark),
    //dark theme
    debugShowCheckedModeBanner: false,
    home: const MyHomePage(title: 'Orders'),
);
Above, we are targeting the brightness level of light theme and dark theme.
To show either of the two themes, add the themeMode property to the MaterialApp widget:
return MaterialApp(
    title: 'Orders',
    theme: ThemeData(brightness: Brightness.light),
    // light theme
    darkTheme: ThemeData(brightness: Brightness.dark),
    // dark theme
    themeMode: ThemeMode.dark,
    // dark mode
    debugShowCheckedModeBanner: false,
    home: const MyHomePage(title: 'Orders'),
);
Reload your development server and observe the change.
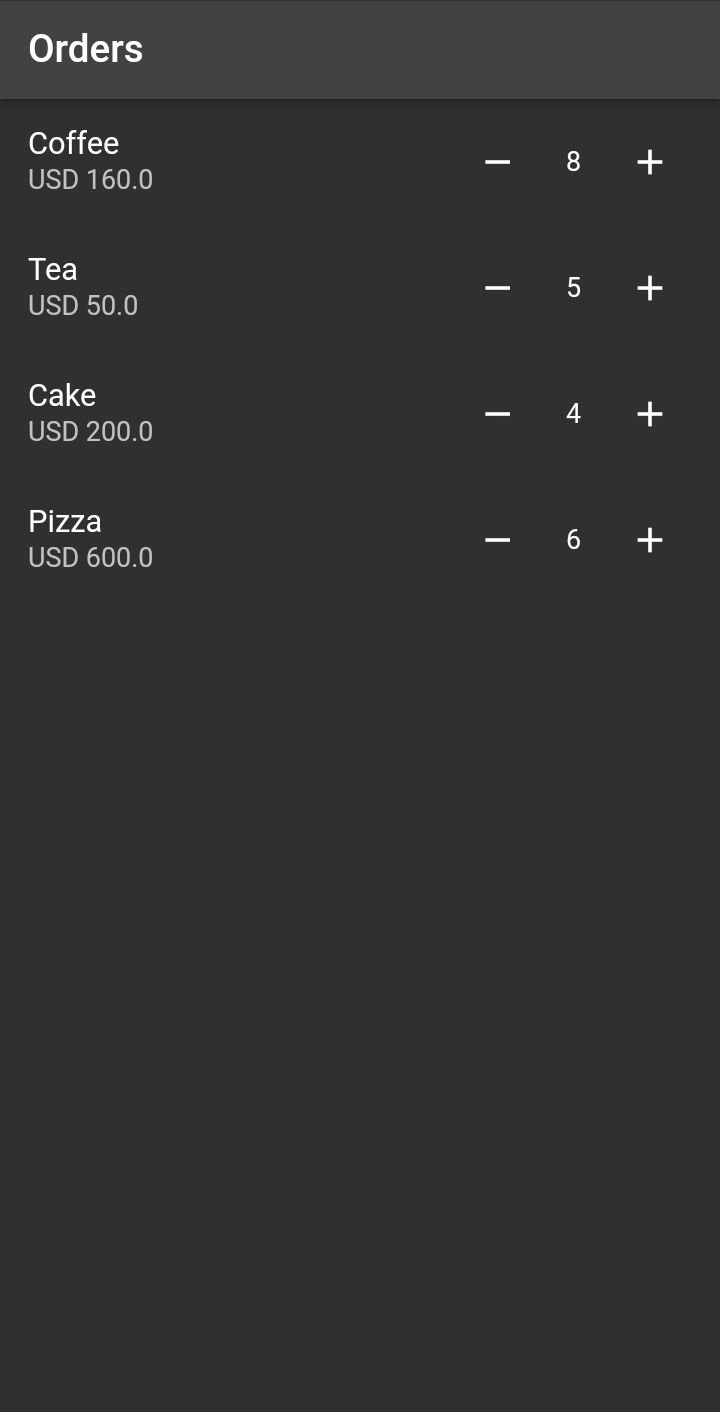
The themeMode property will cause a full rebuild of the application to conform with the specified theme as seen above.
Conclusion
Congratulations! You can now rebuild a widget even when Flutter fails to do so.
Flutter uses setState() to reference the state object and identify any change to the state. This way, you can track these changes and rebuild your application. In case this fails, keys will play an important role in forcing a rebuild of any preserved state.
When it comes to preserving state across widget trees, keys are ideal. This use case is commonly applied when updating a group of identical widgets, on a list, for example. And we have demonstrated using the order list to achieve the desired goal.
The post How and when to force a Flutter widget rebuild appeared first on LogRocket Blog.
from LogRocket Blog https://ift.tt/wCF1QmL
via Read more


