


Only 1 of the top 13 countries for mobile app downloads from 2019-2021 was predominately English speaking. Leveraging app localization (l10n) to adapt your app for other locales by adjusting its language, tone, look, and feel, can offer significant opportunities to reach a larger audience.
This article will introduce the easy_localization package for Flutter mobile apps and will demonstrate how to use the package to display locale-specific content based on changes in the system language.
Easy localization
Flutter’s easy_localization package provides a fast and easy solution for engineering your app to reach more users. It does more than support language translations; it also supports gender, text direction, pluralization, and more.
The package loads translation files using the Easy Localization Loader and then updates the app to use the current language set during the translations.
There are two approaches to choosing the app’s language:
- Selecting a language manually in the app
- Using the system language
In this tutorial, we’ll cover the following:
Installation and set up
To start, we’ll install and setup the easy_localization package:
Step 1: Install the package by adding it as a dependency in the pubspec.yaml file and running flutter pub get:
dependencies:
  easy_localization: ^3.0.0
Step 2: Add translation files as app assets. We’ll create an assets folder in the root directory as shown:

In the assets folder, we’ll create an l10n folder that houses our localization JSON files. The JSON file names correspond to the different locales our app supports, for example {languageCode}.json. In the example shown above, our app supports English(en), German(de), and Arabic(ar).
The content for the three translation files can be found in this GitHub gist. The properties below have been translated to different languages:
{
  "appTitle": "...",
  "AlbertName": "...",
  "AlbertBio": "...",
  "AkhenatenName": "...",
  "AkhenatenBio":"..."
}
Step 3: Declare an assets folder in pubspec.yaml file:
flutter:
  assets:
    - assets/l10n/
Step 4: Generate locale_keys by running the following code:
flutter pub run easy_localization:generate -S assets/l10n -f keys -O lib/l10n -o locale_keys.g.dart
This command generates a locale_keys.g.dart file in a lib/l10n folder. The file contains the JSON keys from our translation files for easy access.
Next, we’ll add supported locales to the ios/Runner/Info.plist file in order for the translation to work on iOS:
<key>CFBundleLocalizations</key>
   <array>
       <string>en</string>
       <string>ar</string>
       <string>de</string>
   </array>
App configuration
Now, we’re ready to configure our app to support localization. We’ll use Flutter’s Locale class to create an identifier for the supported languages.
First, we’ll create a class containing each supported Locale:
class L10n{
  static final all = [
    const Locale('en'),
    const Locale('ar'),
    const Locale('de'),
  ];
}
Next, we’ll update our main function in main.dart file as shown below:
void main() async {
  WidgetsFlutterBinding.ensureInitialized();
  await EasyLocalization.ensureInitialized();
  runApp(EasyLocalization(
    supportedLocales: L10n.all,
    path: 'assets/l10n',
    fallbackLocale: L10n.all[0],
    child: const MyApp(),
  ));
}
In this code, we ensure the Flutter widgets and EasyLocalization are correctly initialized when the app is run. This snippet adds the EasyLocalization widget to our app and passes in the supportedLocales, path, and fallbackLocale to our translation assets folder.
Finally, we add the following properties to our MaterialApp:
localizationsDelegates:context.localizationDelegates ,
supportedLocales: context.supportedLocales,
locale: context.locale,
Inside our MaterialApp, we’re able to access the EasyLocalization widget’s context. We use the EasyLocalization context to set the localizationsDelegates, supportedLocales, and the current locale.
The localizationsDelegates is set to the context‘s localizationDelegates which returns the following iterable:
 [
    delegate
    GlobalMaterialLocalizations.delegate,
    GlobalWidgetsLocalizations.delegate,
    GlobalCupertinoLocalizations.delegate
  ]
In this snippet, delegate defines the context‘s localizationDelegates.
GlobalMaterialLocalizations.delegate and GlobalCupertinoLocalizations.delegate provide localized strings and other values for their respective components libraries.
Meanwhile, the GlobalWidgetsLocalizations.delegate defines the default text direction, either left-to-right or right-to-left, for the widgets library.
With that, we’re ready to use localized components in our app.
Usage
First, we’ll create a list of authors and update their properties to use the localized values:
final authors = [
  Author(
      name: LocaleKeys.AkhenatenName.tr(),
      bio: LocaleKeys.AkhenatenBio.tr(),
      image: "https://images.quotable.dev/profile/400/akhenaten.jpg"),
  Author(
      name: LocaleKeys.AlbertName.tr(),
      bio: LocaleKeys.AlbertBio.tr(),
      image: "https://images.quotable.dev/profile/400/albert-schweitzer.jpg")
];
The LocaleKeys class is taken from the generated keys file. The dot notation is used to access its properties. The tr() function is used to translate our language keys.
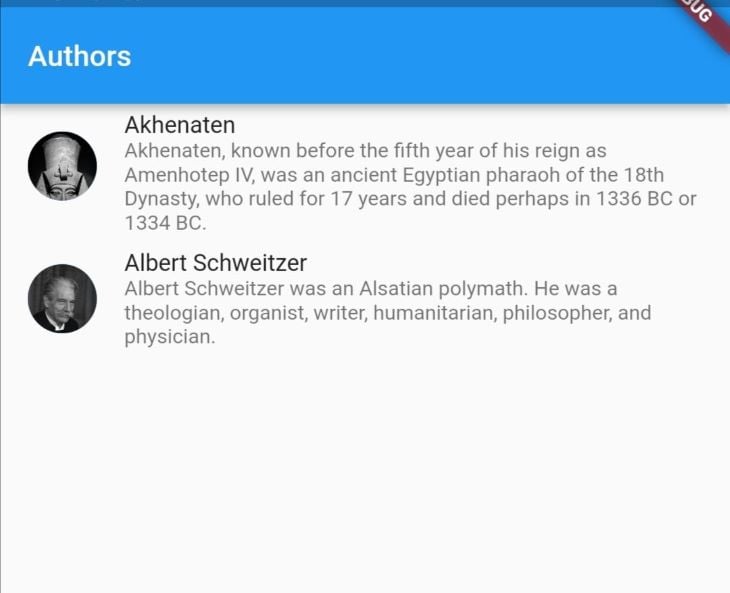
Next, we’ll display the authors created in the layout widgets:
child: ListTile(
  leading: CircleAvatar(
    backgroundImage: NetworkImage(authors[index].image),
  ),
  title: Text(authors[index].name),
  subtitle: Text(authors[index].bio),
),
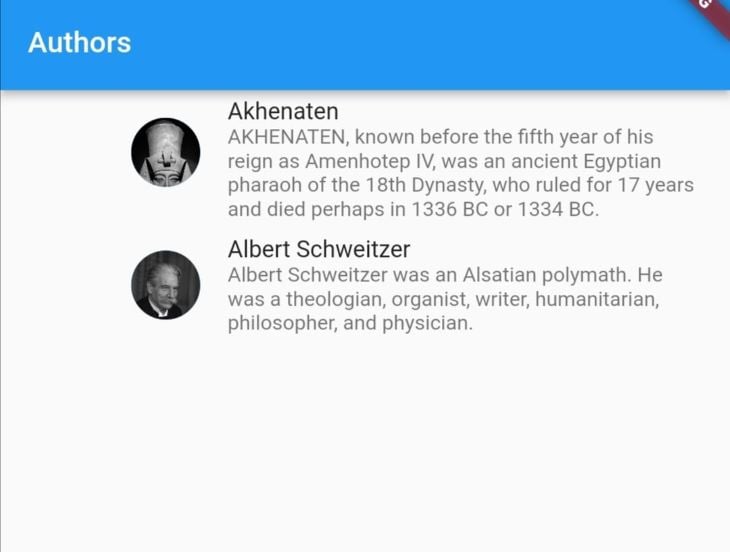
Since the current system locale is set to English, the authors are displayed with an English name and bio:
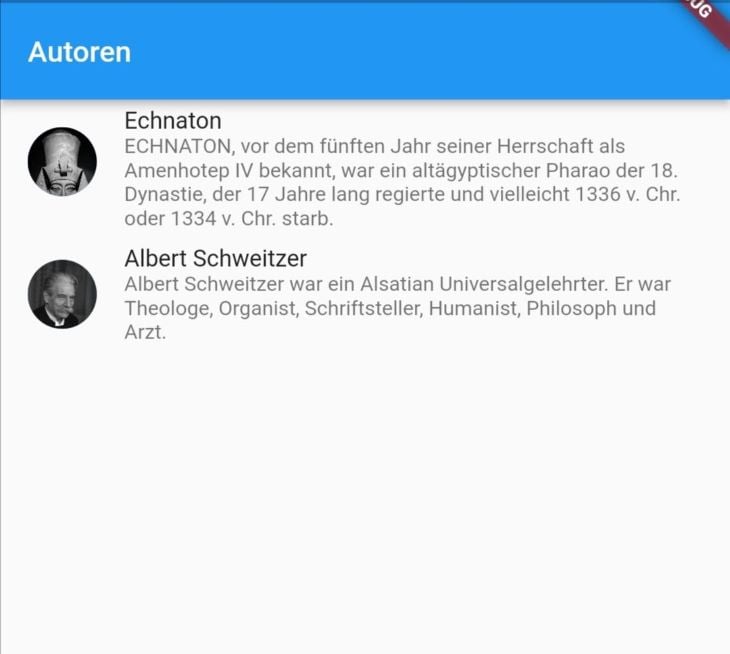
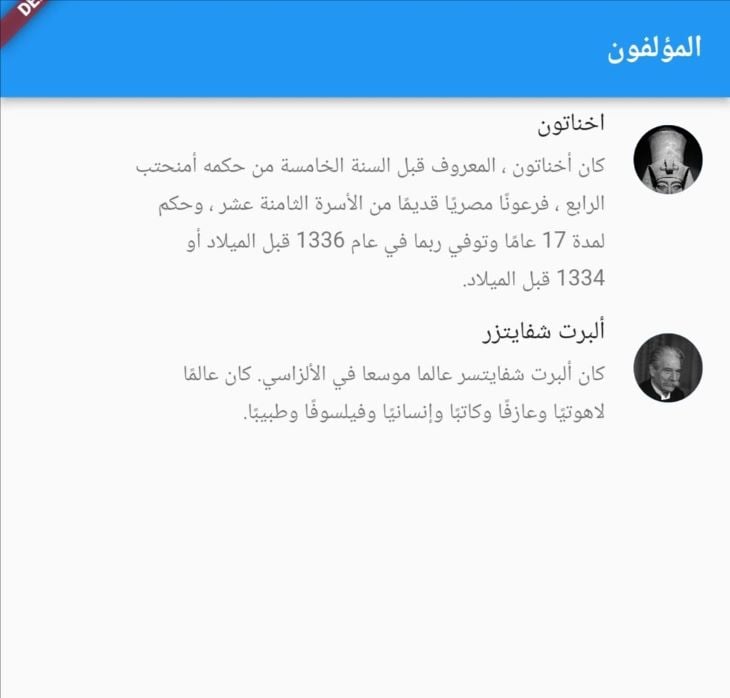
Changing the system language in mobile settings to German or Arabic displays the authors as shown below:
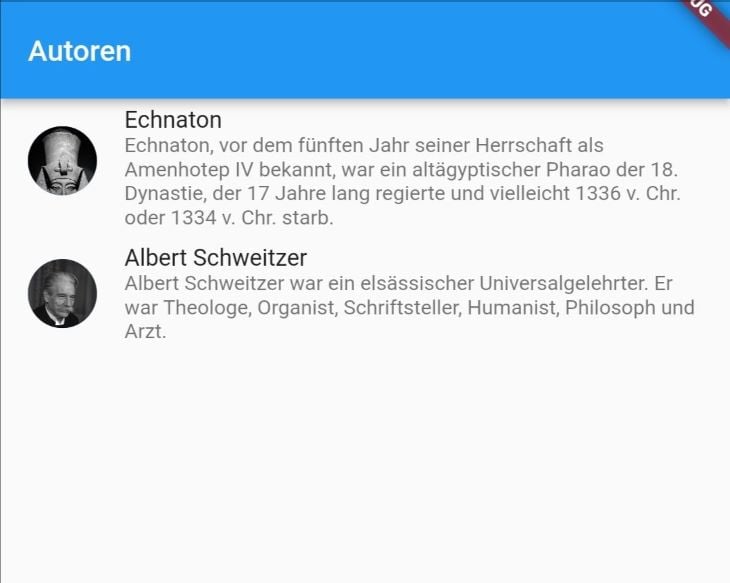
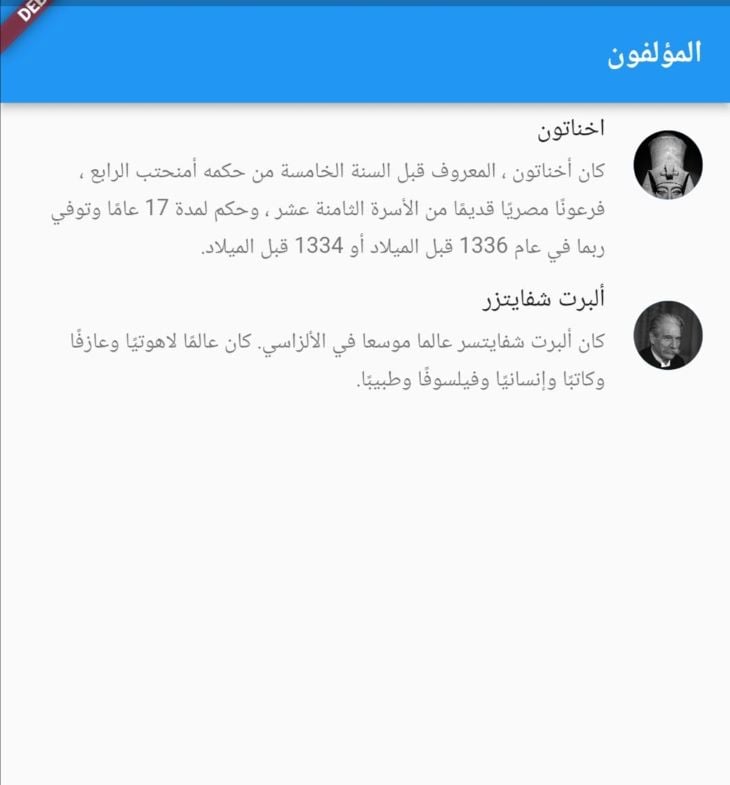
We’ve successfully localized our app to match the system language!
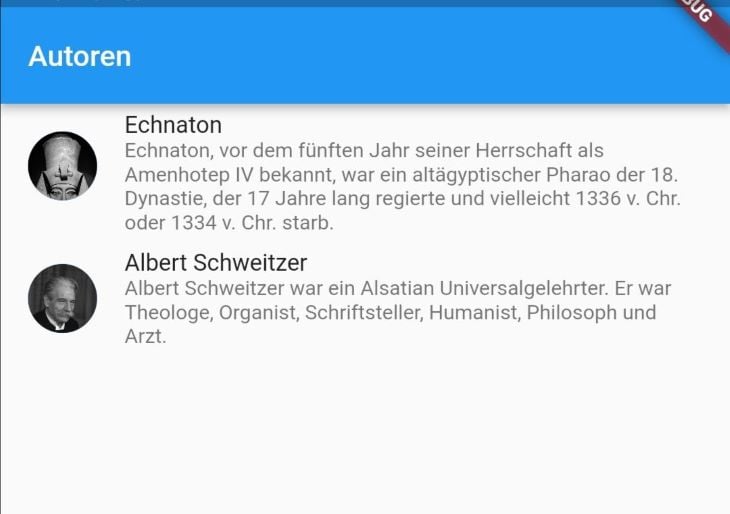
Interpolation
We may wish to keep some words in their original language, regardless of the active locale. This can be achieved through interpolation.
The easy_localization package allows us to pass in arguments in the translate function.
In the JSON translation files, we replace the English word we want to retain with a placeholder. In this case, we use the placeholder nationality inside a set of curly brackets:
{
...
"AlbertBio": "Albert Schweitzer was an {nationality} polymath. He was a theologian, organist, writer, humanitarian, philosopher, and physician.",
...
}

{
...
  "AlbertBio": "Albert Schweitzer war ein {nationality} Universalgelehrter. Er war Theologe, Organist, Schriftsteller, Humanist, Philosoph und Arzt.",
...
}
Then, we update the author’s property to take in the named placeholder as an argument as shown:
bio: LocaleKeys.AlbertBio.tr(namedArgs: {'nationality': 'Alsatian'}),
When we run our app and switch to the different supported languages, the nationality argument is retained in English:

Linked translation
Some translation services charge per source word. In such a case, it is less expensive to link to text that is already translated.
To link to translated text, we replace the translated word in the untranslated text using the @:key syntax, as shown:
{
"AkhenatenName": "Akhenaten",
"AkhenatenBio":"@:AkhenatenName, known before the fifth year of his reign as Amenhotep IV, was an ancient Egyptian pharaoh of the 18th Dynasty, who ruled for 17 years and died perhaps in 1336 BC or 1334 BC."
}

{
"AkhenatenName": "Echnaton",
"AkhenatenBio":"@:AkhenatenName, vor dem fünften Jahr seiner Herrschaft als Amenhotep IV bekannt, war ein altägyptischer Pharao der 18. Dynastie, der 17 Jahre lang regierte und vielleicht 1336 v. Chr. oder 1334 v. Chr. starb."
}
Running our app displays the text just like before, except this time we made use of the linked translation:


We can format linked translations as well. The available modifiers include:
upper: All uppercase characterslower: All lowercase characterscapitalize: First character capitalization
Replacing the linked translation with the upper modifier, as shown, will make all characters uppercase.
@.upper:AkhenatenName
Directionality
While English is read from left to right, Arabic is read right to left. This will require us to use locale-direction aware widgets during localization. Such widgets take start and end instead of left and right. This ensures that the layout is updated correctly based on the locale.
For example, adding left padding to our list view with EdgeInsets displays the layout correctly in English, but an issue occurs when the language is set to Arabic.
padding: const EdgeInsets.only(left: 60),
This issue can be corrected by using the EdgeInsetsDirectional widget.
padding: const EdgeInsetsDirectional.only(start: 60.0),

start padding parameter and language set to English.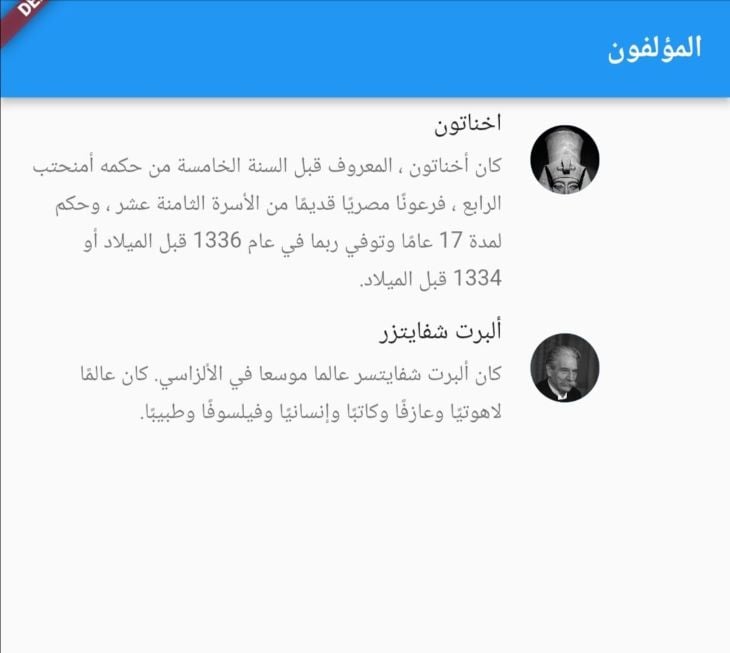
start padding parameter and language set to Arabic.With that small tweak, the layout issue has been solved.
Conclusion
The easy_localization package is a fast and easy solution for internationalizing mobile Flutter apps. In this article, we’ve demonstrated how you can use this package to:
- Add and load translation files in your app
- Use code generation for localization keys
- React and persist to system locale changes
- Use interpolation in translated texts
- Link translations
- Display text correctly based on locale directionality
These are just a few of the package’s capabilities. All the code in this article is available on GitHub. We hope you enjoyed this tutorial.
The post Internationalizing your app with Flutter’s <code>easy_localization</code> appeared first on LogRocket Blog.
from LogRocket Blog https://ift.tt/RHNsaKe
via Read more


