If you’ve found this article, you’re probably interested in developing with Go as your programming language and Vim as your editor of choice. Vim is a simple command line text editor that is most crucially used in servers. In a server environment, you don’t really get the luxury of working with IDEs, instead, you only have a command line.
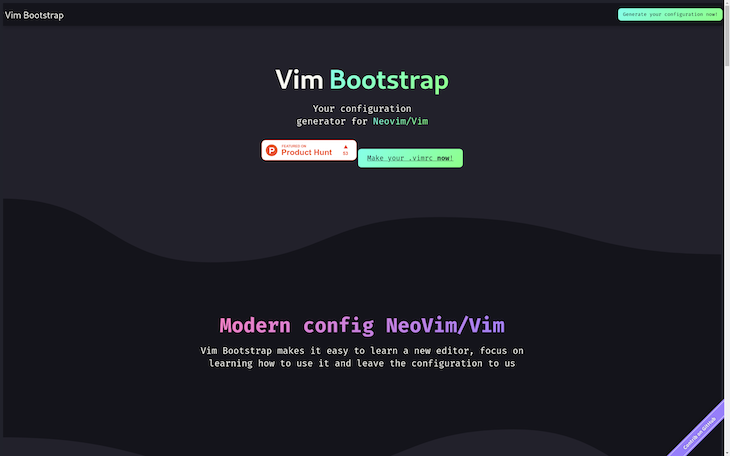
In this tutorial, I’ll show you how to configure your Vim editor as an IDE for programming with Go using vim-bootstrap.com. Vim Bootstrap is a great online tool for generating configuration files for Vim, helping you avoid adding any heavy customization. Vim Bootstrap is basically a plugin component for Vim that generates a .vimrc configuration file with all of the basic settings you’ll need to do any kind of programming using Vim.
Note that Vim Bootstrap is not the only option for getting up and running when it comes to Go development. There are other options like vim-go and NERDTree, which are also plugins to help you set up your Vim editor for Go development.
Why use Vim?
As with any tool, the right IDE will depend on your specific use case. However, Vim offers a couple of benefits that make it stand out among other editors. In my opinion, the main two are keyboard navigation and the focus it has on editing code over writing code.
Most editors focus on making it easy for you to write new lines of code, whereas Vim’s approach focuses on making it easier to edit text.
The main driver behind this approach is that developers spend more time editing code compared to writing new lines of code. Think of this from a programmer’s perspective. We spend most of our time working on existing codebases, fixing bugs, refactoring old codebases, and adding new functionalities. Vim makes it more efficient to edit text, making it a popular choice among developers.
The main benefit of using Vim lies in the key bindings. Once you learn the basic key bindings, you’ll start to realize how limited your regular keyboard shortcuts are.
Getting started
To get started, navigate to vim-bootstrap.com in your web browser and click on the generate your .vimrc now! button. You’ll be directed to a section where you can select your language support. At the time of writing this article, Vim offers support for 18 languages and two frameworks:
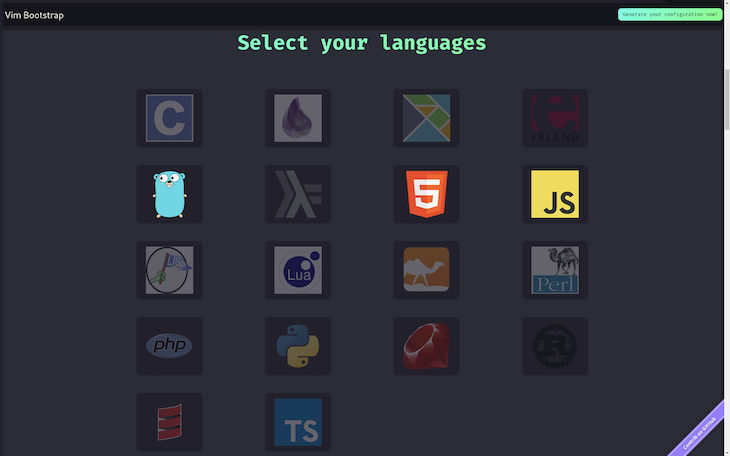
For my use case, I picked HTML, JavaScript, and TypeScript for web development. You can select Go as well if it has not already been selected by default. After that, you should click on Vim editor, then click the generate button.
On clicking that button, your configuration file will be downloaded with a .vim extension. So far, so good! Now that you have your configuration file locally, you’ll need to go through the installation process for proper configuration.
We’ll run through these steps in the next section, but you can also access them at this GitHub repository.
Installation
First, you’ll need to move your generate.vim file from your downloads folder into your home directory under the name .vimrc:
$mv ~/Downloads/generate.vim ~/.vimrc
You can check if the move was successful with the following command:
ls -al .vimrc
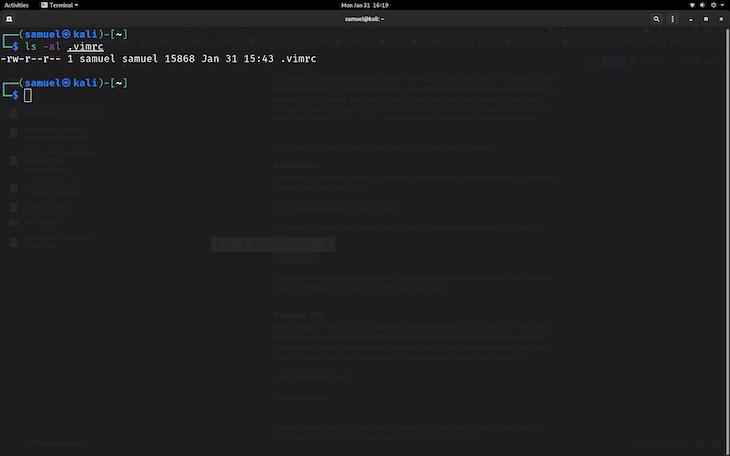
You can also see the references to the different plugins you’ll require by typing the following command in your terminal:
$cat .vimrc
Running Vim
Next, run Vim with the command below to download all the dependencies from your configuration file:
$vim
If that doesn’t work, you simply need to add two options to the command you typed in for running Vim:
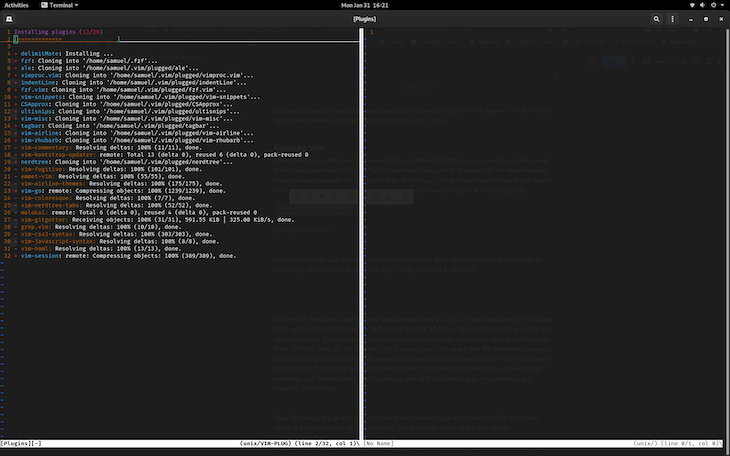
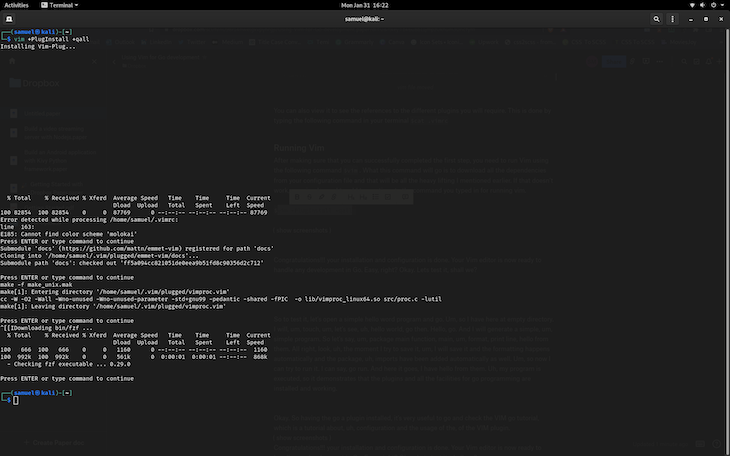
$vim +PlugInstall +qall
Now, with installation and configuration finished, your Vim editor is ready to handle any development in Go. Easy, right? To test it, you can try running this simple program and confirm that it is running:
package main

func main() {
  fmt.Println("Hi there Sam")
}
The output is Hi there Sam. Now that our plugin is installed, you should be sure to check out the Vim Go documentation.
Vim alternatives: vim-go and NERDTree
Like I mentioned before, using the Vim Bootstrap website isn’t the only way to set up Vim for development. An alternative is to use the vim-go and NERDTree plugins together.
vim-go offers most of the features you may need when developing in Go, like syntax highlighting and folding, autocompletion support via gopls, code linting, quick execution using :GoRun, and more.
Installing vim-go is pretty straightforward. Simply run the following command:
git clone https://github.com/fatih/vim-go.git ~/.vim/pack/plugins/start/vim-go
Next, you’ll need to install all the necessary binaries using the :GoInstallBinaries command. From here, you need to save the .vimrc file and install the plugin by running vim +PlugInstall.
After setting Vim up with either of the methods above, you might be missing one important thing. NERDTree provides a convenient side window where you can easily browse your projects without having to go to the computer’s native file manager.
NERDTree is a file system explorer to help you visually browse your files in a tree style side panel, allowing you to conveniently open files for reading or editing.
To install NERDTree, simply add Plugpreservim/nerdtree' to the .vimrc file, then run:PlugInstall to have it fetched.
Conclusion
In this tutorial, we’ve learned to set up and configure our Vim editor for Go development. Overall, the Vim Bootstrap method is fairly straightforward, and in my opinion, it is the easiest way to use Vim with Go. However, we also considered an alternative using NERDTree and vim-go.
I hope you enjoyed this tutorial, and please be sure to leave a comment if you have any questions. Happy coding!
The post Using Vim for Go development appeared first on LogRocket Blog.
from LogRocket Blog https://ift.tt/sJpzLam
via Read more


